Wondering how to turn on AirDrop on Mac for sharing files quickly without any hassle. You’ve come to the right place.
Thanks to the miracles of technology and innovation, AirDrop allows you to easily send and receive files between two devices wirelessly, it works like magic indeed. Don’t you think so? AirDrop made its debut in 2011 and since then sharing pictures, videos, websites, locations, and any other data does not involve any hassle. Within a fraction of seconds, your data is transferred between two devices effortlessly on iPhone, iPad, Mac, and iPad.
Compared to Bluetooth and other modes of sharing data, AirDrop works far better in terms of recognizing nearby devices. You can easily exchange devices between any of your Apple devices within a blink of an eye. AirDrop works like a boon when it comes to sending large-sized files that won’t attach to your emails as well.
In this post, we will be learning all about how AirDrop works, how to turn on AirDrop on Mac, and everything else that you need to know.
Also read: How to Get Airdrop on Your MacOS Dock?
Let’s get started.
How Does AirDrop Work
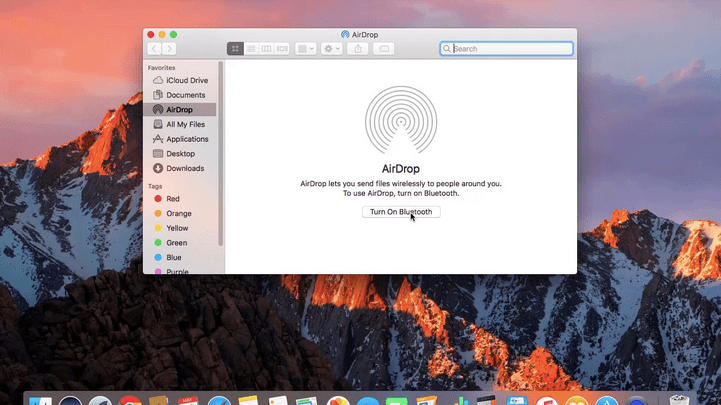
AirDrop comes with one simple objective and i.e. instantly sharing files between two devices including pictures, videos, audio, websites, location, notes, playlists, or anything between Apple devices. It uses Bluetooth technology to operate and hence you need to make sure that Bluetooth is enabled on both the devices, sending and receiving.
Once the Bluetooth is turned ON on both devices, you can enable AirDrop and start sharing data. It uses strong peer-to-peer WiFi connectivity for sharing files. As soon as you enable AirDrop, your device will become discoverable and you can start sending or receiving files from other Apple devices.
But yes, here comes one tiny catch. AirDrop works well in relatively shorter distances, so just ensure that both your Apple devices are in range. If you are sitting across the room or at a different location, AirDrop won’t be able to discover nearby devices.
Also read: How to Share Passwords Using AirDrop on iPhone, iPad, and Mac
How to Turn ON AirDrop on Mac
Wondering how to turn on AirDrop on Mac? Let’s quickly learn how to use AirDrop on macOS so that you can effortlessly share files via other Apple devices.
Share or Send Content from Mac using AirDrop:
Navigate to the folder where your files are stored. Now open the file that you need to share from your Mac to another Apple device.
Tap the “Share” icon. You can also find this option in the Shortcut menu.
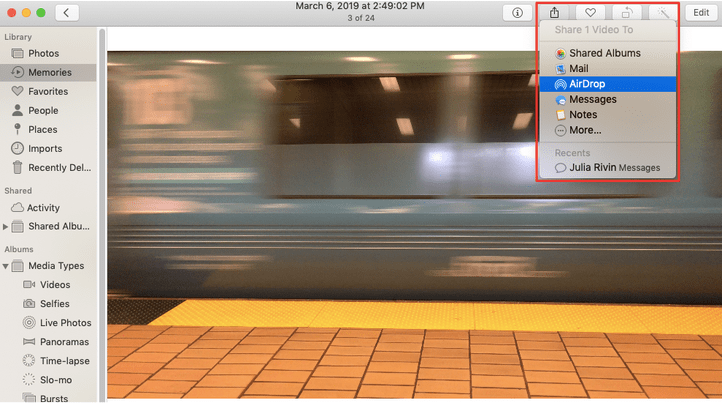
In the list of sharing options, select “AirDrop” from the list.
You will now see a list of nearby devices whose AirDrop is enabled. Select the recipient and then simply drag and drop your files in the AirDrop window.
And that’s it! In just a fraction of seconds, your files will be shared across other Apple devices like a piece of cake.
Also read: Fix AirDrop Not Working On iPhone/iPad (2021 Solutions)
Receive Files on Mac using AirDrop:
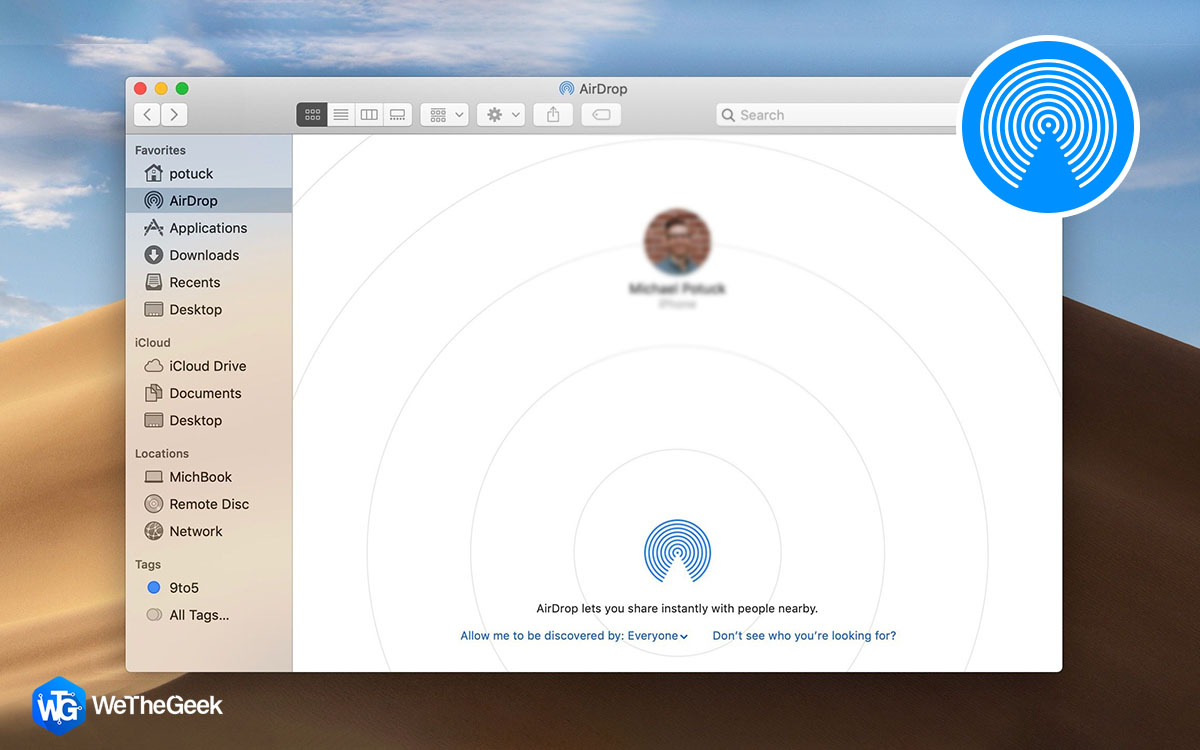
The AirDrop Finder window is an intuitive space where you can easily manage other devices.
Launch Mac’s Finder and then head on to Go> AirDrop.
In the AirDrop Finder window, look for the “Allow me to be discovered by” option at the bottom.
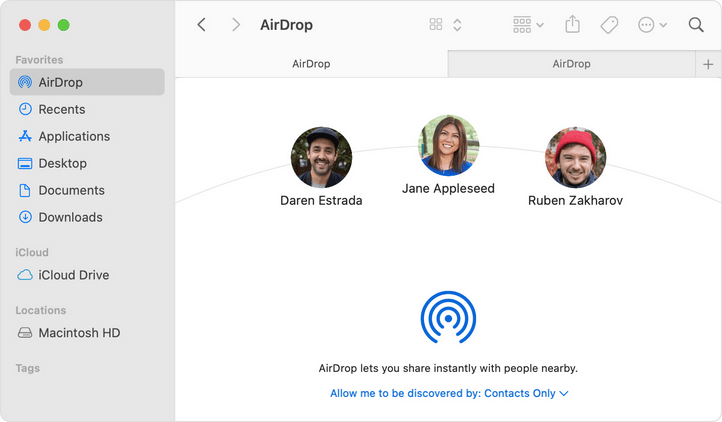
You can choose between Contacts Only, Everyone and No one.
As you have to receive files from other Apple devices, change this option and set it to either “Everyone” or “Contacts Only” to make your Mac discoverable.
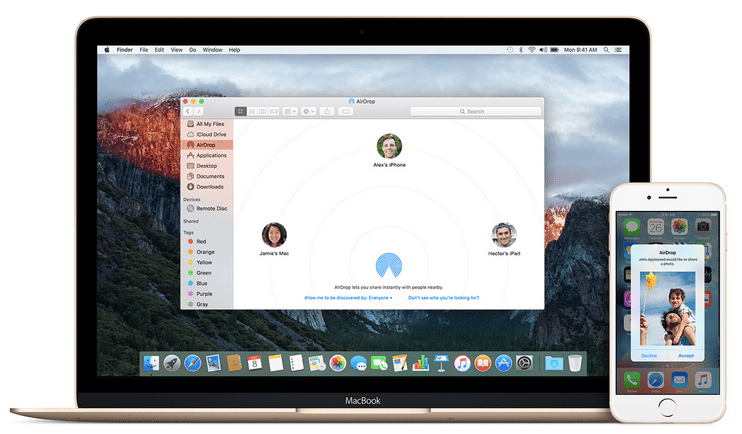
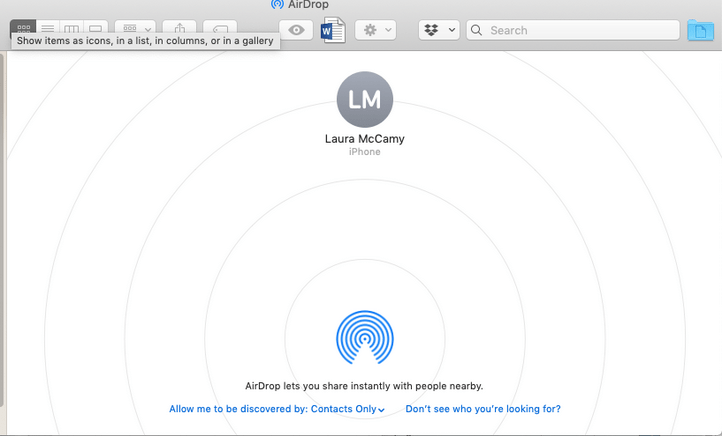
As soon as you tweak this setting, nearby Apple devices will start appearing on the screen. As soon as you see the device’s name in the AirDrop Finder window, tap on the “Accept” button to receive files.

NOTE: If you’re unable to see the device’s name in the AirDrop window, tap the “Don’t see what you’re looking for?” option so that macOS can guide you further in detecting nearby devices.
This is how you can use and turn on AirDrop on Mac to effortlessly share data between two devices.
AirDrop not Working on Mac? Here are a Few Things You Can Try!
- Make sure both the Apple devices are in range (Within 30 feet of distance) and the WiFi and Bluetooth connections are turned ON.
- Check your Mac’s version by heading to the Apple menu> About this Mac and see whether your Mac is compatible with AirDrop or not.
- To ensure that your Mac’s Firewall is not interrupting in setting up a connection, here’s something you can try. Tap the Apple menu icon placed on the top menu bar, select “System Preferences”. Tap on “Security and Privacy”. Switch to the “Firewall” tab and then uncheck the “Block all incoming connections” option.
Also read: How to Troubleshoot AirDrop Not Working on Mac
Conclusion
This wraps up our quick guide on how to use and turn ON AirDrop on Mac to instantly share files between two Apple devices. Do you think the AirDrop technology makes our lives a lot easier? Feel free to share your thoughts in the comments space.