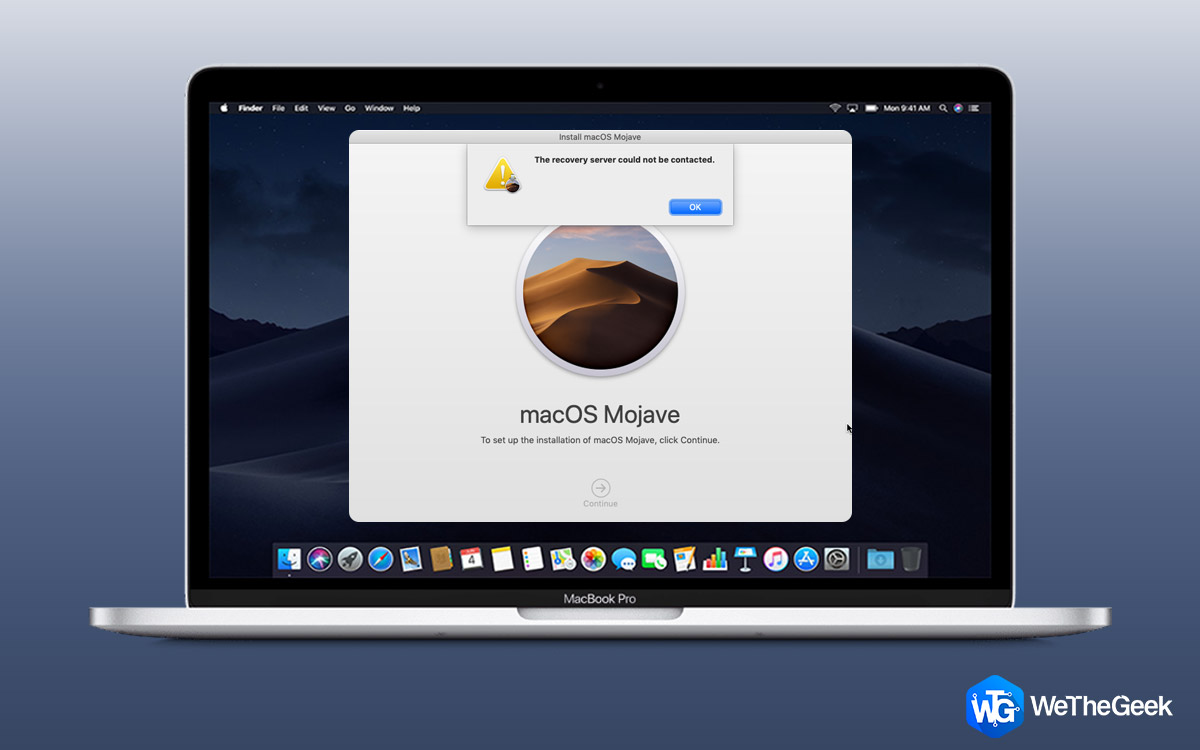
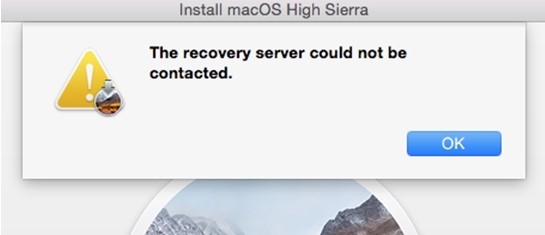
Did you just encounter the “The Recovery server could not be contacted” error on macOS Mojave or Catalina while updating the OS? This error is triggered on the macOS due to connectivity issues, date & time sync issues, or when your device is not able to make a successful connection with Apple’s server.
So, if your Mac device is constantly popping with an alert that says “the recovery server could not be contacted” error, we’re here for the rescue. But before we proceed towards the solutions to fix this issue, let’s learn a little about what causes this issue.
Also read: 10 Common MacBook Problems and How to Fix Them
What Does It Mean When the Recovery Server Could Not Be Contacted?
This issue occurs on macOS when your device is unable to connect to the servers. Some of the most common reasons why your Mac fails to build a connection with the server includes:
Unstable Network: If your device is not getting enough network bandwidth and if the Internet speed keeps on fluctuating, your Mac won’t be able to connect to the servers.
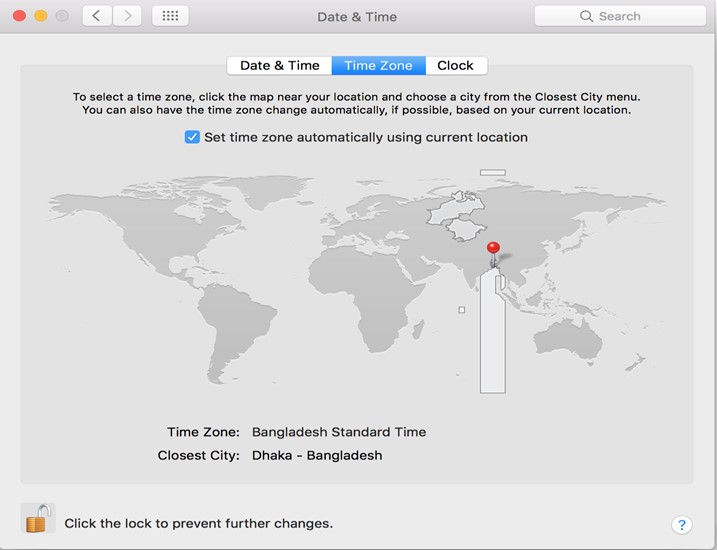
Date and Time Sync: If the date and time settings of your device are not in sync with Apple’s recovery server, you may encounter the “The recovery server could not be contacted” error.
Too Many Users: If Apple’s server is overloaded with too many users who are trying to update the OS at the same time, then this error may get triggered due to network congestion.
Also read: How To Fix The RPC Server Is Unavailable In Windows 10?
Fix Recovery Server Could Not be Contacted During macOS Recovery
1. Check the Network Connections
First things first, just make sure to check whether your Mac is receiving enough bandwidth and your Internet speed is stable enough to support the connection.
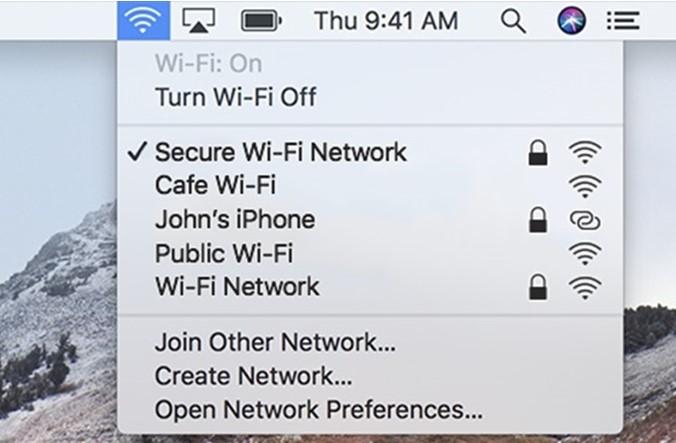
To ensure everything is in place, tap on the WiFi icon placed on the top menu bar, turn off the WiFi, and then reconnect it. You can also try physically removing the ethernet cable from the WiFi router and then replug it after 2-3 minutes.
As soon as the Internet connection gets stable, your device will be able to easily connect to the Recovery server and you will no longer see the “The Recovery server could not be contacted” alert on the screen.
Also read: How To Fix ‘The Certificate For This Server Is Invalid’ On Mac
2. Sync Date and Time Settings
To sync the date and time settings on Mac, you will have to make some quick changes in the Terminal window. By syncing the date and time settings of your Mac, you can easily get past the “The recovery server could not be contacted” error message.
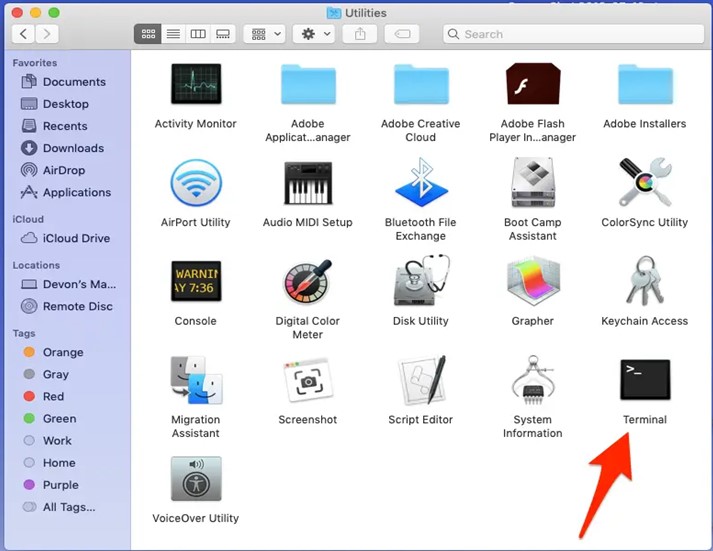
Tap the “Utilities” option on the top menu bar, select “Terminal”.
In Mac’s Terminal window, type the following command and hit Enter:
ntpdate -u time.apple.com
Wait for a little while until macOS runs this command successfully and syncs the date and time settings of your device with the Apple server.
Reboot your device once the command has been executed to check if you’re still facing the error. After running the above-listed command, if you’re still encountering the “The recovery server could not be contacted” error message then here’s another thing that you can try.
In the Terminal window, type “Date” and hit Enter.

After running this command, your Mac will display the current date and time on the Terminal window in the “mmddhhssyy” format.
If you see the accurate date and time on the Terminal window, let’s proceed to our next solution.
3. Install the Full Version of macOS
Most of us usually install the latest update of macOS from the App Store, right? Well, tech experts claim that this is not the full version of macOS. By installing the full version of macOS, you can easily fix the “the recovery server could not be contacted” issue. To install the full version of macOS Catalina or Mojave, you need to run a few commands in the Terminal window.
Tap the “Utilities” option on the top menu bar, select “Terminal”.
In the Terminal window, type the following command and hit Enter:
softwareupdate --fetch-full-installer --full-installer-version 10.15.3
Mac will now fetch the full version of the installer file. You can find the file in the Applications folder.
Head on to the Application’s folder and run the installer file to run the full version of macOS Catalina/Mojave.
4. Reinstall macOS
If the above-mentioned tips did not offer any luck, erasing the disk and reinstalling the macOS can act as a last resort. But before you proceed, make sure you’ve created a safe copy to backup the data.
After creating the backup, follow these quick steps:
Reboot your Mac, and then restart it. When your Mac restarts, press the Command + R key to enter in the Recovery Mode.
In the Recovery Mode, select the “Disk Utility” option. Erase the Macintosh disk drive to remove all of its data.
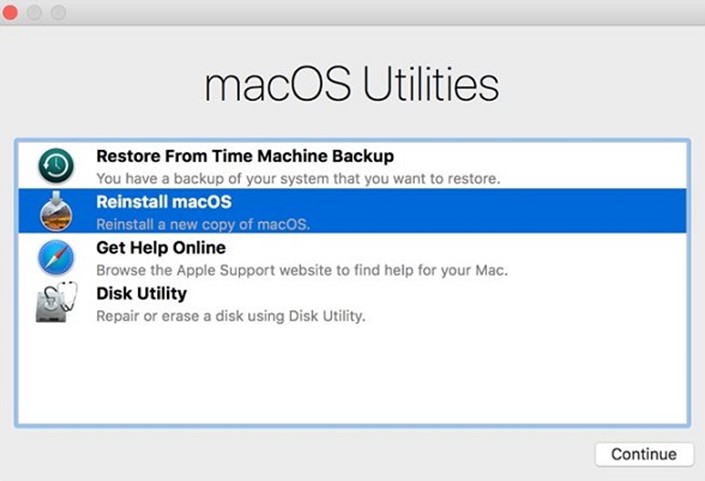
After erasing the disk and all its content, reinstall macOS to install the latest update of macOS on your device.
Also read: Time Machine Backup Failed? 5 Easy Ways To Fix Time Machine Problem
Conclusion
Here were the 4 most effective ways to resolve the “The recovery server could not be contacted” error on macOS. You can use any of the above-mentioned methods to get past the alert and resume using your Mac again without any interruptions.
Do let us know which solution worked out the best for you. You can share your thoughts in the comments space! Follow us on social media – Facebook, Twitter, Instagram and YouTube.