
When you have multiple users using the same Windows PC or laptop, creating multiple user accounts can be a great option.
Normally, switching users on a Windows 10/ 11 is a smooth and easy task, however, despite creating user accounts correctly, some users have found that the switch user option is missing from the login screen.
If you are stuck in a situation where you are unable to switch user accounts on your Windows PC, this post is for you.
Things To Do If Switch User Is Missing From Login Screen On Windows 11/10
Method 1. Create A New User Account
As obvious as this step may seem, if your is the only account on your account, you won’t be able to see the switch user option. If that’s the case, you can refer to this post and see how you can create multiple user accounts on Windows 10. Installed the new Windows 11 and want to know how to create a new user account, here are the steps –
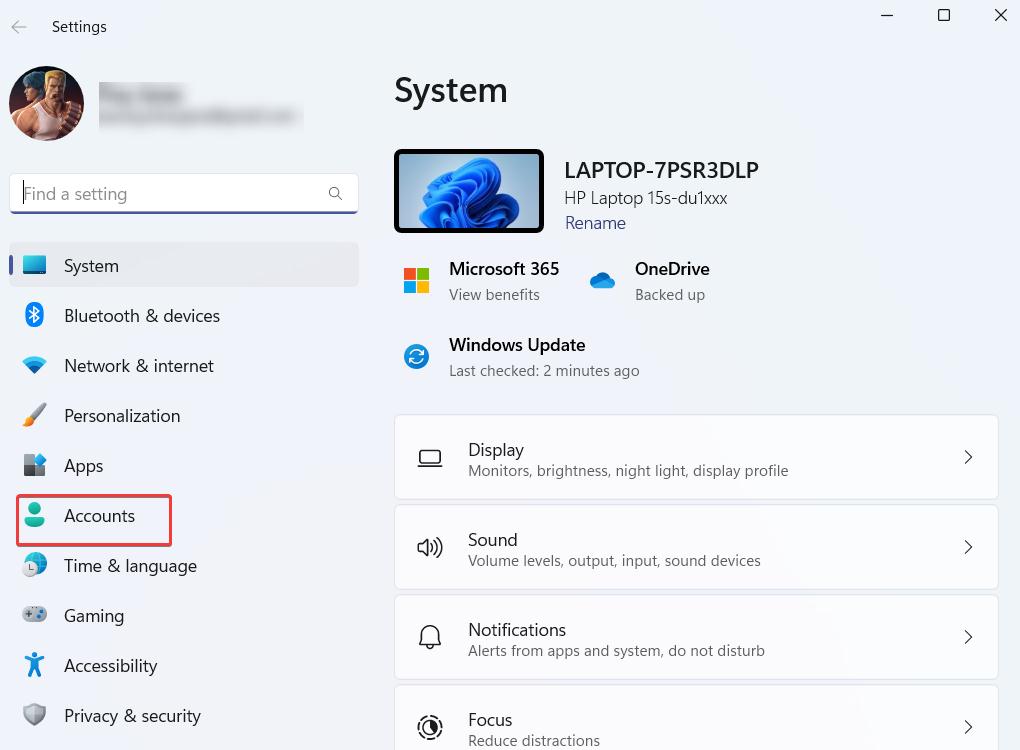
Step 1: Open Settings by pressing the Windows + I key combination.
Step 2: When Settings opens, click on Accounts from the left-hand pane.
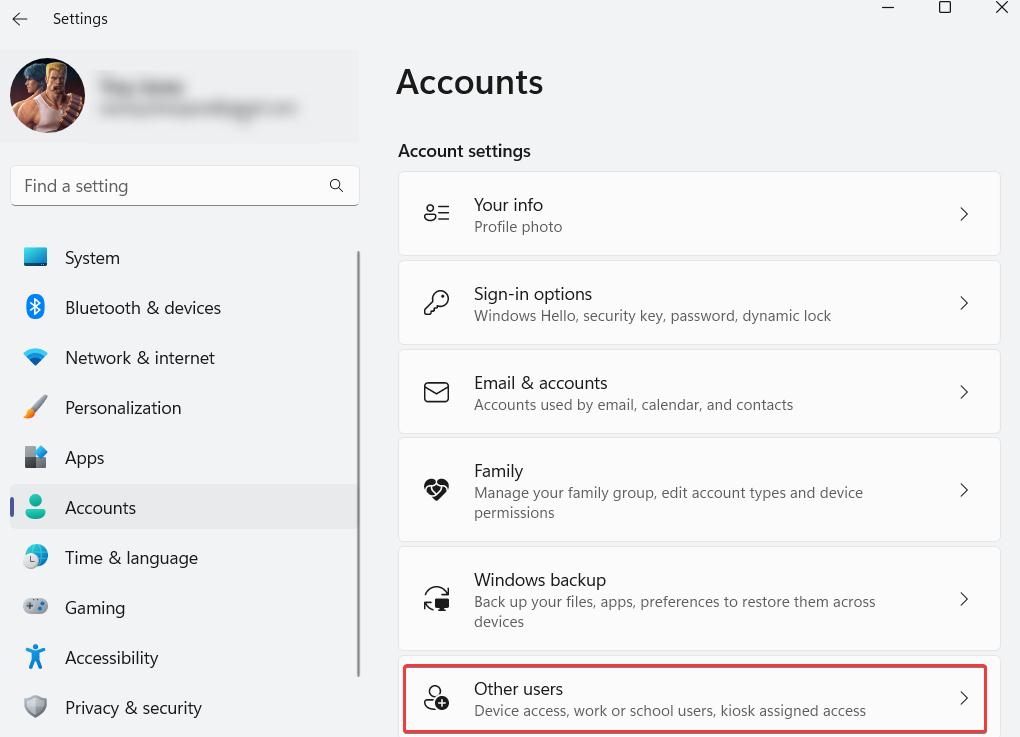
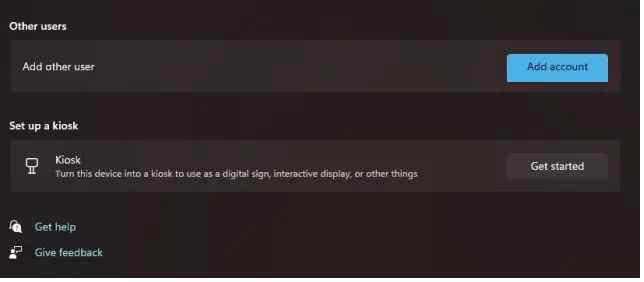
Step 3: On the right-hand side, scroll down and under Account settings, click on Other users.
Step 4: Next, to Add another user, click on Add account.
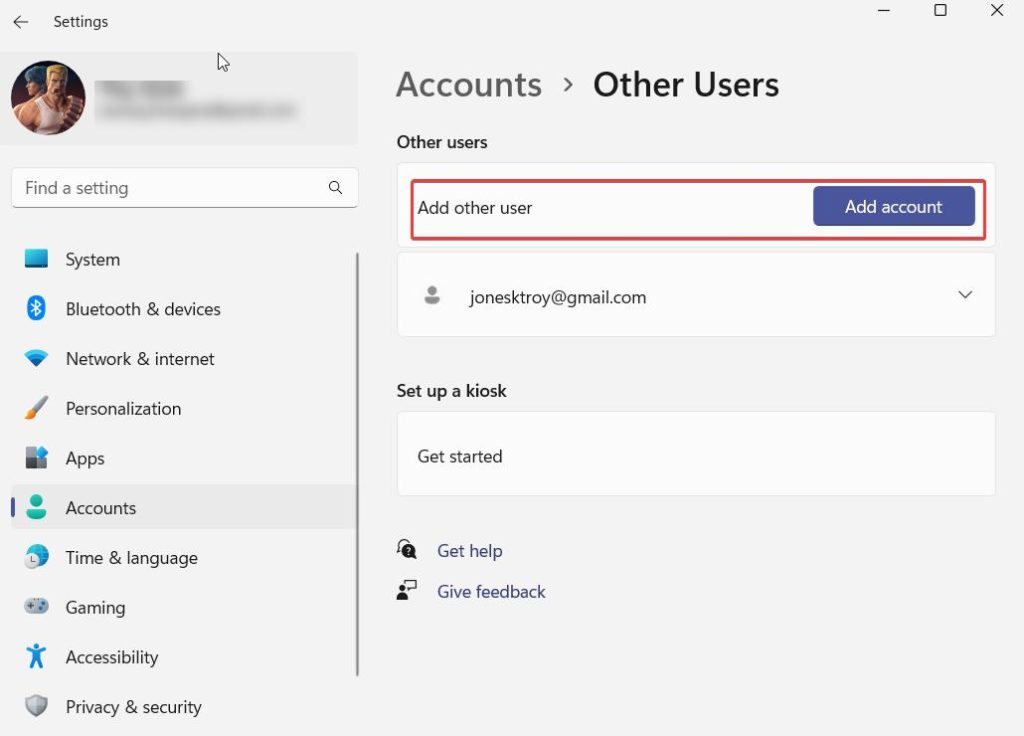
Step 5: Follow the on-screen instructions.
Here you can also choose whether you want the newly created account to have administrative rights or not.
Method 2. Enable Fast User Switching
The issue at hand may have surfaced because of some misconfigured settings. More specifically, the Fast User Switching option might be disabled. You can fix this by altering certain settings in the Registry Editor. Before you do that, we’d urge you to take a backup of your registry so that you can revert to the previous state if anything goes wrong. Once you have done that follow these steps to enable Fast User Switching–
Step 1: Open the Run dialog box by pressing Windows + R.
Step 2: Type regedit and press Enter.
Step 3: Navigate to the below-mentioned path –
HKEY_CURRENT_USER\Software\Microsoft\Windows\CurrentVersion\Policies\System
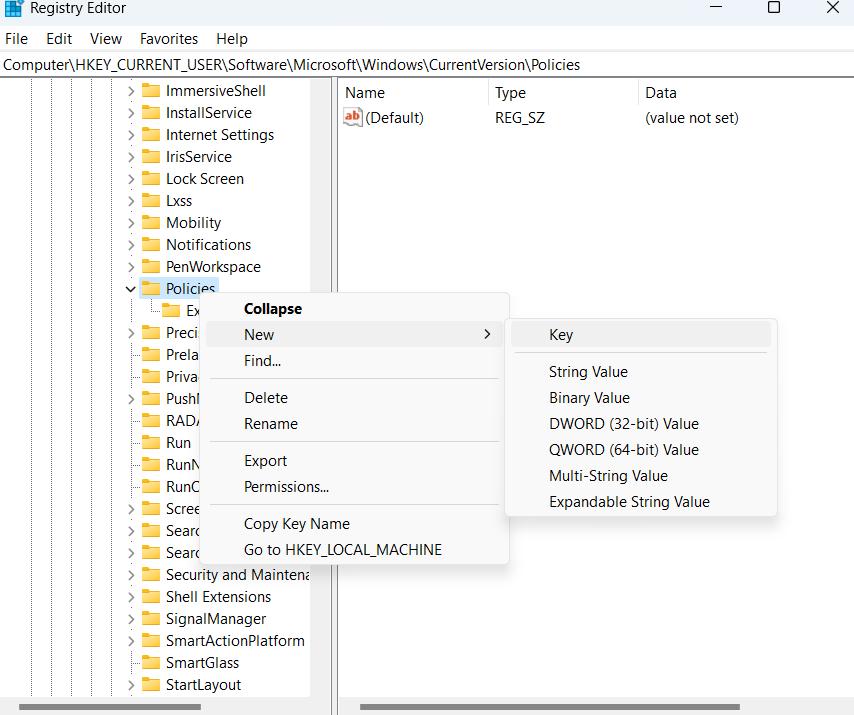
Step 4: If you are unable to find the System key, right-click on the Policies key, select New, and click on Key.
Step 5: Rename the key as System.
Step 6: Move this key to the right pane. Right-click anywhere and select DWORD (32-bit) Value.
Step 7: Rename it as HideFastUserSwitching.
Step 8: Double-click on this newly created key and enter 0 in the Value data.
Step 9: Press OK
Step 10: Restart your computer
Method 3. Enable The Account for Built-In Administrator
You can also try enabling the inbuilt administrator account by booting Windows in Safe Mode. We have enlisted the steps for the same below –
Step 1: Boot into Windows 10 or 11 Safe Mode. You can click on the links based on the Windows OS you have,
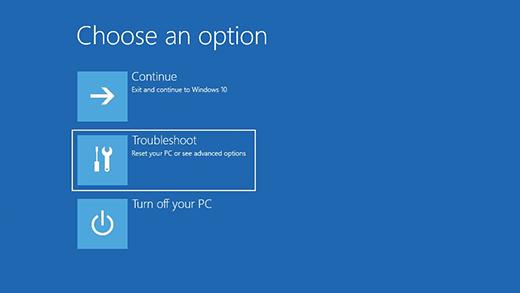
Step 2: When your Windows boots into the Recovery menu, click on Troubleshoot.
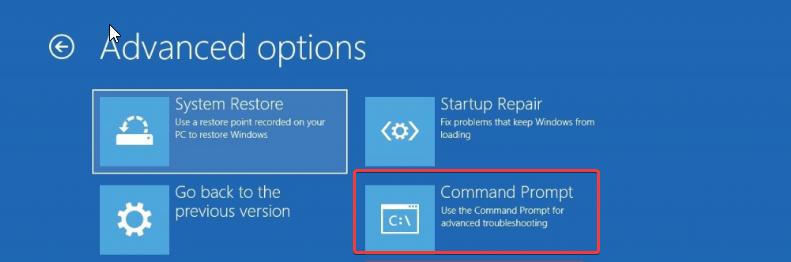
Step 3: Under Advanced options, click on Command Prompt.
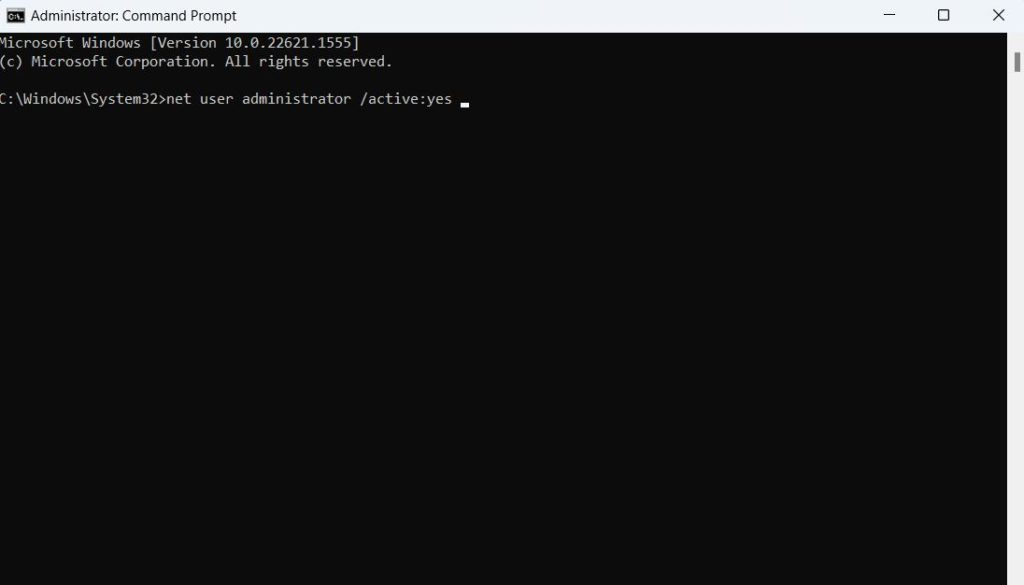
Step 4: When the Command Prompt opens, type net user administrator /active:yes and press Enter.
Step 5: Once this command is complete, restart your computer and log in using your administrator account.
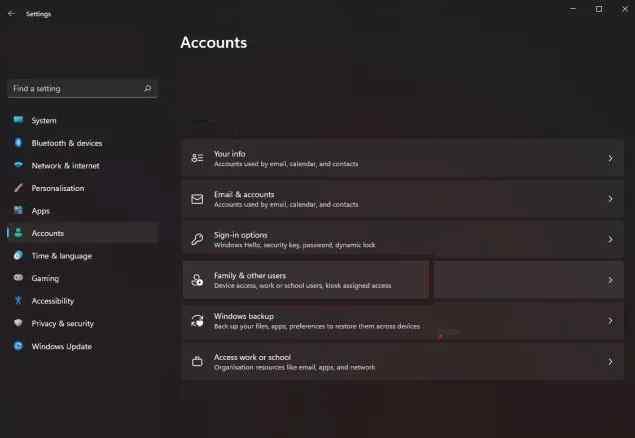
Step 6: Open Settings by pressing Windows + I.
Step 7: Assuming you have Windows 11, click on Accounts from the left, and from the right, click on Family & other users.
Step 8: Under Other users, click on Add account next to Add other user.
Step 9: Click on I don’t have this person’s sign-in information.
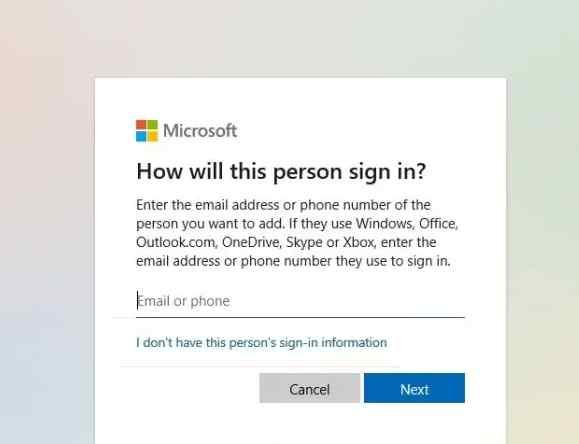
Step 10: Click on Add a user without a Microsoft account and fill in the details. Follow the on-screen instructions to proceed.
Method 4. Enable Targeted Account
Step 1: Open the Run dialog box by right-clicking on the Windows icon and selecting the option.
Step 2: When the dialog box opens, type lusrmgr.msc and press Enter.
Step 3: When the Local Users and Groups opens, select Users from the left pane and right-click on it.
Step 4: Select Properties and click on the General tab.
Step 5: In the DefaultAccount Properties, uncheck the Account is disabled checkbox.
Step 6: Click on Apply and OK.
Method 5. Enable Fast User Switching Using BAT File
If none of the above options seem to work and while you fix the issue, you can use a BAT file mentioned in the steps below to automate the process of enabling the Fast User Switching –
Step 1: Download and run the BAT file published by Shawn Brink.
Step 2: When the UAC control appears, click on Yes.
Step 3: Once you notice your screen flicker, worry not as it is caused by Command Prompt trying to open and close Registry changes and restart the Explorer.
Step 4: Once the process is complete, delete the .bat file.
Step 5: Restart your computer.
Is Switching Users On Windows Still Troubling You?
We hope it isn’t it? If you have been able to fix the issue, do let us know which of the above methods helped you out. If a different approach helped you fix the issue, do share with us the same. For more such content, keep reading WeTheGeek. You can also find us on Facebook, YouTube, Twitter, Pinterest, Flipboard, and Instagram.