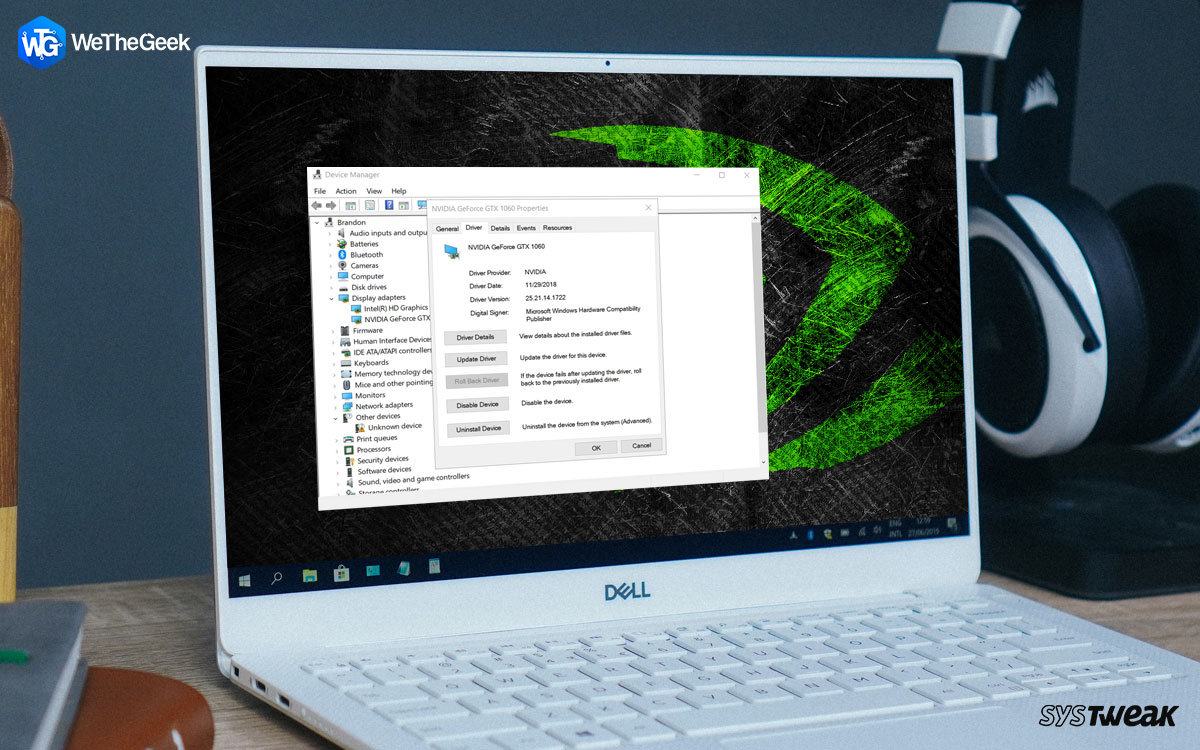
Introduction – NVIDIA Driver Issue
Although Windows 10 keeps receiving driver updates regularly to improve performance & stability, fix common bugs & rolls out features for better compatibility. However, a few times, you may come across a driver issue after updating the graphics adapter to the latest NVIDIA Release. There can be a probability that an incomplete or improper installation is leading to laggy performance of the GPU.
Well, in such a scenario, you need to rollback NVIDIA Graphics Drivers to the previous version when everything was regularly working, & there was no dropping of game frames.
When Do You Need To Rollback NVIDIA Drivers?
Well, there are chances that sometimes device drivers, instead of smoothening the overall user experience, worsen it. It can happen due to significant bugs, maybe the OS is not compatible with the updated version, or there’s any failure in the internal program structure.
If you are facing any of the issues mentioned below, then you might have reached a spot where you need to rollback NVIDIA Driver when everything was flappy & smooth.
You are witnessing jitters & lags while playing.
Video rendering is not working properly.
Bottleneck error.
Overheating of the driver chip.
Receiving frequent driver installed error pop-ups & incapable driver warnings.
Hence, if your system is not able to recognize the graphics card, it is recommended to rollback NVIDIA Driver now. Because indeed the updated version is not compatible or the new version has some severe bugs.
How To Rollback NVIDIA Drivers?
Restore the previous version of NVIDIA Drivers on Windows 10, following the method below:
METHOD 1- Manually Via Device Manager Console
Step 1- Open Device Manager (You can use the Search feature to reach to Device Manager)
Step 2- Find Display adapters & expand the category to choose NVIDIA graphics.
Step 3- Choose Properties. From the pop-up dialog box, select the Driver tab & hit Roll Back Driver button.
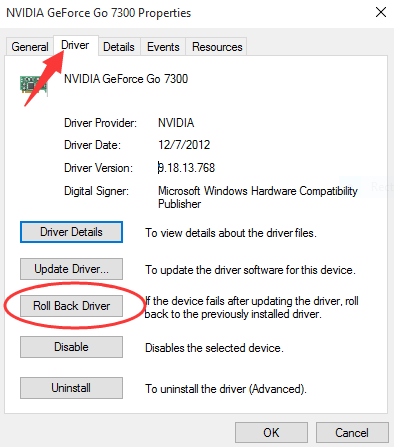
Note: If the button is greyed out, then probably there’s no old driver version available for Windows 10 machine that it can roll back to. In such a case you have to either find the former NVIDIA Driver on the official NVIDIA website & install it manually or use a driver updater utility like Smart Driver Care to search & install the driver on your behalf automatically.
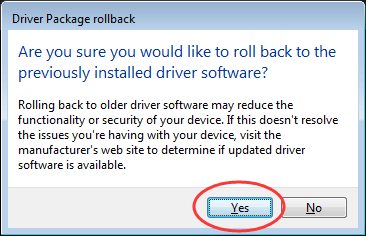
Step 4- After clicking the Roll Back Driver button, a package rollback dialog box should appear on your screen. You’ll be asked to choose the reason why you wish to rollback NVIDIA Driver. Select any of the options, and click on Yes to confirm the process.
Step 5- Keep patience & let Windows 10 restore the previously installed NVIDIA Driver version on your system.
Once the process gets completed, you can check the driver version & date for verification. This would ensure whether you’ve successfully rolled back NVIDIA Driver or not.
How To Install Correct NVIDIA Drivers?
Your system can’t always rely on older driver versions to perform adequately. You are required to update the most recent & correct drivers for your PC frequently. To ensure you do not execute the old methods of improper or incomplete installation, make use of dedicated driver updater software like Smart Driver Care. It is designed with smart algorithms to find & install the correct drivers for your version automatically. You can check out this guide to know more about this product!
Important Note: Unfortunately, you can use the built-in Driver Roll Back feature only once. However, with a tool like Smart Driver Care, you can backup numerous versions of drivers and restore them as and when required.
To Restore or Roll Back Driver Using Smart Driver Care, Follow the Steps Below:
Note: You can restore drivers using Smart Driver Care, only if you have updated the device drivers using the product before.
To restore drivers:
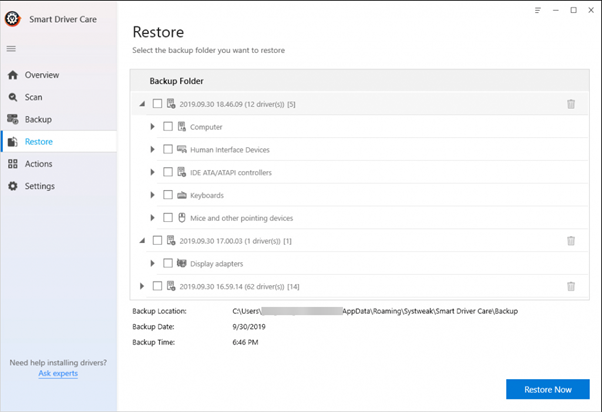
Step 1- Install and Launch Smart Driver Care

Step 2- Click on the Restore module from the left pane.
Step 3- Now, select the driver you wish to restore and click the Restore Now button.
To bring changes into effect, you will need to restart the PC.
Once done, check the problem related to NVIDIA drivers; it should be resolved by now!
That’s all! Now you’ve seen how Smart Driver Care helps in finding the correct & most compatible drivers for your Windows machine? Moreover, it also features capabilities to roll back to previous driver versions, in case anything happens wrong. So, what are you waiting for? Install this ultimate driver updater utility now and manage your Windows Drivers Effortlessly!
Wrapping Up
We hope, after going through these methods, you will be able to get the answer to, How to Rollback NVIDIA Drivers in Windows 10. If you are facing some other driver-related problems, feel free to shoot them in the comment section below. We’ll be happy to resolve your issue!
You can also message us on our Social Media Handles Facebook or Instagram for any queries!