
Sea of Thieves is an amazing action-adventure not meant for the faint at heart. There are reports of gamers playing it for more than 6 hours at a stretch. I would seriously not recommend that and would rather prefer that you rest your eyes and mind but such a feat of playing for long hours is only possible if the gamers do not face any issues. However, there have been reports of Sea of Thieves connection issues on Windows 10.
Methods To Solve Sea Of Thieves Connection Issues In Windows 10
There are a lot of steps to fix Connection Issues in Sea Of Thieves but I have compiled the list of best methods available that have worked for many across the globe as per the gaming forums. You can try each one followed by a check if the issue has been resolved before moving to the next.
Method 1: Disable Antivirus
The first step to resolve Sea of Thieves not connecting is by turning off your antivirus for some time. Although this sounds a bit risky it will help determine if the Antivirus installed in your system is considering the Sea of Thieves files and their connection to the game server as a potential threat and blocking it off. Now the exact steps of temporarily disabling your Antivirus are different for various apps but the process is almost similar. I have demonstrated this with the example of AVG AntiVirus.
Step 1: Open the antivirus app and access the settings to disable it temporarily. Else, you can toggle it off through the shortcut button in the right bottom corner of the taskbar.

Step 2: Next, launch the game and check if the connection issues in Sea of Thieves persists.
Step 3: If the antivirus is responsible, then look for an option in the settings to add the file and folders of Sea of Thieves as an exception in your Antivirus.

Method 2: Update Drivers
If you are facing connection issues in Sea of Thieves, then this could mean an issue with your network drivers as well that are not able to maintain a stable connection with the Game Server. In this case, the issue can be resolved by updating your network drivers. Drivers, as you must know, are an integral part of the operating system that helps translate the machine languages of the hardware to the programming languages of the app and the operating software itself.
Updating drivers is an easy task provided you know how to do it. There are two basic ways of updating drivers: Manual & Automatic.
Updating Drivers: The Manual Way
The manual way of updating drivers is by identifying your hardware and then searching for the updated drivers on the OEM website. This is a manual way where you have to search, download and install the drivers by yourself and it consumes time and effort. This method is guaranteed 100% provided you know the exact make and model of your device and know how to search for a genuine update.
Updating Drivers: The Automatic Way
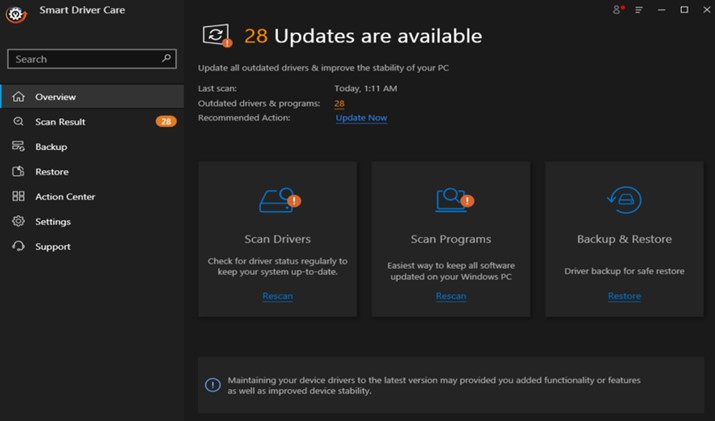
The automatic way of updating drivers is much easier and faster and requires you to install a third-party app on your PC like Smart Driver Care. This app automatically scans your computer’s hardware and drivers and identifies those that are missing, corrupted, and outdated. It then takes a backup of your old drivers and then replaces them with the latest and most updated ones. Here are the steps to use Smart Driver Care:
Step 1: Download and Install Smart Driver Care.

Step 2: Launch the app and click on the Start Scan Now button.
Step 3: Once the scanning completes, click on the Update Driver link next to your Network drivers in the list to update them.
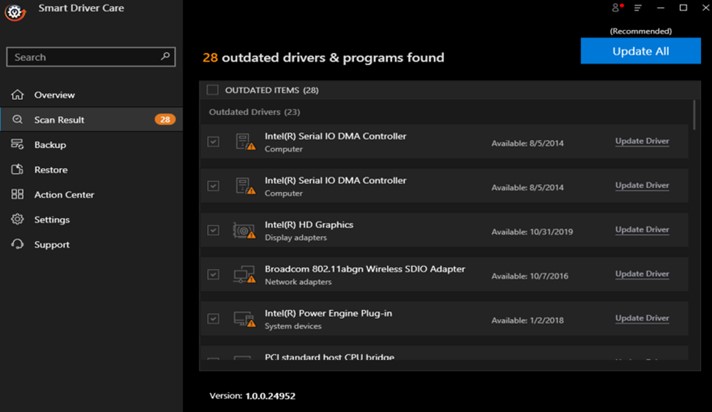
This will automatically search and update the drivers which is an important step to troubleshoot Sea of Thieves connection issues in Windows 10.
Method 3: Run The App In The Background
This functionality in Windows 10 helps to run the app services and process in the background even if it is minimized in the taskbar or another app is being currently used. This will ensure that the app will not disconnect when it is not being used. To check if the Sea of Thieves has this required permission, follow these steps:
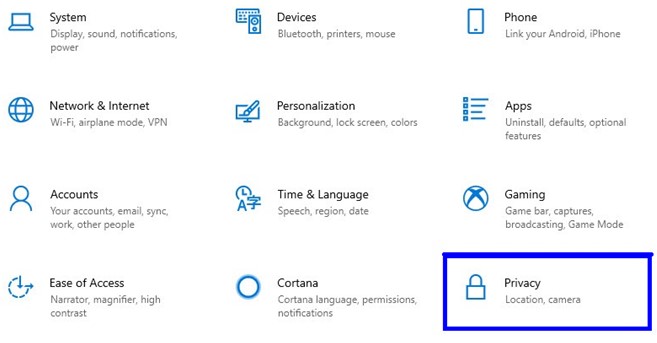
Step 1: Press the Windows + I to open the Setting window.
Step 2: Click on Privacy among the list of setting options.
Step 3: Now, click on the Background Apps option from the left panel of options.
Step 4: Now, make sure that the first toggle switch under Let Apps Run in the Background is on.
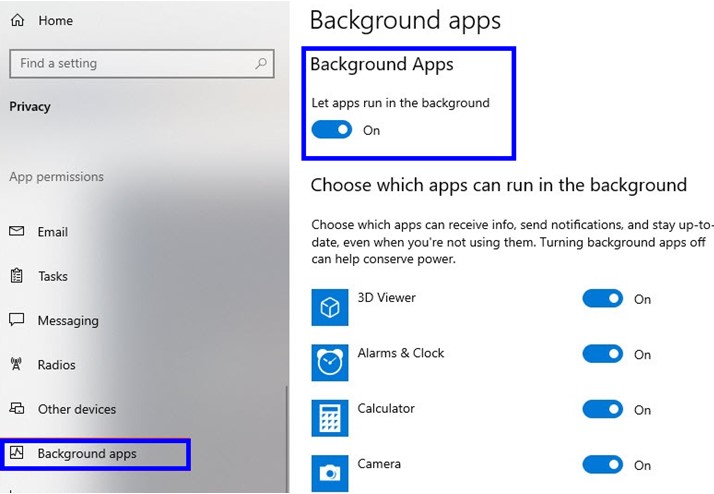
Step 5: Scroll down to view the list of apps installed in your system and check if the toggle switch next to Sea of thieves is turned on.
Step 6: Exit the Settings window and restart the game. Check if the Sea of Thieves not connecting issue has been resolved.
Method 4: Modify The Proxy Settings
The Proxy Settings help determine the channel of internet connectivity of your computer. If you have applied certain proxy settings, then you can try to set it to automatic settings from the ISP to ensure a stable and free flow of internet connection. Here are the steps to check that:
Step 1: Press Windows + R to open the Run box and type inetcpl.cpl followed by Enter.

Step 2: Next, click on the Connection tab in the Internet Properties and then click on LAN Settings.
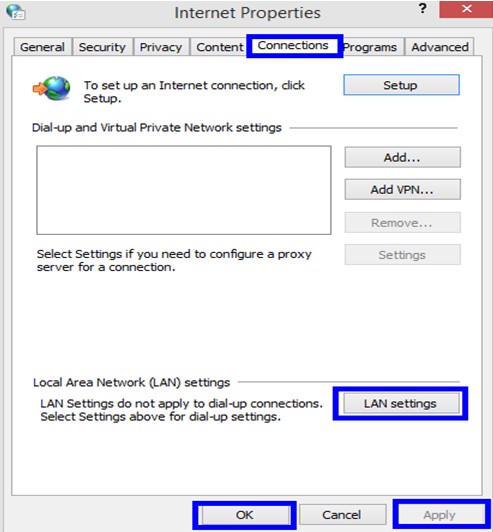
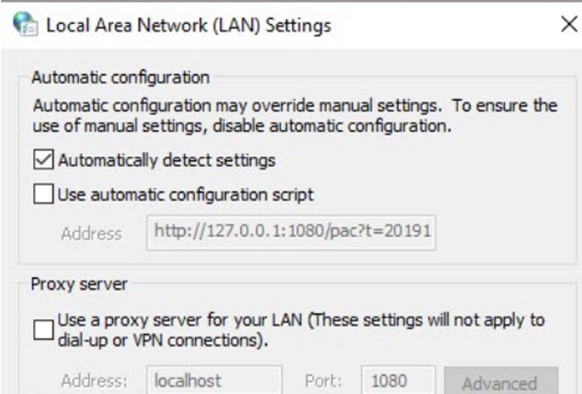
Step 3: Now, uncheck all the boxes except the one labeled as Automatically Detect Settings.
Step 4: Click on OK and reboot your PC to check if the Sea of Thieves not connecting issue has been resolved.
Method 5: Use The Netsh.exe tool
The last troubleshooting step recommended for the connection issues in Sea of Thieves is to use the Netsh.exe tool and modify the settings. Here are the steps to use this tool:
Step 1: Press Windows + R to invoke the RUN box and type cmd followed by Enter.
Step 2: Type the following command followed by Enter.
netsh winhttp reset proxy
Step 3: Once the process is complete, reboot your computer and check if the connection issues in Sea of Thieves are resolved.
The Final Word On How To Solve Sea Of Thieves Connection Issues In Windows 10?
It is important to fix Sea Of Thieves not connecting issues to enjoy the game. The above-described fixes have worked for many and will surely do the same for you. One of the quick solutions is to get all your drivers updated and check if the issue has been resolved. The best way for updating drivers is to use Smart Driver Care that can automatically complete the task for you.