
While the proxy server is enabled, it may restrict you from accessing certain websites. Wondering how to disable proxy on Chrome?

This post covers everything you can configure proxy settings via Windows settings, Chrome browser, and what to do if the proxy section in Windows 10 is greyed out or inaccessible.
Also read: How to Tweak Proxy Server Settings on Mac.
Let’s get started.
What is a proxy server?
To understand in simple terms, a proxy server acts as an intermediary link between your device and the web. Proxies are most commonly used for blocking websites to filter content. Proxy servers are also crucial from a security point of view as they also play the role of a Firewall to protect your device.

A proxy server acts as a gateway between the Internet and the device you’re using. As soon as you make a request, it first goes to the proxy server and then goes to the web.
But if you don’t want to use a proxy server on your Windows 10 device, here’s how you can disable the proxy server settings by following a few simple steps.
How to Disable Proxy on Chrome?
If you don’t want to use a Proxy server while accessing the Internet on the Chrome browser, you can easily turn off this security feature. Here’s what you need to do.
Tap the Windows icon, select the gear-shaped icon to open Windows settings.
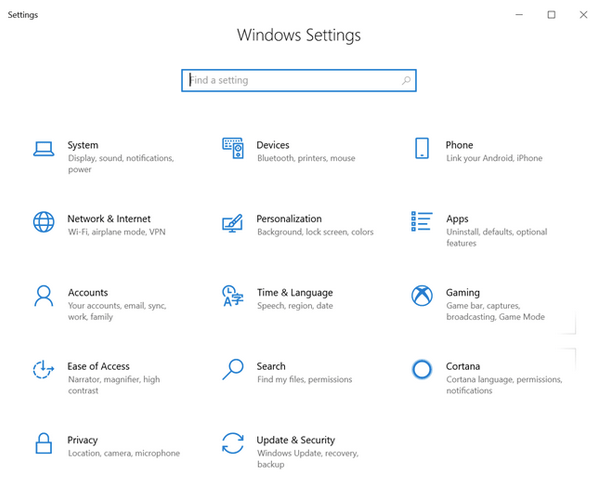
In the Windows settings, tap on the “Network and Internet” option.
Switch to the “Proxy” section from the left menu pane. Now here you need to disable three important settings manually:
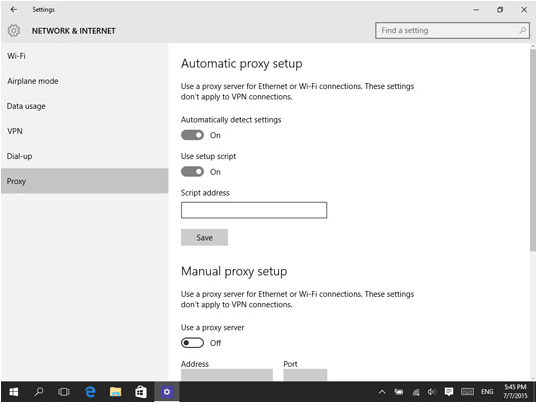
- Automatically detect settings.
- Use a setup script.
- Use a Proxy server.
Make sure all of these above-mentioned settings are turned off.
Also read: Windows Could Not Detect Network Proxy Settings Error Automatically? Here’s The Fix
Via Google Chrome
Another way to disable proxy server settings on Windows 10 is via the Google Chrome browser itself. Google Chrome also includes in-built settings that allow you to configure settings. Let’s explore how!
Launch Google Chrome browser on your Windows device.
Tap the three-dot icon on the top-right corner, select “Settings.”
Tap on “Show Advanced Settings” and then select the “Change Proxy Server” option.

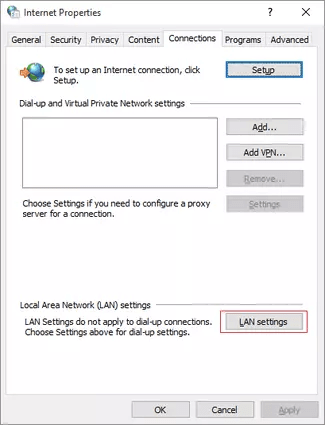
In the Internet Properties window, tap on the “LAN settings” button.
Check on the “Use a Proxy server for your LAN” option. Hit the OK button to save your changes.
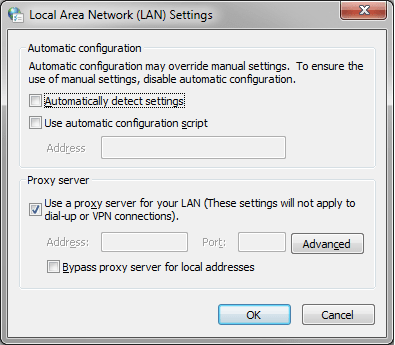
After following the above-mentioned steps, the proxy settings on the Chrome browser will be disabled.
Proxy Settings Disabled? What Next?
You might also see that the proxy server settings section is entirely disabled or greyed out in rare circumstances.
If that is the case, you need to follow a different set of steps to configure proxy settings on your Windows 10 device.
Press the Windows + R key combination to launch the Run dialog box.
Type “gpedit.msc” and hit Enter to open Group Policy Editor.
Navigate to the following path:
User Configuration > Administrative Templates > Windows Components > Internet Explorer

On the right side of the window, look for the “Prevent Changing Proxy settings” option. Double-tap on this fie.
A new window will appear on the screen. Here you need to select the “Not Configured” option. Tap on OK to save your recent changes. If you choose the “Not Configured” or “Disable” option, the user can easily configure proxy settings on a device.
Download Systweak Antivirus to Safeguard your Device
Looking for an all-around solution to enhance security on your Windows device? Download Systweak antivirus to protect your Windows device against viruses, malware, spyware, trojans, and any malicious threats that may sabotage your sensitive data and privacy.
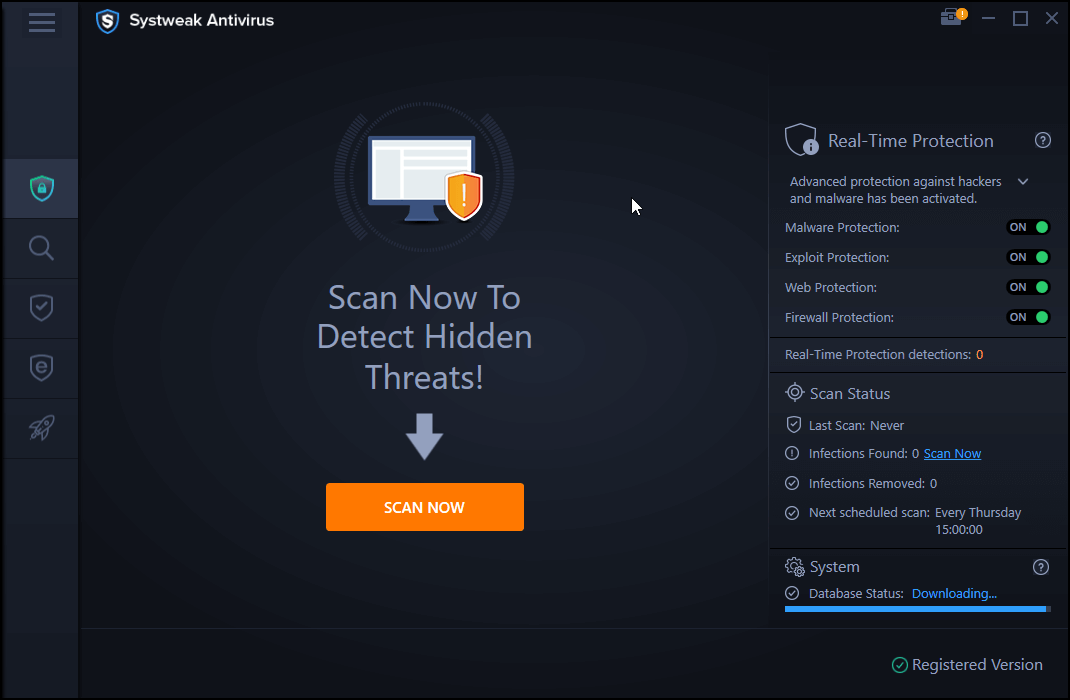

Systweak Antivirus comes power-packed with some advanced security features that not just offer real-time protection but also optimize your device’s performance by cleaning malicious startup items.
Anushka
Thanks for providing the detail solution