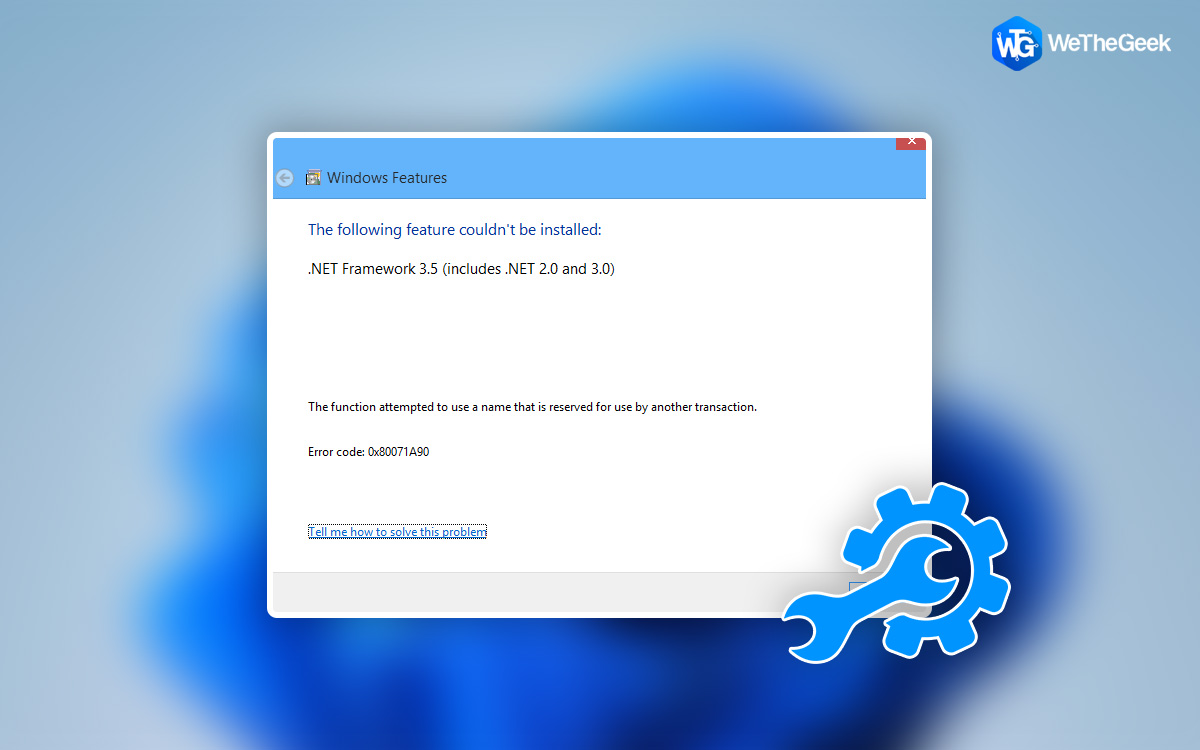
On your Windows PC, you must have a fully operational .NET Framework in order to launch any apps created with it. Any framework problems could lead to problems with the reliant applications. Fortunately, Microsoft has a specialized repair tool that you may use to resolve any .NET Framework problems and enable your apps to run once again. You might try to correct the framework issues using alternative solutions if the repair tool is unsuccessful. Here are some methods for fixing the .NET Framework on a Windows PC.
Methods To Repair The .NET Framework On Windows
A. Activate The .NET Framework Repair Tool
Using the official .NET Framework Repair Tool offered by Microsoft on its official website is a simple approach to fixing your .NET Framework. It is a practical tool that may identify typical problems with the installation or updating of the .NET Framework and suggest appropriate repairs.
Step 1: Visit the page for the Microsoft.NET Framework Repair Tool.
Step 2: To access the Download information section, scroll below.
Step 3: To download the executable file, click the Microsoft.NET Framework Repair Tool link after that.
Step 4: To launch the repair program after downloading it, double-click on the Netfxrepairtool.exe file.
Step 5: If asked by User Account Control, select Yes.
Step 6: After agreeing to the terms, click Next.
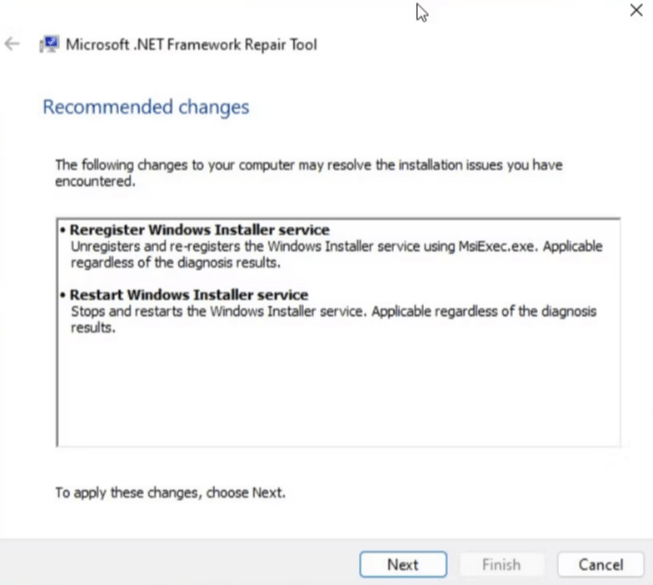
Step 7: A few tests will be run by the repair tool to find the problems. When finished, it will suggest a few modifications.
Step 8: To make the changes, read the description and then click Next.
Step 9: Click Next and Finish to finish and shut the repair tool.
Also Read: 5 Best Ways to Fix .NET Runtime Optimization Service High CPU Usage – Windows
B. Net Framework Can Be Fixed With Optional Features
You can repair the framework by disabling and re-enabling the feature from Optional Features if the .NET Framework Repair Tool isn’t working. The feature will be temporarily disabled and then re-enabled, resolving any problems caused by momentary errors and file corruption. To install and delete optional Windows features, follow these steps:
Step 1: Open Run by pressing Win + R.
Step 2: To launch Control Panel, enter control and press OK
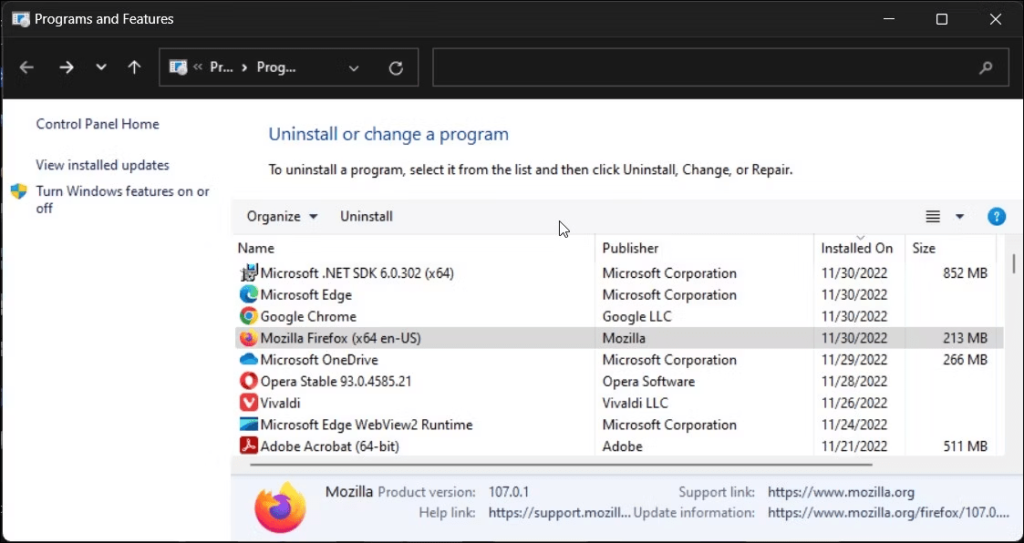
Step 3: Then click Programs, followed by Programs and Features.
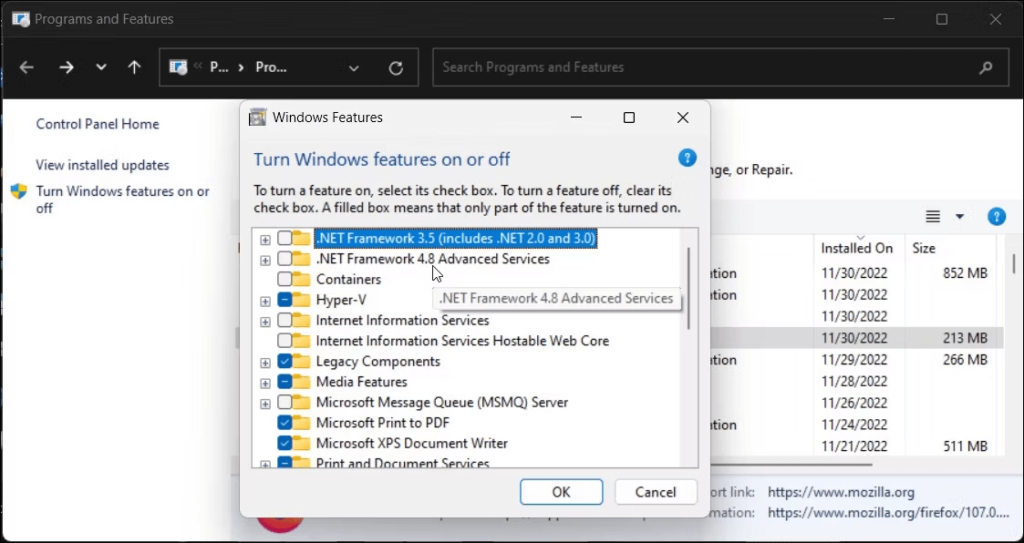
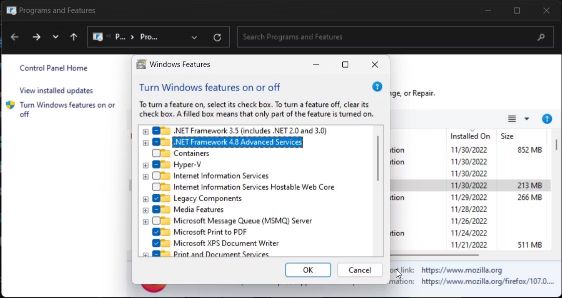
Step 4: Click Turn Windows features On or Off in the left pane.
Step 5: Uncheck the Advanced Services option for the .NET Framework 3.5 and .NET Framework 4.8 here.
Step 6: Select OK.
Windows will remove the .NET Framework from your computer and display a notification stating that the necessary modifications have been made. To put the changes into effect, click Restart Now and follow the steps mentioned below after your PC reboots.
Step 1: Click on Turn Windows Features On or Off in the Control Panel after opening it.
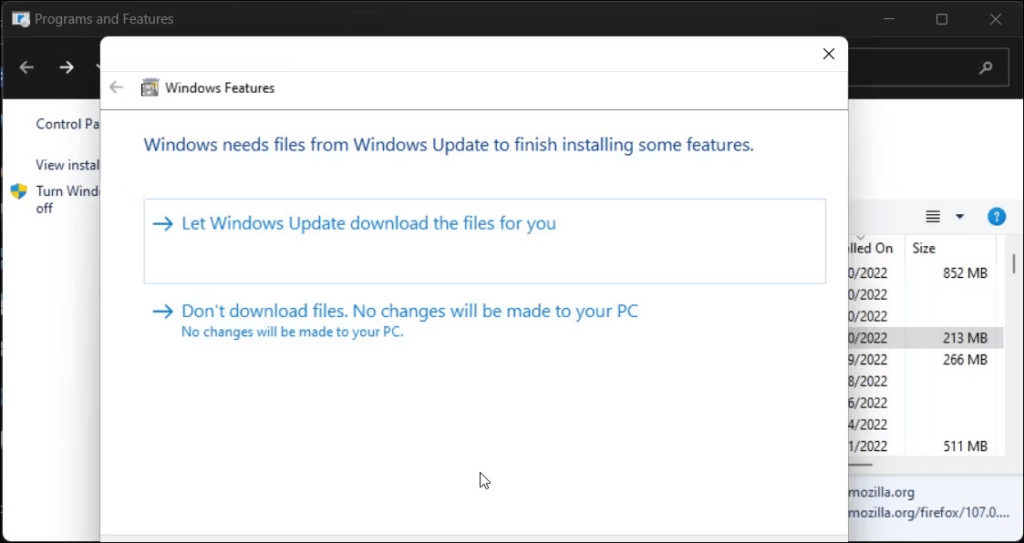
Step 2: Select the Advanced Services for the .NET Framework 3.5 and .NET Framework 4.8.
Step 3: Select OK.
Step 4: After that, select Let Windows Update download the files for you. Depending on the speed of your Internet connection, this process could take some time.
Step 5: Click Restart to make the modifications when the functionality has been activated.
Also Read: How to Use Windows 10’s Optional Features
C. PowerShell Repair for the .NET Framework
If the problem continues, try using PowerShell to reinstall the .NET Framework on your Windows computer. The .NET Framework and other related tools can be installed completely via the shell application. This is the procedure.
Step 1: Type PowerShell on the search bar on Start Menu..
Step 2: Run as administrator by using the right-click menu on PowerShell.
Step 3: Enter the following command into the PowerShell window.
Get-Package -Name “Microsoft .Net*” | Uninstall-Package
Step 4: You might be prompted by PowerShell to install NuGet, a packet manager required for this operation. So enter Y and hit Enter.

Step 5: The .NET Framework will now begin to uninstall from your computer via PowerShell.
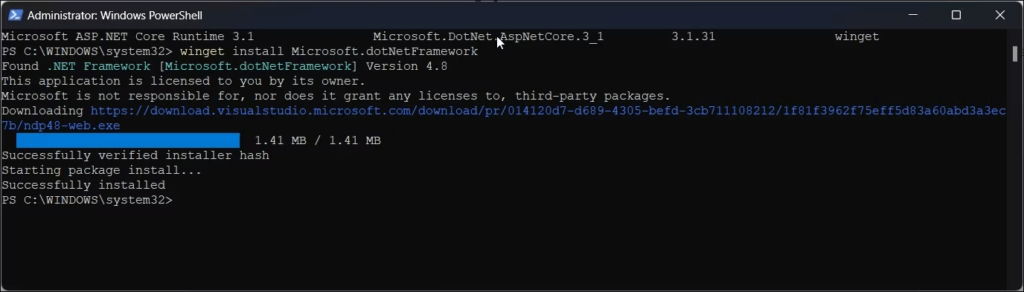
Step 6: Next, use the command shown below to set up the most recent version of Microsoft.NET Framework:
winget install Microsoft.dotNetFramework
Step 7: The package will be downloaded and extracted by PowerShell. Once it is finished, a notice indicating that the installation was successful will appear.
Step 8: To implement the modifications and look for any improvements, restart your computer.
Also Read: How to Update Powershell on Windows 11
D. Launch the System File Checker Tool
An integrated system repair tool called System File Checker locates and corrects missing or damaged system files. The program can be used to resolve any system problems that might be.NET Framework-related. Running the System File Checker program requires the following steps:
Step 1: Type CMD on the search after pressing the Win key.
Step 2: From the search results, right-click Command Prompt and choose “Run as administrator.”
Step 3: Enter the following command into the Command Prompt window:
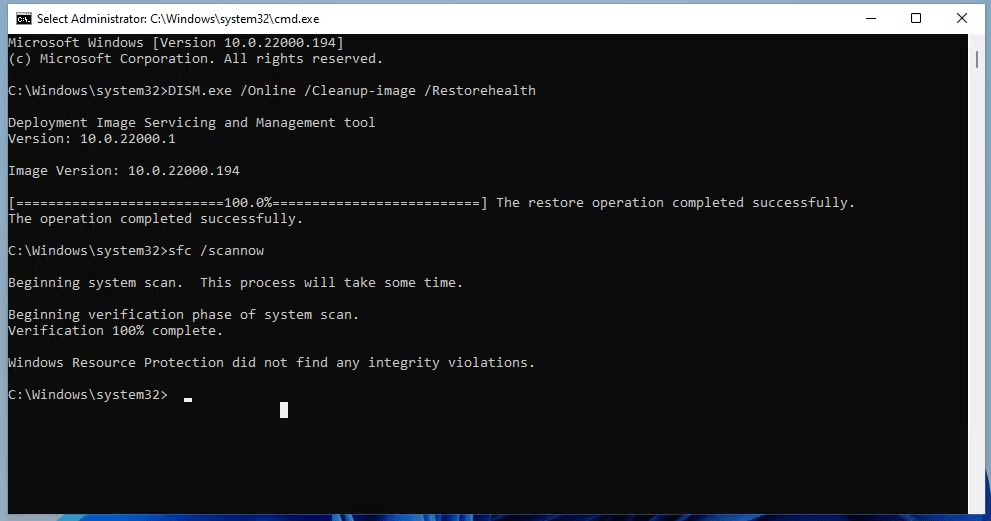
DISM.exe /Online /Cleanup-image /Restorehealth.
Step 4: It is advised to perform the DISM command mentioned above before using the System File Checker utility since it will supply the files needed to repair system file damage.
Step 5: Run the following command and hit Enter once the procedure is finished:
sfc /scannow
Step 6: Now that your system files have been scanned for problems, the SFC utility will replace any damaged files as necessary. Hold off until the verification procedure is finished.
Also Read: SFC Scan Stops Working on Windows 10? Here’s the Fix!
The Final Word
Some essential apps for the Windows operating system must run on the .NET framework. Some apps may request that you install a specific version of the .NET Framework if you encounter an error before using them again. You can resolve any .NET framework problems by running a repair if you believe you have the necessary version of the framework installed.
Please let us know in the comments below if you have any questions or recommendations. We would be delighted to provide you with a resolution. We frequently publish advice, tricks, and solutions to common tech-related problems. You can also find us on Facebook, Twitter, YouTube, Instagram, Flipboard, and Pinterest.
Suggested Reading:
How To Fix PowerShell Keeps Popping Up on Windows 11
How To Recover Files Deleted By PowerShell On Windows Computer