If you want to experience the virtual world, then there is nothing better than Oculus Headset. However, this powerful hardware needs compatible software as well to allow the user to experience something that is beyond normal. The application for Oculus is available for free on the official website but some users cannot install it on their PC. This blog has compiled a few of the expert-recommended tips and tricks to allow a smooth and clean installation of Oculus software and fix Oculus software not installing issues on Windows PC.
How To Fix Oculus Software Not Installing on Windows
There are a few methods that you can consider if the installation of Oculus Software has been stuck for some time. You can try a method and then check if the issue has been resolved. This way you can ignore the remaining methods once your problem has been resolved.
Method 1: Reinstall Oculus Software
If you have installed the application and are facing Oculus Software not opening or the installation of Oculus Software got stuck, then this means there are incomplete or corrupted remains of this application on your PC. it is advised to remove all the files, then proceed with a fresh and clean installation. Here are the steps:
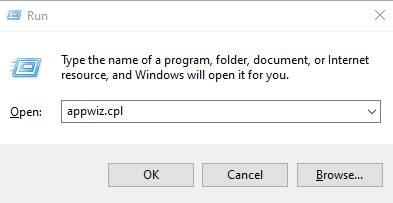
Step 1: Press Windows + R on your keyboard to open the RUN box and type appwiz.cpl followed by Enter.
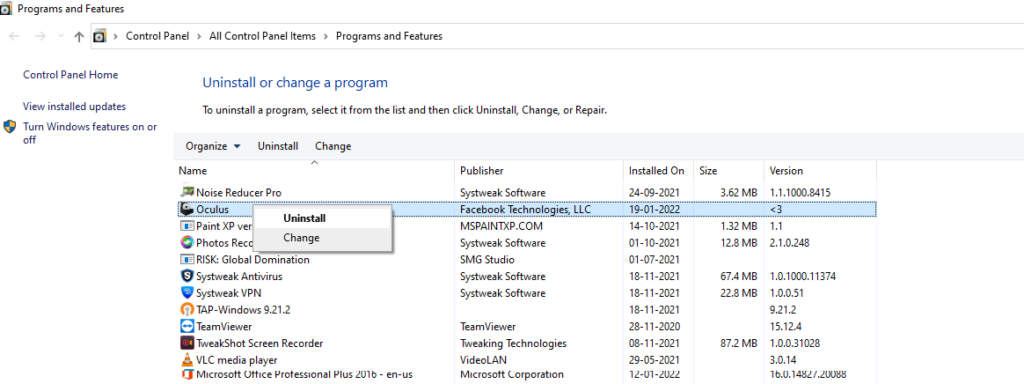
Step 2: A new window will open displaying the alphabetically arranged list of software installed on your PC. You have to locate Oculus software and make a right-click on it.
Step 3: Select Uninstall from the context menu and follow the on-screen instructions to remove the Oculus software.
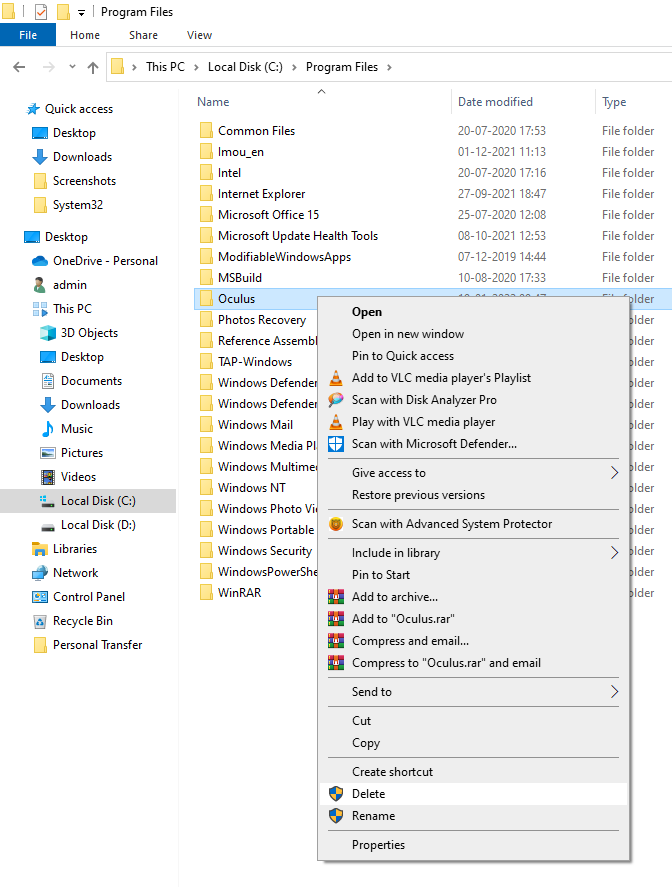
Step 4: After the uninstall process has been completed, you need to open the File Explorer by pressing Windows + E on your keyboard.
Step 5: Go to the C:/ProgramFiles folder and delete the Oculus folder if available.
Step 6: Reboot the PC and open your default browser.
Step 7: Navigate to the Official Oculus Software Download website.

Step 8: Choose the hardware you have and click on the download button next to it to download the relevant software on your hard disk.
Step 9: Once the software is downloaded, double click on the executable file and follow the instructions to install the Oculus software on your PC.
If reinstallation after a complete uninstallation of Oculus software does not work, then you can try the next step.
Method 2: Turn Off the Firewall
The Windows Firewall defends your computer from malware threats. However, it is known to prevent the setup from connecting to Oculus servers. To prevent this from happening, follow the instructions below to temporarily disable the Windows Firewall.
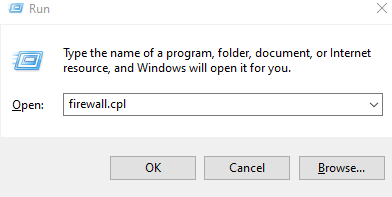
Step 1: Press Windows + R on your keyboard to invoke the RUN box.
Step 2: Type firewall.cpl in the text box followed by the Enter key.
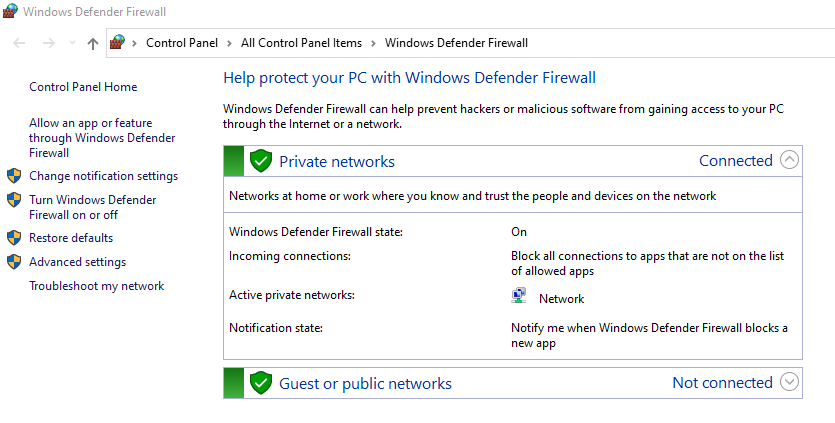
Step 3: A window will open where you have to click on the Turn Windows Defender Firewall on or off option in the left panel.
Step 4: A new window will further open where you have to click on the Turn off Windows Defender Firewall (not recommended) option under both Private and Public Network Settings.
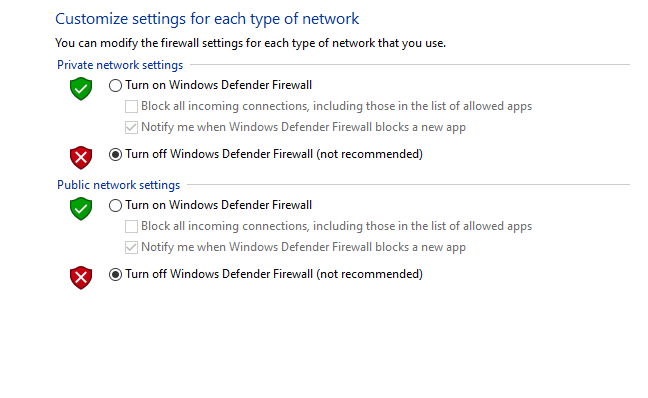
Note: If you have A third option listed as Domain network Settings, then you have to turn off the Windows Defender under this option as well.
Step 5: Check if the Oculus Software works now. Do not try anything else because after your Firewall is turned off, your computer becomes vulnerable to malware.
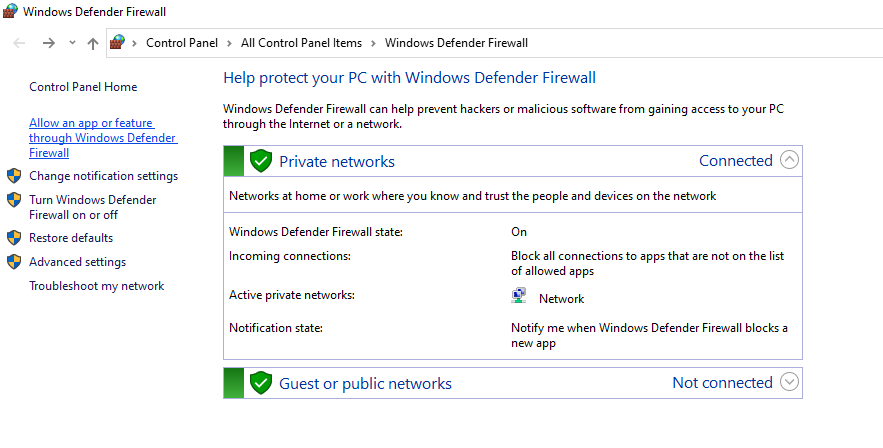
Step 6: If the Oculus software works fine then you have to add an exception in the Windows Firewall for Oculus software. Open the Run Box and type firewall.cpl followed by Enter.
Step 7: A new window will open where you have to click on Allow an app or feature through Windows Defender Firewall.
Step 8: Look for Oculus in the list of apps and then make sure the checkboxes under Private & Public network are checked. Click on OK and exit the Firewall window.

Step 9: Now turn on your firewall by following Step 3 and choose Turn On Windows Defender Firewall under all sections you have.
Check if the Oculus software not opening or not installing has been resolved else, proceed to the next step.
Method 3: Windows Updates
Bug fixes and new features are frequently included with Windows updates. If you’re having trouble installing Oculus software, try updating Windows. Without much troubleshooting, this might be your best shot. To do so, follow the steps below.
Step 1: Press Windows + I on your Keyboard to open Window Settings.
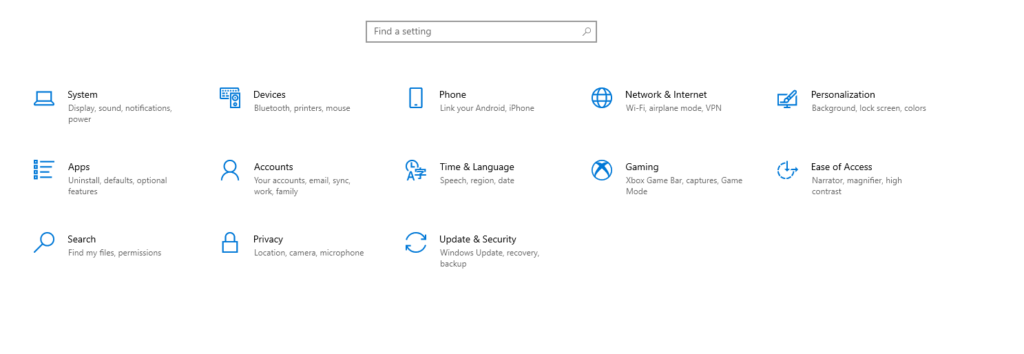
Step 2: Click on the Update & Security option.
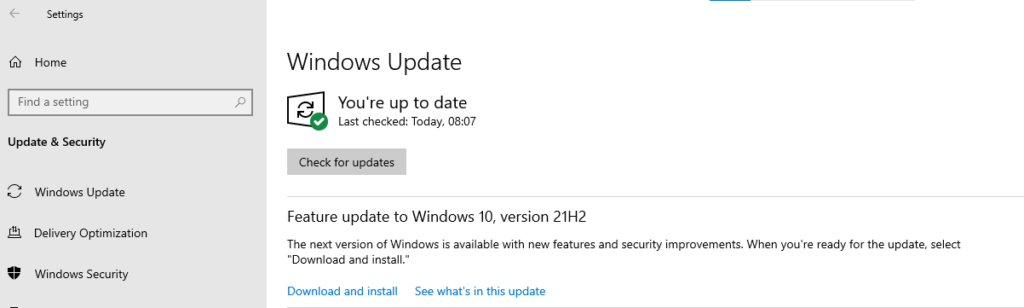
Step 3: To check for updates, go to the Check for Updates tab. If there are any updates available, it will begin to download and install them automatically. Wait for it to finish and you should be prompted to restart your computer.
Method 4: Update Drivers
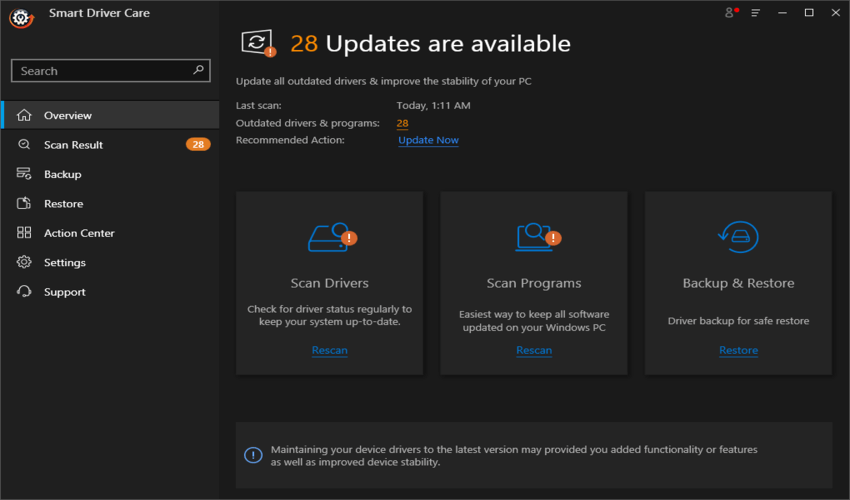
Smart Driver Care is a driver utility tool that can fix your system’s outdated, missing, and corrupt drivers quickly and effectively. This utility can scan your drivers and hardware, search the internet for the most up-to-date drivers, and install them on your PC with only a few clicks. This method is automated and does not necessitate any technical expertise or knowledge of the hardware manufacturer or model. Smart Driver Care is safe to use, and anyone can use it to update drivers quickly and easily. The ways for updating your drivers with Smart Driver Care on your computer are as follows:
Step 1: Download and install Smart Driver Care from the following URL.

Step 2: Then, from the desktop shortcut, launch the program.
Step 3: Select Scan Now to begin the scanning process.
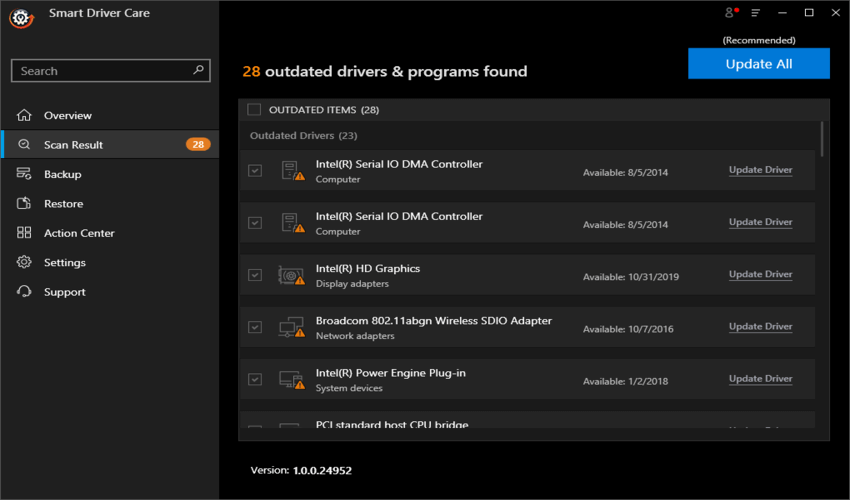
Step 4: A list of driver errors will appear on your screen. Click the Update Driver link next to it to update the driver.
The Final Word On How To Fix Oculus Software Not Installing on Windows PC
If you’ve tried everything and the setup still doesn’t work, submit an Oculus Support ticket to the company’s support team. Include the setup log file, as well as a thorough explanation of your PC’s specifications and all procedures you took to remedy the problem on your own.
Follow us on social media – Facebook, Instagram and YouTube. For any queries or suggestions, please let us know in the comments section below. We would love to get back to you with a solution. We regularly post tips and tricks, along with answers to common issues related to technology.