
NVIDIA Container high CPU usage has been plaguing many users while playing games. It doesn’t negate the fact that it makes some great GPUs, but NVIDIA tools can sometimes be counterproductive. The NVIDIA Container’s high CPU consumption is a problem for low to medium-gaming systems, especially for low to medium-gaming systems. So, does that mean users with low or medium-gaming PCs should put down their gaming aspirations? No, absolutely not. Here are ways to fix the NVIDIA Container high CPU usage issue.
But before that –
What Is NVIDIA Container?
NVIDIA Container, also an exe file called nvcontainer.exe, is an essential process of controllers that stores other NVIDIA-related tasks and processes. It is important for the smooth functioning of all these tasks and processes. It also simplifies the process of building and deploying containerized GPU-accelerated applications to PC, data centers, and the cloud.
What Are The Reasons Behind NVIDIA Container High CPU Usage?
Here are some common reasons behind NVIDIA Container high CPU usage issue –
- If you have upgraded your NVIDIA driver to the latest version. The upgraded driver might be causing high CPU consumption.
- NVIDIA Telemetry Container is often attributed to the aforementioned issue.
- Some redundant NVIDIA Container processes are running in the background.
- Additional software, such as the NVIDIA GeForce Experience, is also known to contribute to high CPU usage.
Best Ways To Resolve The NVIDIA Container High CPU Usage Issue
1. Restart NVIDIA Services
Quite like other applications and other Windows services, NVIDIA can also face errors. One of the first things you can do to tackle the NVIDIA Container high CPU usage is to restart NVIDIA services. Here are the steps to do that –
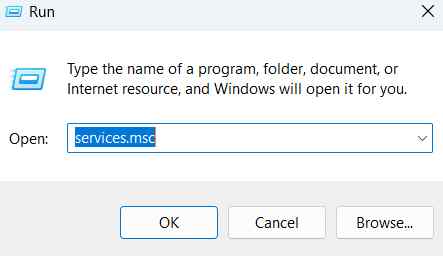
- Open the Run dialog box by pressing Win + R key combination.
- Type services.msc

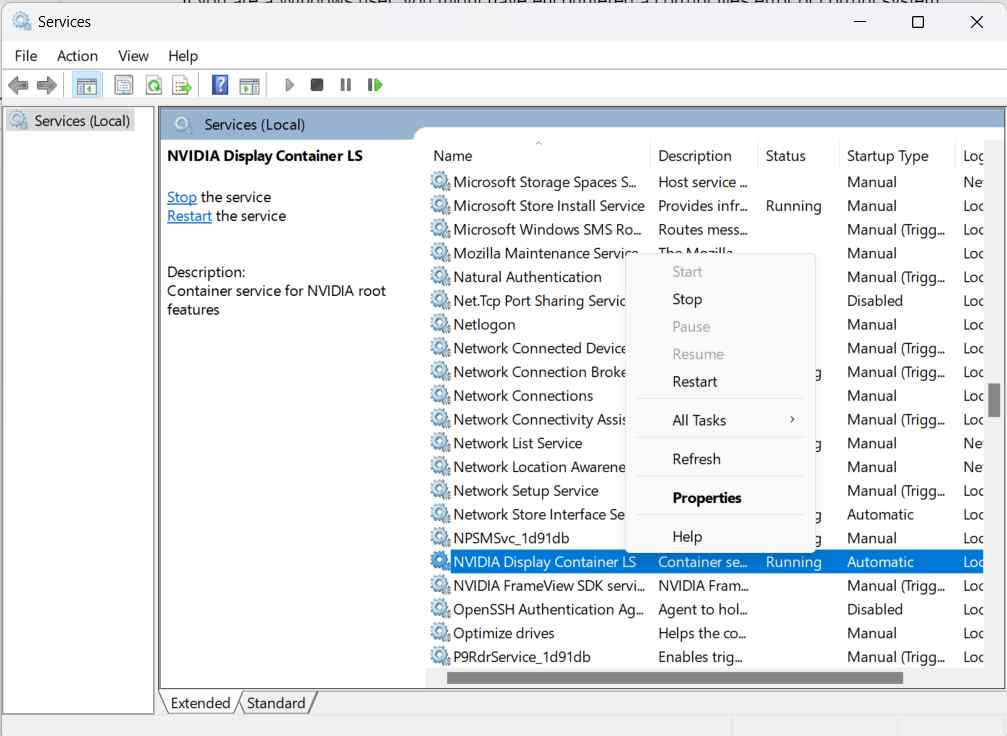
- When the Services window opens, locate the process that starts with the term NVIDIA.
- Right-click on one service and click on Restart.
- Repeat the same for other services as well.
2. Uninstall GeForce Experience
GeForce Experience is developed by NVIDIA and is an accompanying application to GeForce GTX Graphics Card. it is a useful utility. However, it is not a compulsory utility, especially if you have a low or medium-resourced gaming PC. By uninstalling it you might be able to free your PC of some NVIDIA processes which might be hogging your computer. Here are the steps to uninstall GeForce Experience –
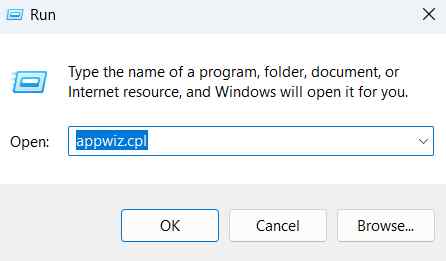
- Open the Run dialog box by pressing Win + R key combination.
- Type cpl and press Enter.
- Locate NVIDIA GeForce Experience, select it and click on Uninstall/ Change and uninstall the program.

3. Use a Third-Party Tool To Fix The Issue
Up until now if you are still dealing with high CPU usage, you can give a tool like Advanced System Optimizer a try.
What is Advanced System Optimizer?
Advanced System Optimizer is one of the best and most efficient PC optimizers, RAM, and junk cleaners for Windows PC and laptops. It can clean your system, especially your disks, address privacy issues, and, do a lot more. To know more about this wonderful optimization tool, its various features and pricing, check out our review of Advanced System Optimizer.

How Can Advanced System Optimizer Help me Fix NVIDIA Container High CPU Usage?
One of the functions of Advanced System Optimizer is that it lets you update drivers. Not just update them, but before that, it even enables you to take a backup of those drivers so that in the future, if anything goes wrong, you can restore the previous version of the driver.
Even if you are not facing this issue and have an update pending, you might as well update the driver using Advanced System Optimizer because then, firstly, you’ll be able to back up the driver, and even if the update is causing issues, you can revert to the older version.
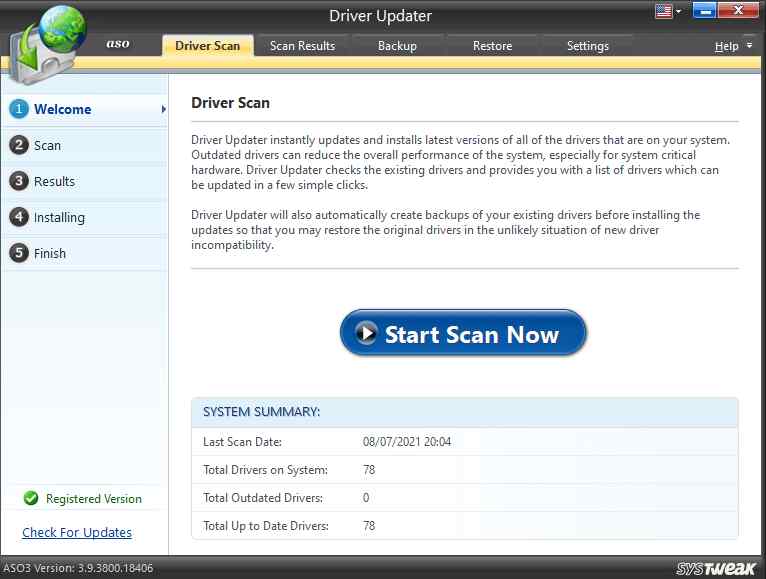
How To Update Drivers With Advanced System Optimizer?
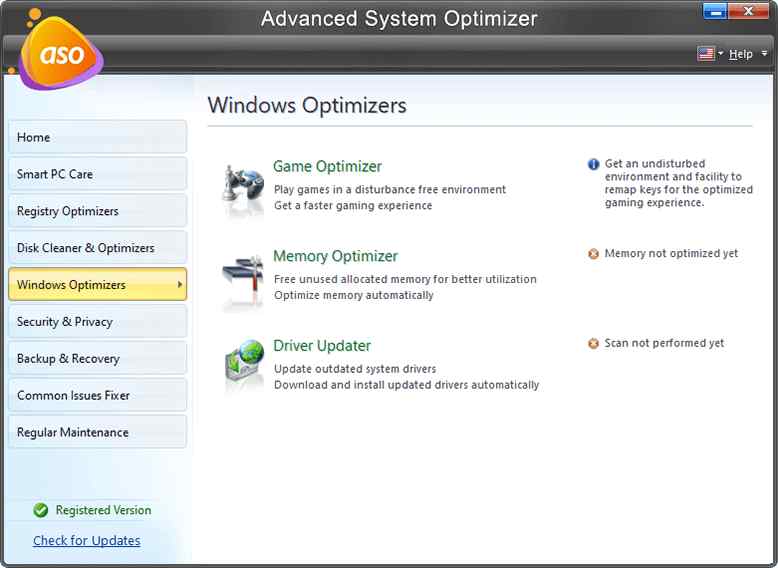
- Download, install and run Advanced System Optimizer.
- Click on Windows Optimizers from the left-hand pane.
- From the right-hand side, click on Driver Updater.
- Click on Start Scan Now.
- Follow the on-screen instructions.
4. Install NVIDIA Older Drivers
Many users who have experienced NVIDIA high CPU usage reportedly face the issue after updating their graphic drivers. Here you can downgrade your latest NVIDIA Driver to an older one. For this, you will first have to uninstall the current drivers first. Here are the steps for the same –
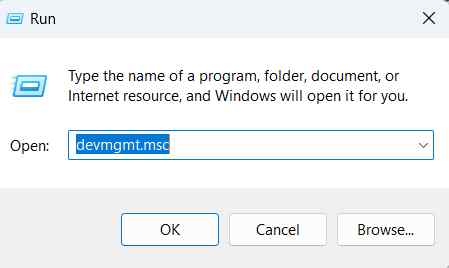
- Open the Run dialog box by pressing Windows + R key combination.
- Type msc and press Enter.
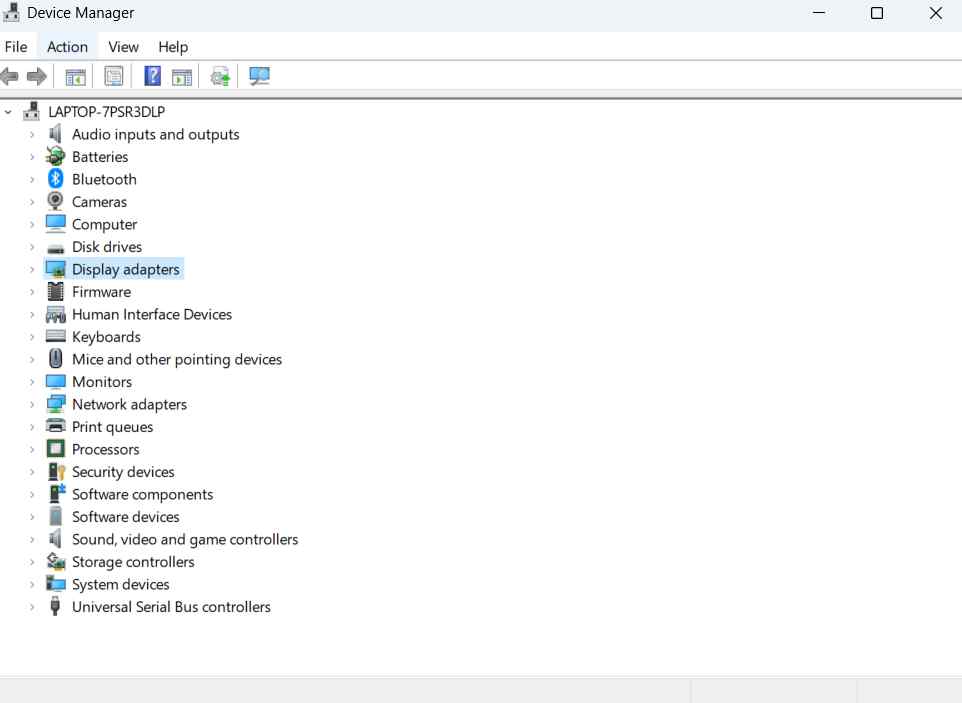
- When the Device Manager window opens, expand the Display adapters dropdown and locate the NVIDIA driver.
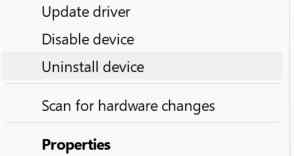
- Right-click on it and uninstall the device. Follow the on-screen instructions to complete the uninstallation process.
In this next part, we will download an older version of your NVIDIA driver –
- Head to NVIDIA’s website.
- Furnish information about your graphic card and operating system.
- Click on the Search button from the bottom right-hand side of the screen.
- Now, a list of drivers will appear.
- Download the driver applicable to your graphic card and install the file.

You can check if NVIDIAcontainer.exe is still consuming the CPU or not.
5. Disable NVIDIA Scheduled Tasks
The NVIDIA Telemetry helps keep track of some of your behavior, logs, and other similar data. It further helps NVIDIA to remove any bugs or patch any vulnerabilities. However, again, these tasks can consume a lot of CPU resources. Users have reported that they were able to fix the issue by disabling NVIDIA Telemetry tasks in the Task Scheduler. Here are the steps to do that –
- Open Control Panel.
- Click on the View by dropdown and click on Large Icons.
- Click on Administrative Tools.
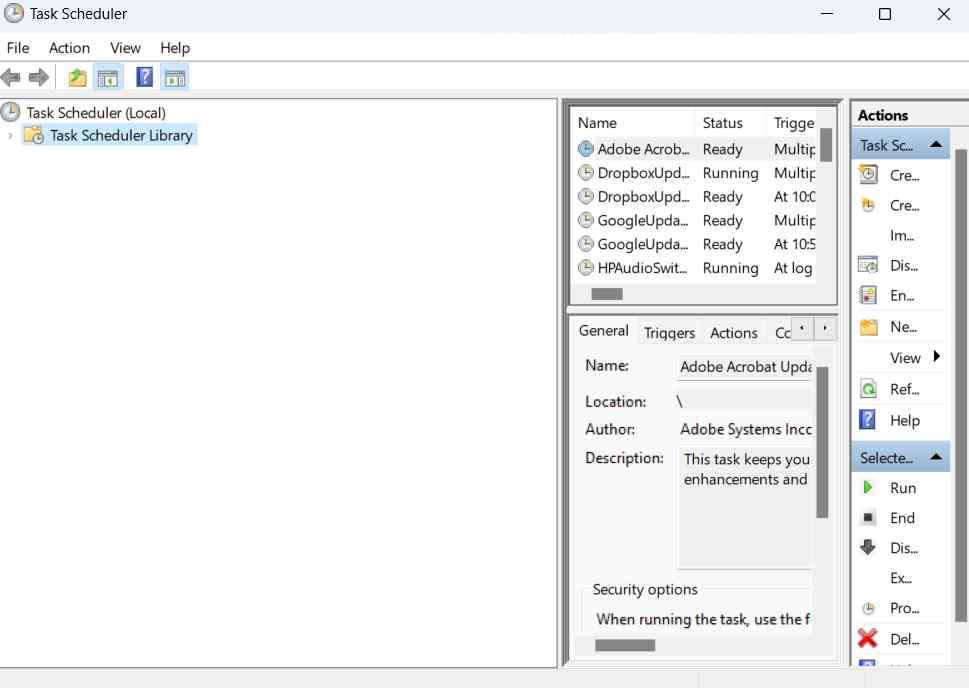
- Click open the Task Scheduler.
- Click on the Task Scheduler Library from the left-hand side.
- From the right, locate every task that starts with NvTm, right-click on each of these tasks and click on Disable.
6. Disable “nvdisplay.container.exe” Completely
The NVIDIA Display Container LS Process or nvdisplay.container.exe controls some display tasks. Users have reportedly been able to fix the high CPU usage caused by NVIDIA Container by deleting its files and closing processes in Task Manager.
- Open File Explorer
- In the address bar, copy and paste C:\Program Files\NVIDIA Corporation\Display.NvContainer\plugins\LocalSystem\
- Hit Enter
- Click on DisplayDriverRASand delete it using the Shift + Delete
- Proceed to the below-mentioned directory –
C:\Program Files\NVIDIA Corporation\
- Again delete it using the Shift + Delete
- Open Task Manager by pressing ctrl + shift + esc
- Locate the NVIDIA Container process and click on End Task from the bottom right.
Wrapping Up
We hope you have been able to fix the NVIDIA Container High CPU usage on your Windows PC. If yes, do lets us know which of the above methods helped you fix the issue. This way, you might even be able to help someone facing a similar issue. For more such content, keep reading WeTheGeek. You can also find us on Facebook, Twitter, YouTube, Pinterest, and Flipboard.
Frequently Asked Questions-
Q.1. How to fix NVIDIA Container high CPU usage issue?
You can restart NVIDIA services, uninstall GeForce Experience, use a third-party tool like Advanced System Optimizer or downgrade to an older NVIDIA driver based on your PC’s configuration. We have explained all these steps above.
Q.2. What is an NVIDIA container, and what does it do?
NVIDIA Conat8iner or nvcontainer.exe is an important process of controllers that stores other NVIDIA-related processes and tasks. It ensures the smooth functioning of these tasks.
Q.3. What is GeForce Experience high CPU usage, and how to fix it?
GeForce Experience is a software suite that accompanies your NVIDIA Graphics card drivers. The methods mentioned in this post that can fix the NVIDIA Container High CPU consumption issue can also fix GeForce Experience high CPU usage.
Q.4. Is the NVIDIA container process slowing down your computer?
Some users with low to medium-gaming PCs have reported that after they upgraded their NVIDIA graphics card driver, they noticed high CPU consumption.