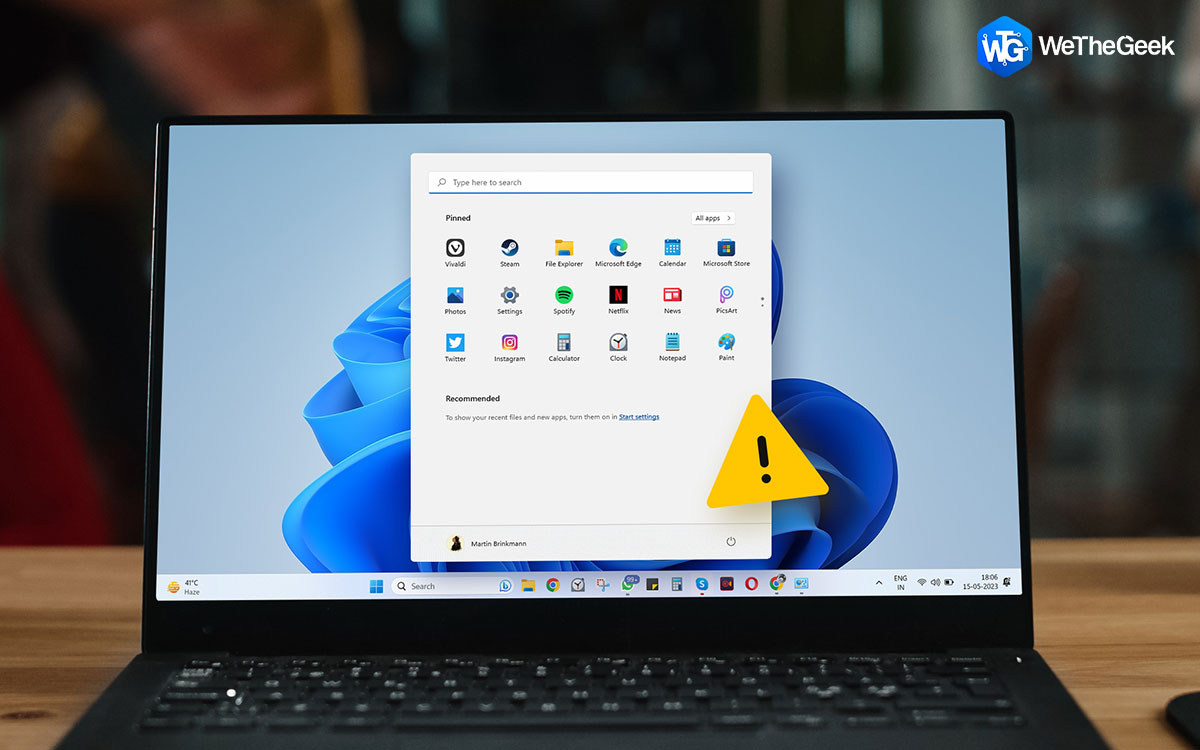
We all know how important and convenient the search menu is when it comes to finding files, applications, or even just browsing the web. But what if you’re faced with a situation where the search menu starts opening by itself, seemingly out of nowhere? It can be frustrating, and disruptive, and make you wonder if your computer has developed a mind of its own.
Well, fret not! In this blog post, we’ve got you covered with some effective fixes to tackle the issue of Windows 11’s search menu opening spontaneously. We’ll explore various troubleshooting steps that can help you regain control of your search menu and restore peace to your computing experience.
Ready? Let’s get started!
Also Read: How To Reset Windows 11 Search Settings for a Fresh Start
How to Fix the “Search Menu Opening By Itself” Issue on Windows 11?
Whether you’re a tech-savvy enthusiast or a casual user, these solutions are designed to be user-friendly and accessible to everyone. So, let’s dive in and discover the potential causes behind this issue and the steps you can take to resolve it.
Solution 1: Check The Windows Key
Sometimes, the Search menu in Windows 11 may keep opening unexpectedly due to the default configuration that launches it when you press the Windows key. This can happen if you unintentionally press the key or if it becomes stuck, causing repeated triggering of the Search menu.
If everything is in place, you can proceed with the below-listed solutions.
Solution 2: Reboot Your Device
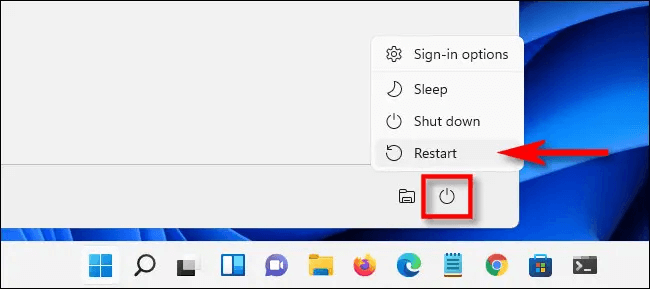
It may sound cliché, but a simple restart can work wonders in resolving many software-related issues. Close all your applications and restart your computer to see if the problem persists. Sometimes, a fresh start is all it takes to restore normal functionality.
Solution 3: Disconnect External Peripherals

Another possible reason for the Windows 11 search menu opening by itself could be a conflict with external peripherals connected to your computer. Sometimes, certain devices like keyboards, mice, or game controllers can send unintended signals or commands that trigger the search menu.
To troubleshoot this issue, try disconnecting all external peripherals from your computer one by one and observe if the problem persists after each removal.
Start with devices that are directly related to input, such as keyboards and mice. Once disconnected, use your computer for a while to see if the search menu continues to open unexpectedly.
If the issue resolves after disconnecting a specific peripheral, the device was likely causing the problem.
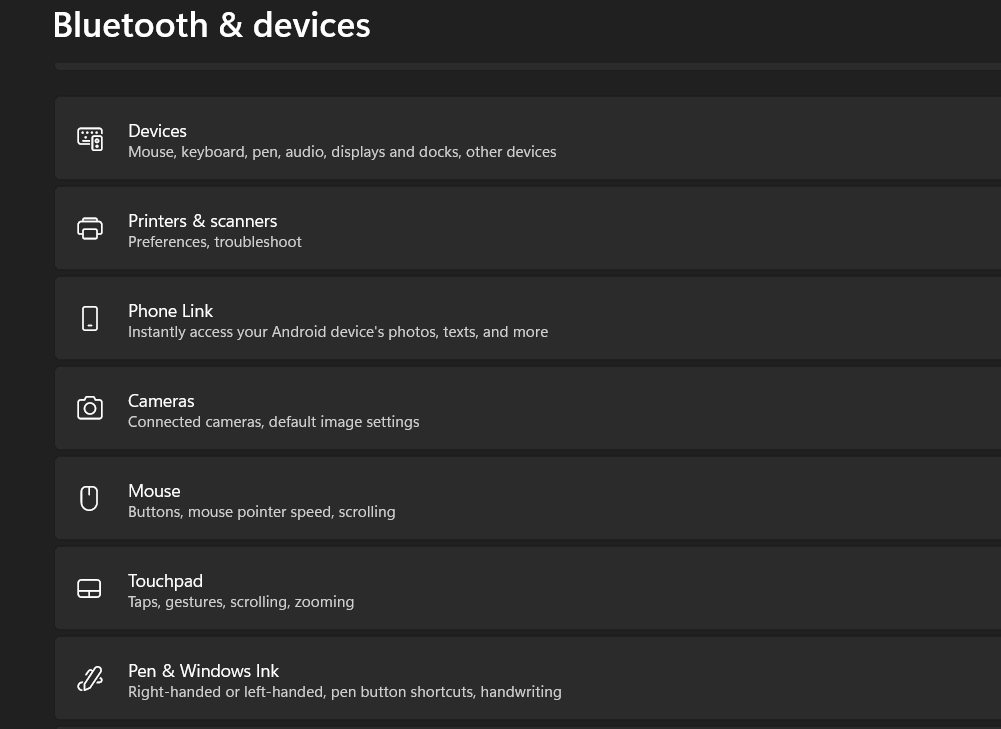
Solution 4: Review the Trackpad Gestures
If you’re using a laptop or a device with a trackpad as your primary input method, it’s worth checking the trackpad gestures settings. Windows 11 offers various gestures that can trigger different actions, including the search menu. Inadvertently triggering these gestures could be the reason behind the search menu opening by itself.
To review and adjust the trackpad gestures settings, follow these steps:
1. Press the Windows key + I on your keyboard to open the Settings app.
2. In the Settings window, click on “Bluetooth and Devices”. Scroll down and select “Touchpad”.
3. Select the “Three-finger gestures” and “Four-finger gestures” one by one.
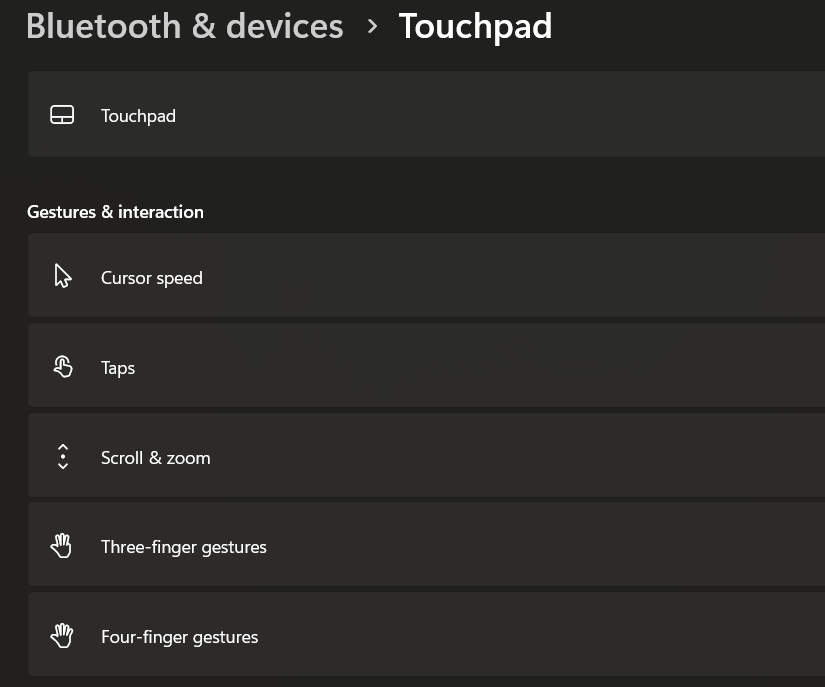
4. Check if any gestures are assigned to open the search menu. If you find such a gesture-enabled setting, you can either disable it or change it to a different action.
5. Save any modifications you made to the gestures settings and close the Settings window.
Now, test your trackpad usage after making the changes to see if the issue persists.
Solution 5: Run the Search and Indexing Troubleshooter
If the Windows 11 search menu continues to open by itself, running the Search and Indexing troubleshooter can help identify and resolve any underlying issues related to search functionality.
Follow these steps to run the troubleshooter:
1. Click on the Start button and select the gear icon, or press the Windows key + I on your keyboard to open the Windows Settings:
2. In the Settings window, click on “System” and select “Troubleshoot”.
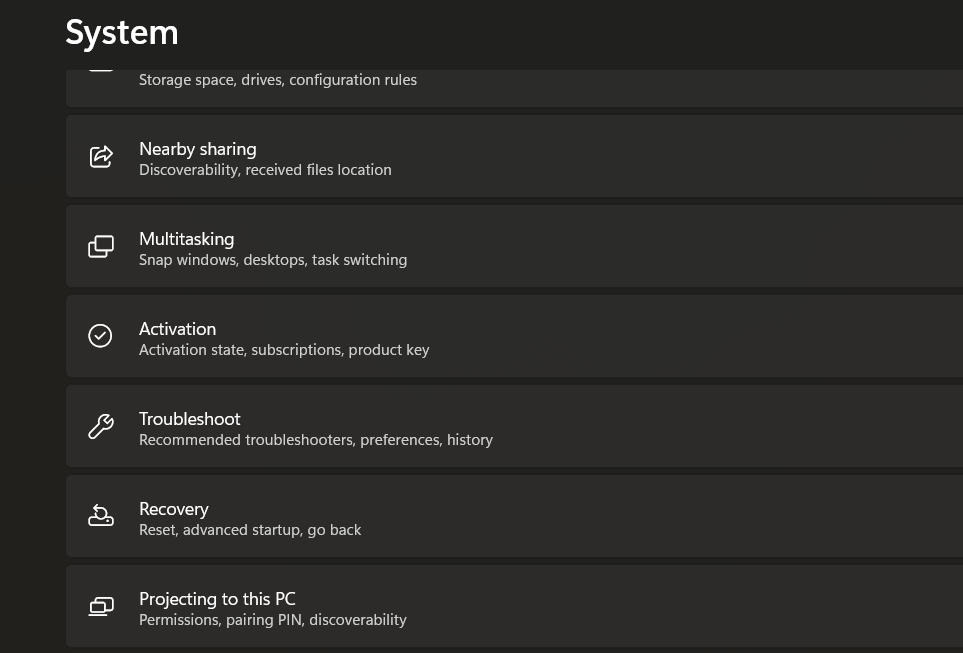
3. Scroll down and locate the “Other troubleshooters” section.

4. Find and select the “Search and Indexing” troubleshooter and then click on the “Run the troubleshooter” button placed next to it.

5. Wait for the troubleshooter to scan and analyze your system for search-related issues.
6. The troubleshooter will provide steps and recommendations to resolve any problems it detects. Follow the prompts and take the suggested actions.
7. Once the troubleshooter completes its process, restart your computer.
The troubleshooter’s diagnostic and repair capabilities can often address issues related to search indexing, settings, or conflicts, helping to restore the normal functioning of the search menu in Windows 11.
Also read: Windows 11 Search Bar not Working? Here’s the Fix!
Solution 6: Terminate the SearchHost.exe Process
If you’re still experiencing the issue of the Windows 11 search menu opening by itself, terminating the SearchHost.exe process can be an effective solution. This process is responsible for handling search-related functions in Windows, and restarting it can help resolve any glitches or abnormalities causing the search menu to open by itself.
To terminate the SearchHost.exe process, follow these steps:
1. Press the Ctrl + Shift + Esc keys simultaneously on your keyboard to open the Task Manager app.
2. In the Task Manager window, click on the “Processes” tab and look for the “Search” or “SearchHost.exe” process in the list.
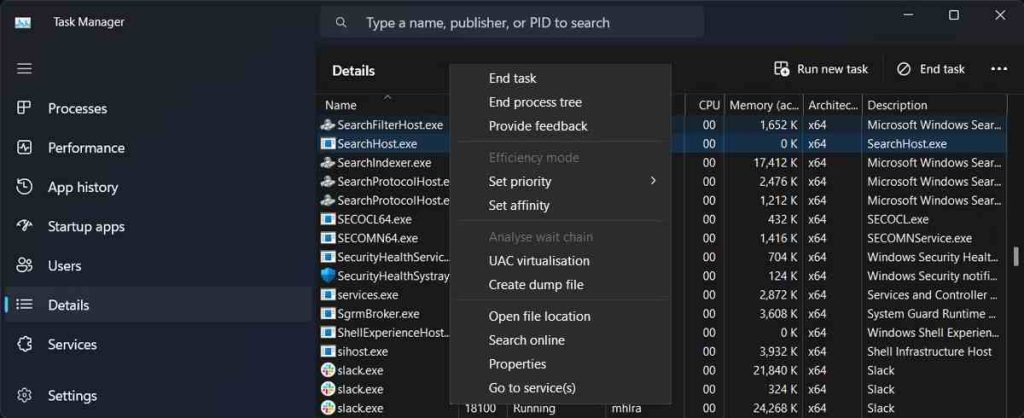
3. Right-click on the “Search” or “SearchHost.exe” process and select “End Task” from the context menu.
4. A confirmation dialog may appear, asking if you want to terminate the process. Click “End Task” again to proceed.
After terminating the SearchHost.exe process, give it a few moments to restart automatically. Once it restarts, check if the search menu continues to open unexpectedly.
Also Read: Startup Programs That You Can Safely Disable To Speed Up Windows 11/10
Solution 7: Restart the Windows Search Service
The Search Service is responsible for indexing and providing search results on your system, and restarting it can refresh its processes and potentially resolve any glitches causing the search menu to open unexpectedly.
To restart the Windows Search Service, follow these steps:
1. Press the Windows key + R on your keyboard to open the Run dialog box. Type “services.msc” in the Run dialog box and press Enter.

2. In the Services window, scroll down and locate “Windows Search” in the list of services.
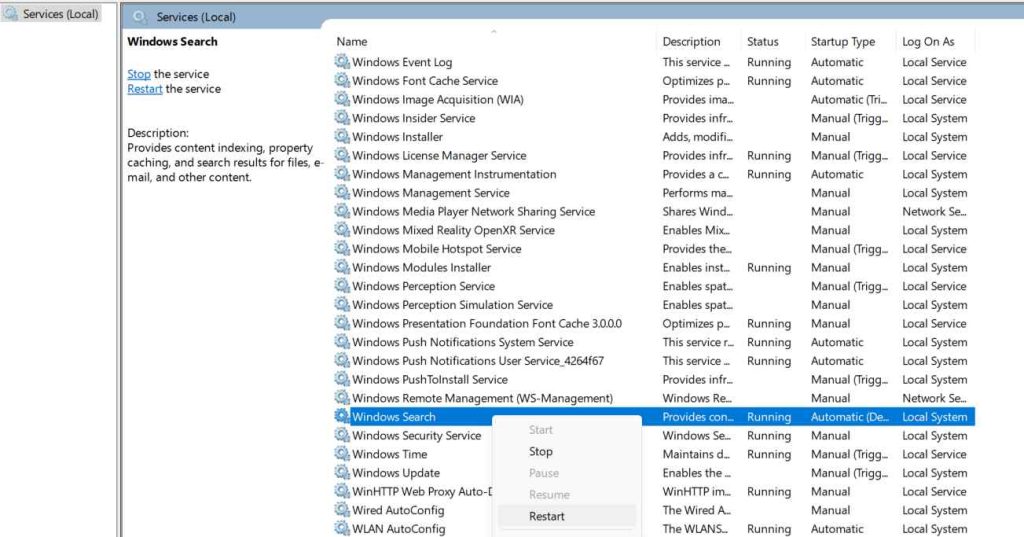
3. Right-click on “Windows Search” and select “Restart” from the context menu. This action will stop and then start the Windows Search Service.
4. Close the Services window.
Reboot your device and check if the search menu opening by itself issue was resolved.
Also Read: How To Fix “This App Will Not Work on Your Device” Error in Windows
Conclusion
With the troubleshooting solutions provided in this blog post, you can take proactive steps to regain control over the search menu and restore a smooth computing experience. If the issue persists despite attempting these solutions, it might be worth reaching out to Microsoft Support or seeking assistance from technical experts who can provide further guidance tailored to your specific situation.
Was this post helpful? Feel free to share your thoughts in the comments section!