The Graphics Processing Unit is a module of your PC which helps render high-end graphics on your PC’s screen while watching a movie, playing a game, or using graphics applications. If your laptop is not using a dedicated GPU, then you will experience a compromised quality. Here are the steps to fix a laptop not using GPU.
How to Fix Laptop Not Using GPU
Method 1: Install Windows Updates
The first method to fix GPU issues in a laptop not using a dedicated GPU is to update the computer. Microsoft releases frequent updates to patch software anomalies along with security updates to ensure your Windows PC remains safe and secure while delivering optimal performance. Here are the steps to update Windows:
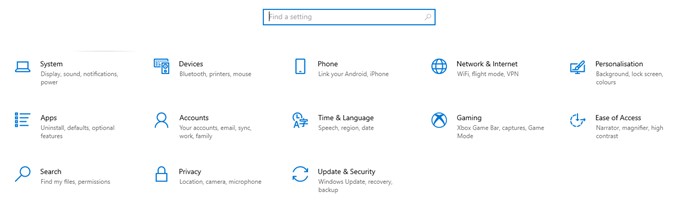
Step 1: Press Windows + I on your keyboard to open the Settings window.
Step 2: Click on Updates & Security option.
Step 3: Now click on the Check For Updates button and wait until the process completes.
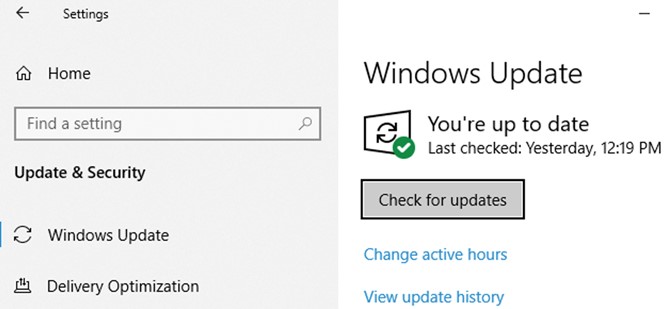
Step 4: Do restart the computer after the process ends to make sure that the changes take effect.
With your Windows OS updated, you can check the performance of your games and find out if your GPU is working properly.
Method 2: Update BIOS
Another method to fix laptop GPUs not being utilized up to their full potential is to check and update your BIOS. Here are the steps you need to follow:
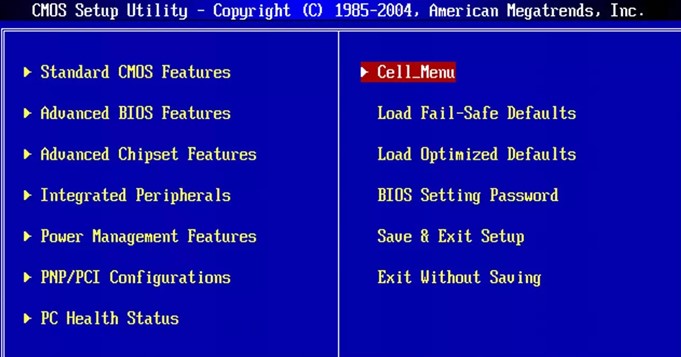
Step 1: Boot into your BIOS by restarting your computer and pressing the right key as per your PC’s documentation. This key is different for different brand manufacturers and is generally from F9 to F12 or the DEL key.
Step 2: Locate Chipset options and look for Dedicated GPU Configuration.
Step 3: Ensure that this option is set to Enabled. If not, then enable it and this resolves the laptop not using GPU error.
Step 4: If the option was already enabled or missing, then you could update your BIOS by visiting the motherboard’s manufacturer website and downloading the latest update. After the BIOS has been updated, you can enter this environment again and enable the Dedicated GPU option.
Note: Updating the BIOS is a bit tricky and a technical step. Ensure that you read all the relevant documentation on the website and perform the steps only if you know what you are doing. Else you can take the help of a local technician to sort this out.
Method 3: Alter Windows Graphic Settings
Modifying the current graphic settings can also enable the GPU in your PC. Here are the steps to fix this issue.
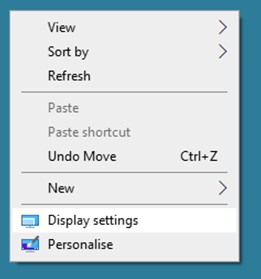
Step 1: Make a right-click on any space on your desktop and click on Display Settings from the context menu.
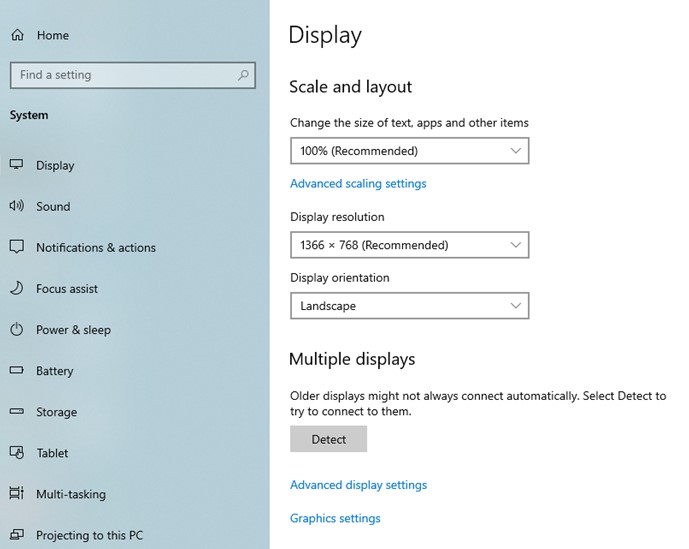
Step 2: A new window will open where you have to click on the Display option in the left pane.
Step 3: Scroll down in the right pane and locate Graphics Settings.
Step 4: Under Graphics Performance Preference, choose the type of app (Microsoft or Desktop) and then click on the browse button to select the application with low graphics and performance issues.
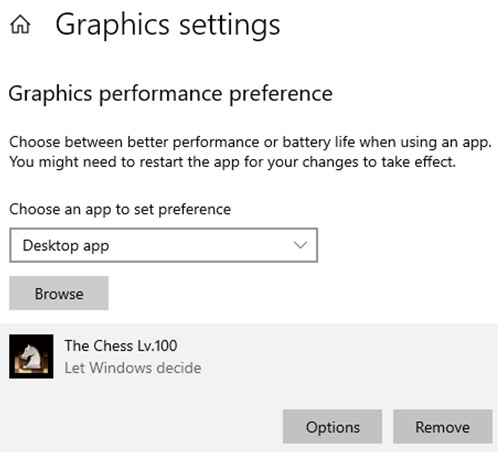
Step 5: Once the app is selected, click on the Options button and then click on the High-Performance option followed by a click on the Save button

Method 4: Enable GPU manually
Windows OS uses the integrated GPU settings by default to save power and resources. But this could hamper the gaming experience and this requires using a dedicated GPU for optimal performance. Here are the steps to fix laptop GPU issues and enable dedicated GPU.
For an NVIDIA Graphics card
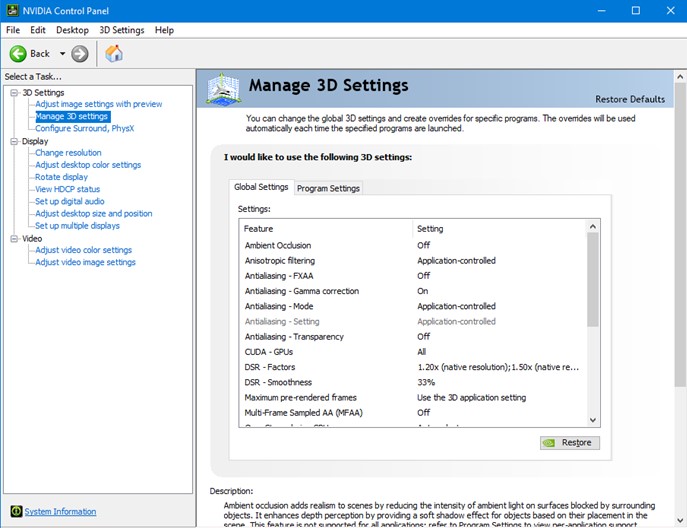
Step 1: Make a right-click on a space on your desktop and click on NVIDIA Control Panel from the context menu.

Step 2: A new window will open where you click on the Manage 3D Settings in the left panel. Now select a High-performance NVIDIA processor from the dropdown menu under Preferred Graphics Processor in the right panel.
Step 3: Click on the Apply button to save changes.
Step 4: Now click on Set PhysX Configuration in the left panel.
Step 5: Move to the right panel and select your dedicated GPU from the dropdown menu under Select a PhysX processor
Step 6: Click on Apply and exit this window.
The NVIDIA dedicated GPU will not appear in the Task Manager Window.
For an AMD Graphics card
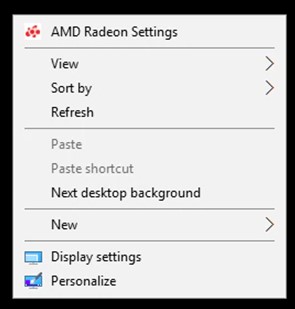
Step 1: Right-click on the desktop and from the context menu, choose AMD Radeon Settings.
Step 2: A new window will open where you have to click on System Tab on the top-right corner.
Step 3: Now click on the Switchable Graphics and then select the program you want to run and Choose High Performance from the dropdown.
Step 4: Exit the window and launch the application and check if the graphics have improved.
The Final Word on How to Fix Laptop Not Using GPU
The above methods will help to fix your laptop not using a dedicated GPU and ensure that the performance improves while playing the game. If you don’t find success with the above methods then you could perhaps try updating your drivers by using a Driver Updater Application like Smart Driver Care. This application fixes all driver issues and ensures that smooth and flawless communication is established between your hardware and software. Updating drivers have been known to fix all minor issues, which occur all of a sudden, and the reason for which cannot be determined. Follow us on social media – Facebook, Instagram and YouTube.