
Everyone loves storing photos which are memories that can be cherished again and again. However, if you find that some photos show up as grey boxes then this could mean that your photos have got corrupted. This is a serious issue but don’t worry as there are a few ways to fix the pictures with grey boxes. Let us discuss all the possible ways to fix grey box over photos on PC.
Also Read:(100% Workable Fixes) Bad Image Error Status 0xc000012f In Windows 11/10 PC
Why Do You Get Grey Box Over Photos?

- Files were not completely transferred or copied.
- Sudden power outage during photo transfer
- Pictures have been damaged.
- The recovered photographs are corrupt because you utilized an unsafe photo recovery tool.
- Logical or physical corruption issues on your storage drives – USB Pen Drive, Hard Disk, SD Card, etc.
Also Read: How To Fix the “Image Decode Failed” Error When Installing Extensions on Chrome for Windows
How To Fix The Pictures With Grey Boxes?
Method 1: Redownload The Pictures
Sometimes you may experience photos showing up as grey boxes or appearing partially because of incomplete photo downloads or transfers brought on by sudden computer shutdowns or disconnections of storage media. Try downloading the images once more and this will fix the pictures with grey boxes.
Also Read: Is Your Photo Corrupt? Here are The Best Tips To Prevent Image Corruption
Method 2: Access the Pictures on Your Backup

If you have taken a backup of all your digital media then you can retrieve the images from your backup. Once you get a clean copy from your backup then you have fixed the pictures with grey boxes.
Bonus: Use Advanced Disk Recovery Tool
It is simple to transfer the images from an external drive or retrieve them from backup. But in case you were following the Cut/Paste procedure instead of Copy/Paste, then it is quite possible that you might have lost the images on the primary drive as well. In that case you need to attempt a recovery of the delete images by using a file recovery tool. We suggest using Advanced Disk Recovery software to scan your primary drive and recover all the deleted files. You can recover different types of files that were deleted or lost provided they are not overwritten by newer files. Note: The chances of recovery of the recently deleted files increases if no read/write action has been performed on the drive after the files were lost or accidentally deleted. Also try to recover the files in a different secondary drive to ensure no write action is performed on your primary drive. |


Also Read:How to Fix the “Package Could Not Be Registered” Photos Error
Method 3: Repair Photos With The Command Prompt
On a Windows computer, the Command Prompt can correct photos that have been corrupted. To fix the pictures with grey boxes, try this fix.
Step 1: Press Win + R to open the RUN box.
Step 2: Type “CMD” and then press Ctrl + Shift + Enter.
Step 3: The Command Prompt windows will now open in admin mode.
Step 4: Type the following command followed by the Enter key.
sfc/scannow
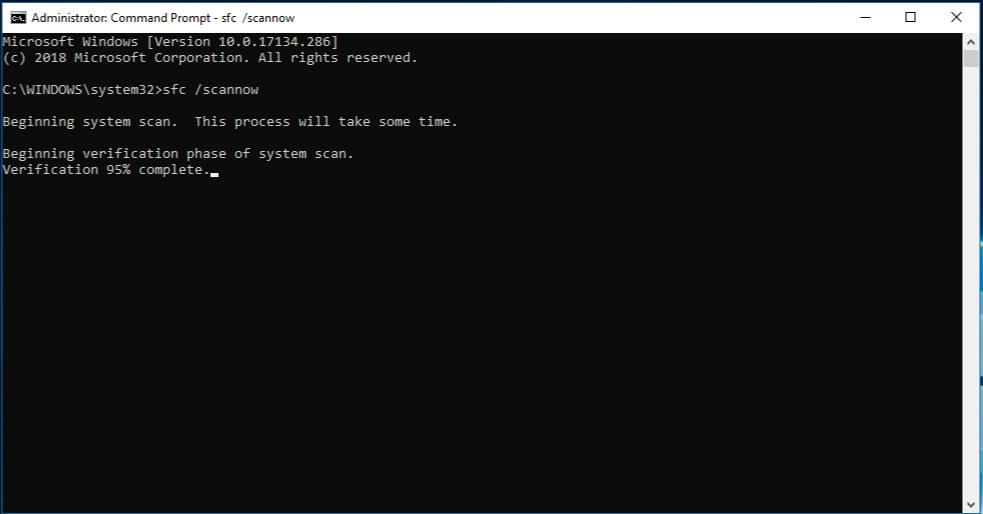
Step 5: Wait for the process to complete scanning and repairing.
Step 6: Reboot your computer and check your images.
Also Read: How to Fix the “Class Not Registered” Photos App Error
Method 4: Remove Image Corruption With Hex Editor Tools
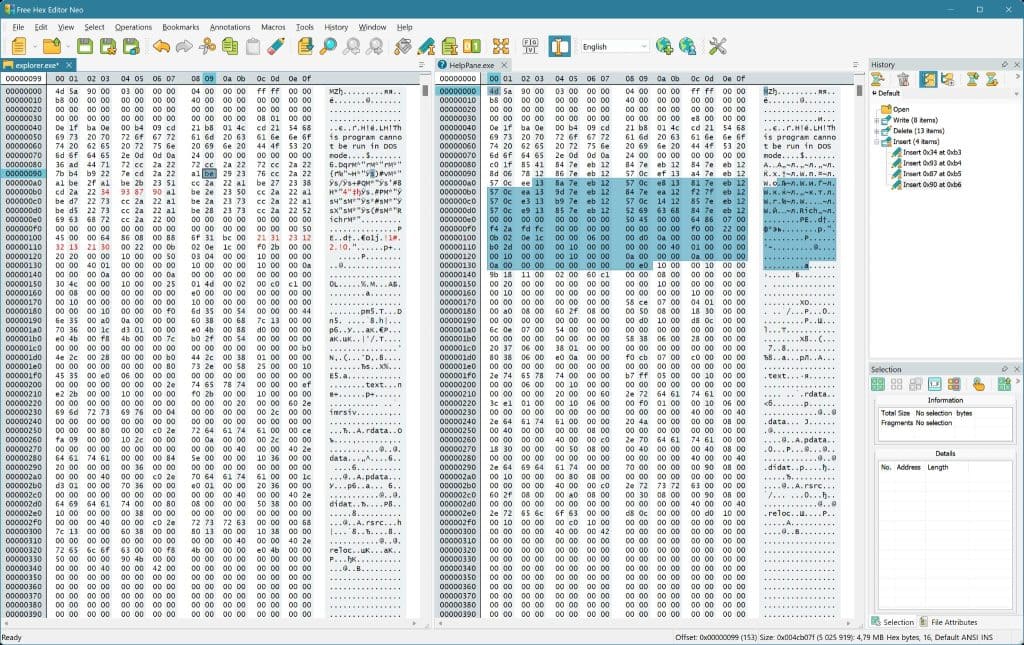
The binary data of damaged files can be changed using the Hex Editor application. This approach is intended for users who are more technically savvy and are familiar with ASCII encoding. You can alter data that takes the forms of 0 and 1. An image might become corrupted and deformed by just one single incorrect byte. Only when you are knowledgeable with binary coding should you choose Hex Editor to fix the pictures with grey boxes.
Also Read: 5 Ways To Fix Windows 11/10 Photos Black Screen Error
Method 5: Open Greyed-Out Files in the Image Editor
Open the partially grey image in an image editing program like Photoshop or Photoshop Elements to see if it helps. Make a few little adjustments, then ‘Save As’ the image to the same directory, replacing the original file. Most of the time, this is advantageous because it adds any missing data from the source file that may be present to the image file. This way you can fix the pictures with grey boxes.
Also Read: How to Fix the “These Files Have Properties That Can’t Be Read” Photos Error
The Final Word On How To Fix Grey Box Over Photos On PC?
Photos are one of the most important possessions that you can have. It is necessary that you protect them and take a backup. Above methods will help you to fix the grey box over photos have got corrupted on your Windows PC.
Please let us know in the comments below if you have any questions or recommendations. We would be delighted to provide you with a resolution. We frequently publish advice, tricks, and solutions to common tech-related problems. You can also find us on Facebook, Instagram, Twitter, YouTube, and Pinterest.