Many Windows 10 and even Windows 11 users have reported that as they tried opening photos on Windows, all they could see was a black screen. If you are one of them, you might just be able to resolve the issue by trying out the steps mentioned below.
Why Does The Photos Black Screen Error Surface on Windows PC?
There could be multiple reasons why you are seeing a black screen when trying to open photos. Here are some common ones –
- Corrupt Microsoft Photos App
- Corrupt recently installed Windows updates
- Lags in the Photos app
- Outdated graphics drivers
How To Deal With Photos Black Screen Error On Windows
Repair Photos App
To fix the black screen issue in photos whereby you see only a black screen when opening photos, you can try to repair the app. When repairing the app data won’t be deleted. If that doesn’t work you can reset the app. This step will delete the app’s data. We, therefore, urge you to take a backup of all your photos beforehand.
1. Open Settings by pressing Windows + I keys.
2. Click on Apps from the left-hand side.
3. Click on Installed Apps
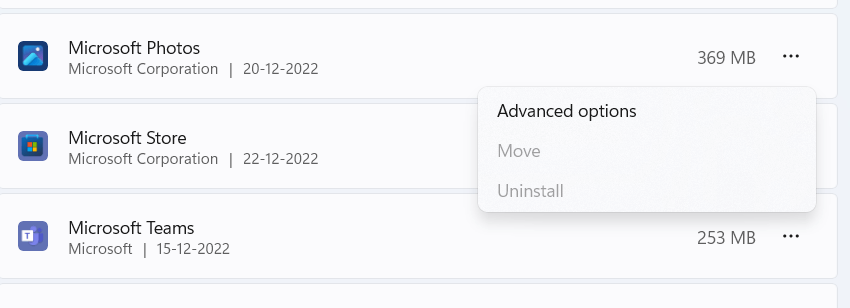
4. Scroll down and locate Microsoft Photos.
5. Click on the three dots on the right and select Advanced options
6. Scroll down and click on the Repair button.
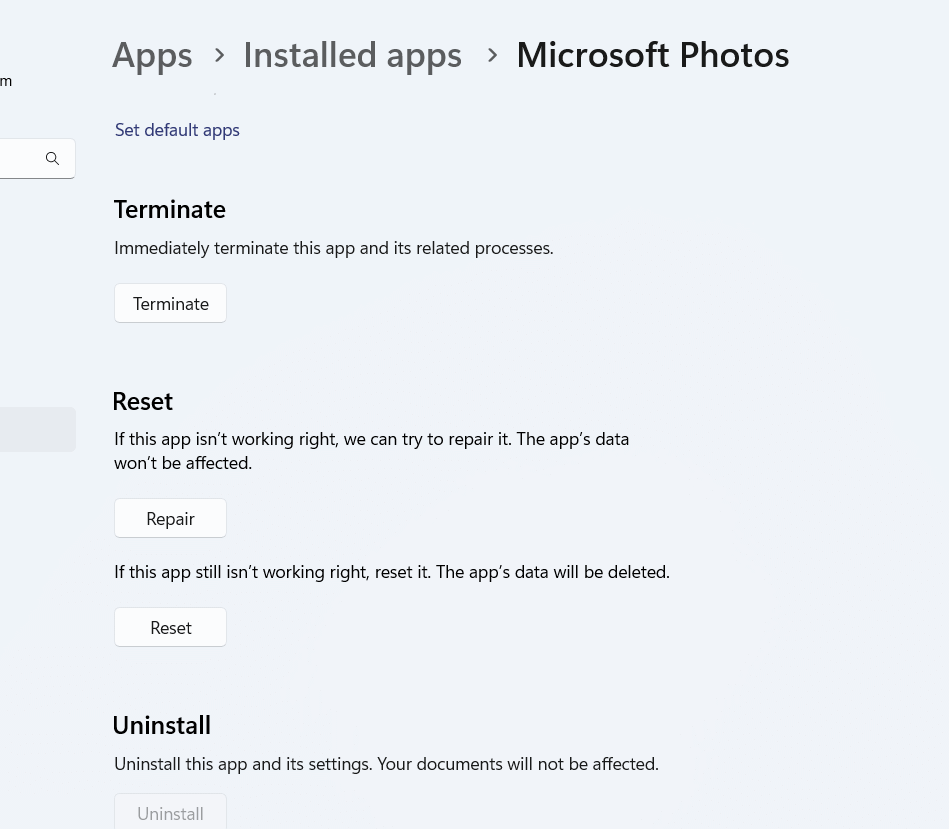
7. You can even choose the Reset app option just below.
In Windows 10
1. Open Apps & features.
2. Click on Microsoft Photos from the right-hand side.
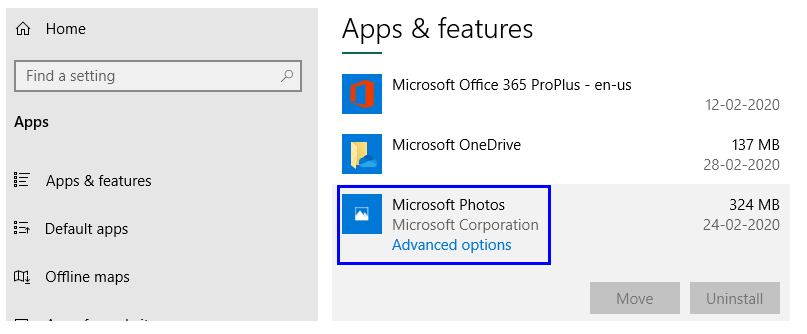
Scroll down and select either Reset or Repair
1. Run Troubleshooter
Windows comes with an inbuilt troubleshooter which is capable of troubleshooting issues that occur in Microsoft Store apps. To run the troubleshooter, follow the steps mentioned below.
- Open Settings as shown above.
- Click on System from the left if not already selected.
- From the right, click on Troubleshoot.
- Click on Other troubleshooters.
- On the right, under Other, click on Run next to Windows Store Apps.
- Follow the on-screen instructions.
2. Uninstall Recent Problematic Updates
You may have started to deal with the Windows Photos black screen issue after installing an update. You can try uninstalling the problematic recent update and then check if you have been able to fix the issue –
1. In the Windows search bar, type Control Panel and click on Open from the right.
2. Click on Uninstall a program.
3. From the left, click on View installed updates.
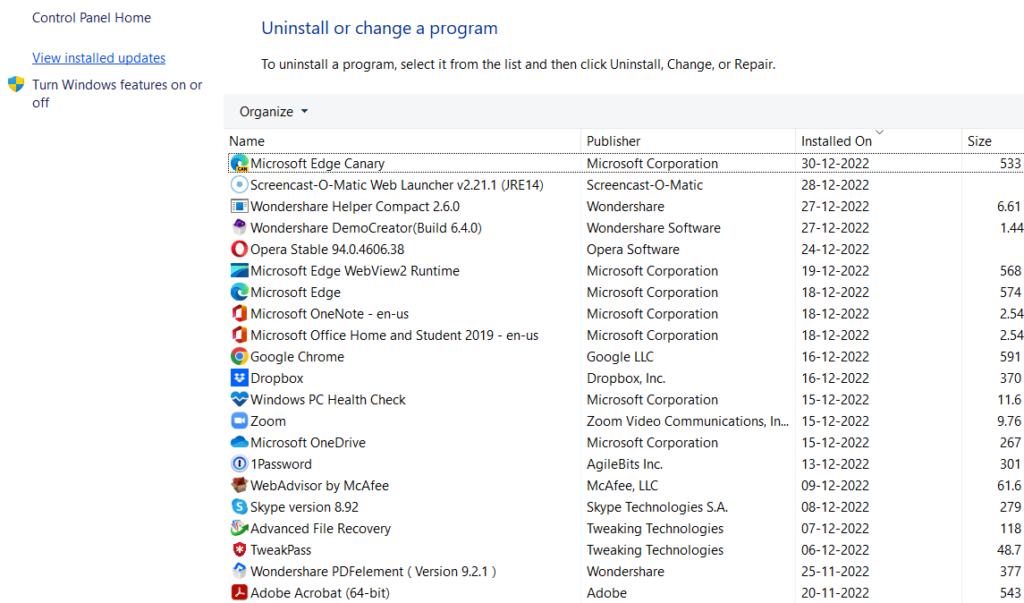
4. When the Uninstall updates window opens, locate the recently installed update and click on Uninstall.

Restart your computer.
3. Terminate The Process
This step can be helpful if your Photos app is lagging or hanging often which subsequently is leading to a black screen issue as soon as you try to open a photo using the Photos app. Here is how you can terminate the process.
- Press Ctrl + Shift + Esc to open the Task Manager.
- Under Apps locate Photos.
- Select it and click on End Task from the top.
4. Update Graphics Driver
The Photos uses your graphics driver to show you images. If in case your graphics driver has become outdated you might have to deal with the issue at hand. You can either manually update Graphic drivers on your Windows PC or you can use a driver updater tool like Advanced Driver Updater.

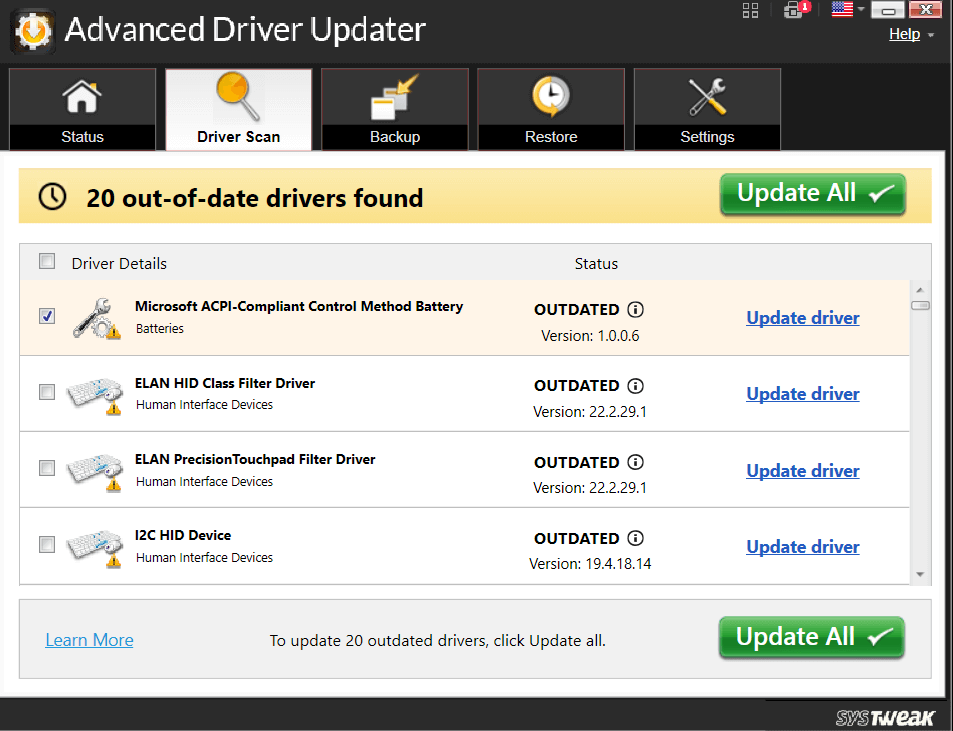
It is one of the best driver updater tools that comes packed with a database of thousands of drivers. You can rest assured that you will be able to update your existing driver with the most legit version. Plus, it comes with the following features –
- Schedule driver scans
- Update several drivers at once
- Exclude drivers that you don’t want to get scanned
- Backup drivers before updating them
- Restore backed-up drivers
5. Reinstall The Photos App
If despite all the above troubleshooting steps, you are still seeing a black screen when trying to open images in the Photos app, you can try and reinstall the app.
1. In the Windows search bar, type Powershell
2. Click on Run as administrator from the right-hand side.
3. When the Administrative Windows PowerShell opens, type the below-mentioned command –
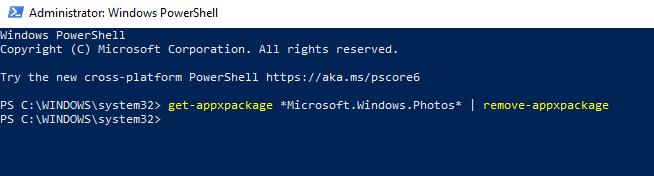
Get-AppXPackage -AllUsers | Foreach {Add-AppxPackage -DisableDevelopmentMode -Register “$($_.InstallLocation)\AppXManifest.xml”}
4. If the app isn’t reinstalled automatically, you can visit this website and download Photos again.
Wrapping Up
Imagine bumping into a black screen when trying to open images in the Photos app. We know that’s unnerving but it is certainly not an impossible situation to deal with. If you have been able to fix the issue, do share with us which of the above methods helped you out. You never know you might just be able to help someone facing the same issue. For more such content, keep reading WeTheGeek. You can also find us on Facebook, Twitter, YouTube, Instagram, Flipboard, and Pinterest.