
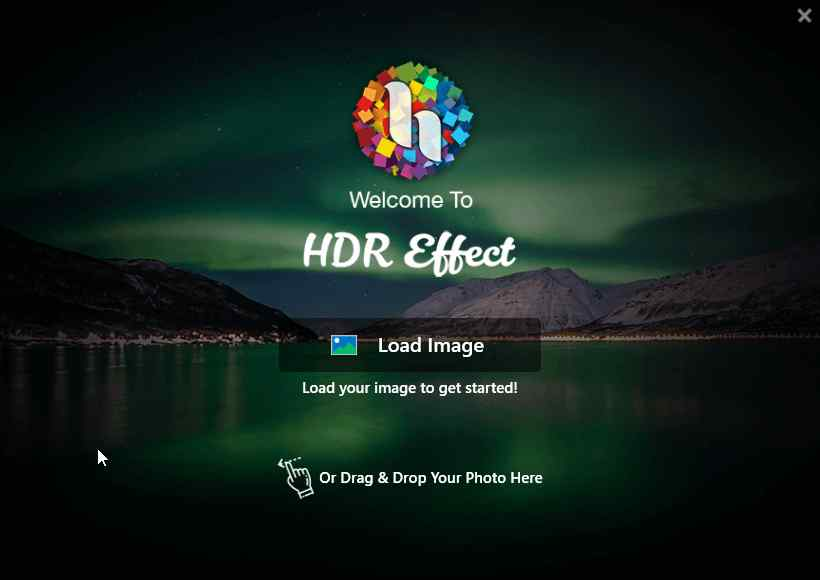
Your photos are more than just images, they are your memories. And it is important to keep your memories untainted. But sometimes we are at the mercy of our cameras and not sure how the photo will turn out. Keeping this in mind, Tweaking Technologies has designed HDR Effect – an application to denoise your photos and create various effects like Vignette Effect. Here is a brief description of this app and the steps on how you can do this.
Denoise Photos
The term “noise” is commonly used in photography to describe distortion like gritty or grainy textures, blotchy colors, and other abnormalities that can emerge in your photos. This mostly occurs in two scenarios: low light conditions or when your camera’s ISO settings are extremely high. Hence it is important to denoise photos.
Vignette Effect
A vignette effect is an aesthetic darkening of a photo’s corners compared to its centre in photography. In portrait or product photography, photographers frequently employ it as a creative effect to attract the viewer’s attention straight to the subject.
How To Denoise Your Photos And Create A Vignette Effect
Step 1: On your Windows PC, go to the Microsoft Store and download HDR Effect —

Step 2: Complete the installation process and allow the necessary permissions.
Step 3: On your PC, open the HDR Effect application.
Step 4: Open HDR Effect and drag and drop the image you want to change into it.
Step 5: To see the image, choose one of the three viewing modes.
Single-Mode: Only one picture is displayed on the screen.
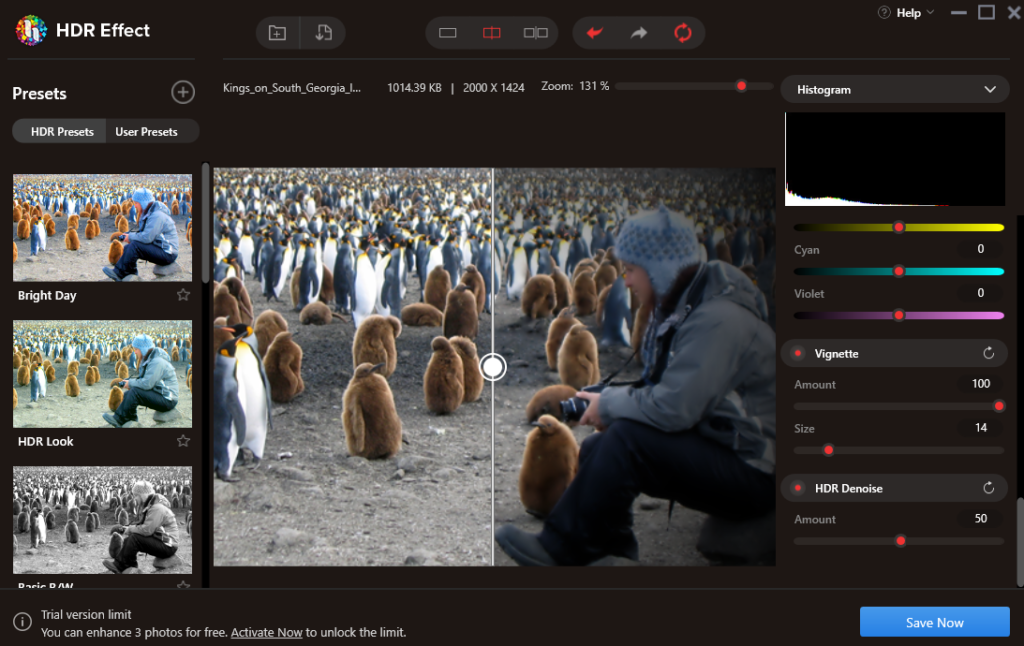
Split Mode: Enables you to see the image’s before and after effects using a slider.
Double Mode: Shows both the original and edited photos side by side.
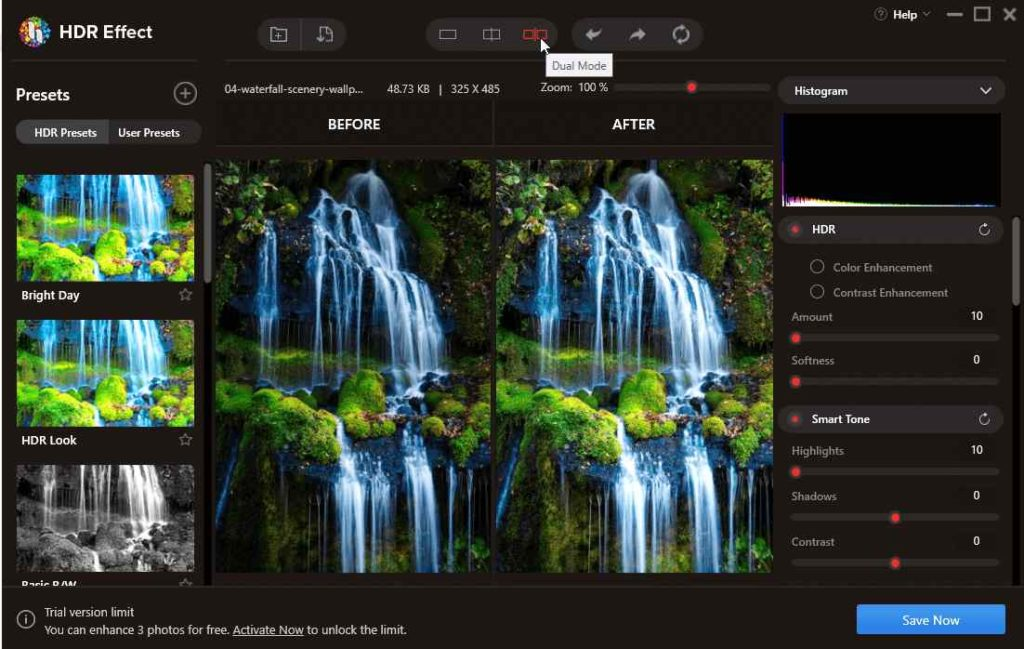
Step 6: Scroll down the options provided on the right side of the app interface until you locate Vignette.
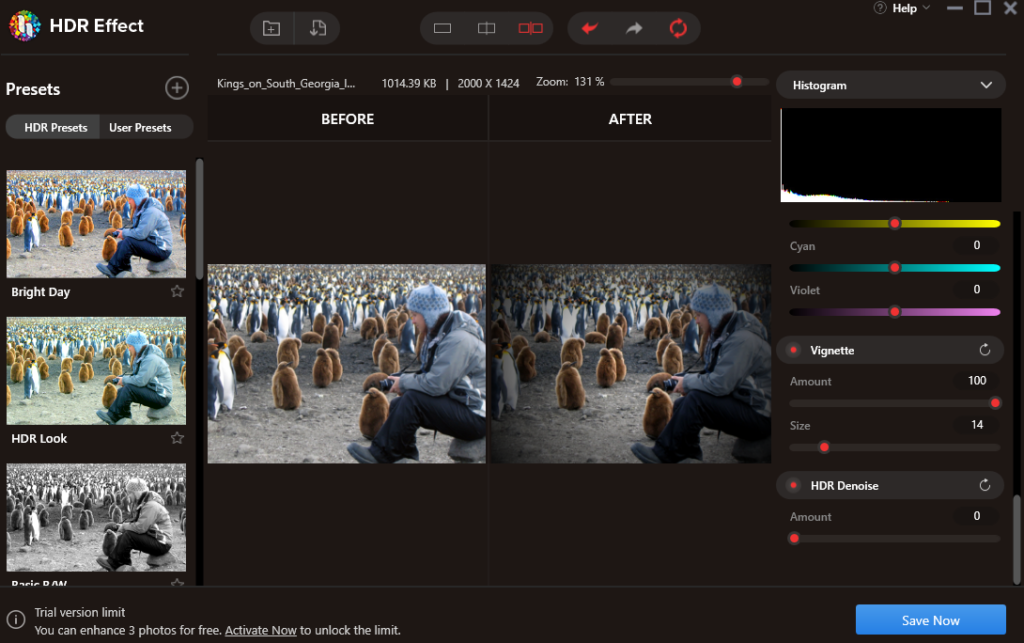
Step 7: Slide the bar towards the right to increase the amount and size options under Vignette, and you can darken the borders keeping the center of the image as it is.
Step 8: You can always click on the reset option next to clear the changes just made and reset the image to original settings.
Step 9: Next scroll down to HDR Denoise and move the slider labeled as Amount towards the right to apply denoise effects on your image.
Step 10: To save the image after you’ve finished modifying it, click the Save Now option.
Why Should You Use HDR Effect Instead Of Other Photo Editing Software?
The HDR Effect is used by professional designers and photographers to edit, retouch, and create multi-layered compositions. It’s a good idea to let go of your inner artist and use these tools to edit your photos:
HDR (High Dynamic Range) Algorithm. This option helps users to increase the brightness of a low-quality digital shot to create lovely, spectacular images.
Enhance the color scheme. The next module helps users to increase and broaden the color saturation range with the HDR Effect.
Contrast can be increased. Increase the HDR contrast in your photos to alter them and make them stand out.
HDR denoise. You can rapidly eliminate low-light color noise with the powerful HDR denoise tool!
Intelligent Toning. Naturally, alter the tone value of your shot.
Color-coded filters are available. You may turn an average photograph or scene into something remarkable by putting a little color filter to it.
Presets with a high level of quality. You may acquire properly exposed images by using high-end settings.
Vignette. As the image reaches the edges, reduce the brightness or saturation.
The image’s radiance. Control the color balance, sharpness, exposure, and brightness of your photographs, among other things.
Color alterations. Colors will seem brighter, and temperature, tint, and other settings may be easily tweaked.
RAW photos can be imported. For outstanding HDR effects, import and edit PSD, JPEG, RAW, PNG, and other image files in seconds.
Presets that are unique. To get the HDR results you desire, create your presets.
The Final Word On How To Denoise Your Photos And Create A Vignette Effect ?
The HDR Effect is an amazing application that helps users to denoise their photos and create a vignette effect. These artificial effects help to make your original photos look even better. With so many other filters that you can add to your photos, the HDR effect is one of the must-have apps for photo lovers who wish to enhance their memories.
Follow us on social media – Facebook, Instagram, and YouTube. For any queries or suggestions, please let us know in the comments section below. We would love to get back to you with a solution. We regularly post tips and tricks, along with answers to common issues related to technology.