
Do you beat yourself up, when after applying the right settings, you don’t get the desired click? If yes, trust me I know the feeling, it isn’t great. But after using an amazing software called HDR Effect things have been easy.
As the name suggests this tool helps create high contrast HDR effects. This means the photos that used to look normal no longer look the same. Using the tool, you can denoise images, adjust color, change the tonal value of an image, transform images by increasing HDR contrast, increase luminosity and do a lot more. Most importantly, you can create presets of your choice and get the expected HDR output.
Worried about RAW photos? Whether you can make changes to them or not? Don’t worry HDR Effect supports RAW image import. In total, the tool supports 30+ image formats and lets you target colors to pop out the details of photos. You can manipulate the colors in the image and make it look like you want.

Hope now things are making sense? And the interest has spiked?
So, what are you waiting for? Let’s move ahead and learn more about HDR and how to use the HDR Effect tool.
WHAT IS HDR?
Acronym for High Dynamic Range (HDR) is a way to beautify a normal image. In simple words, using special HDR software, you can make adjustments to the image and can see all the light in the final photo. This will make you feel like you are relieving the captured moment. Moreover, the feeling of disappointment that you feel when you see a photo that comes out flat is also easily dealt with.
When you use an HDR processing tool you get the image that you imagined when clicking it. Or can say when you were there clicking the image. The human eye can see so much more than a single shot can, and with HDR Effect by your side, you’ll see how you can make the scene as beautiful as it was when you were there.
Having a hard time believing what I am saying?
I’ll show you how this can be done. It is super simple and super easy.
How to use HDR Effect to Denoise and Beautify Images?
Note: For this tutorial, we are running the tool on Windows. However, if you are a Mac user, you can use HDR Effect too. The tool is compatible with both Mac and Windows. The steps will be more or less the same. You should not face any problems with it.
Step 1 – GET YOUR PERSONAL PHOTO EDITOR READY WITH AMAZING TOOLS
The first step is to get the HDR Effect software. Compatible with both Windows and Mac, the software works great for both users.
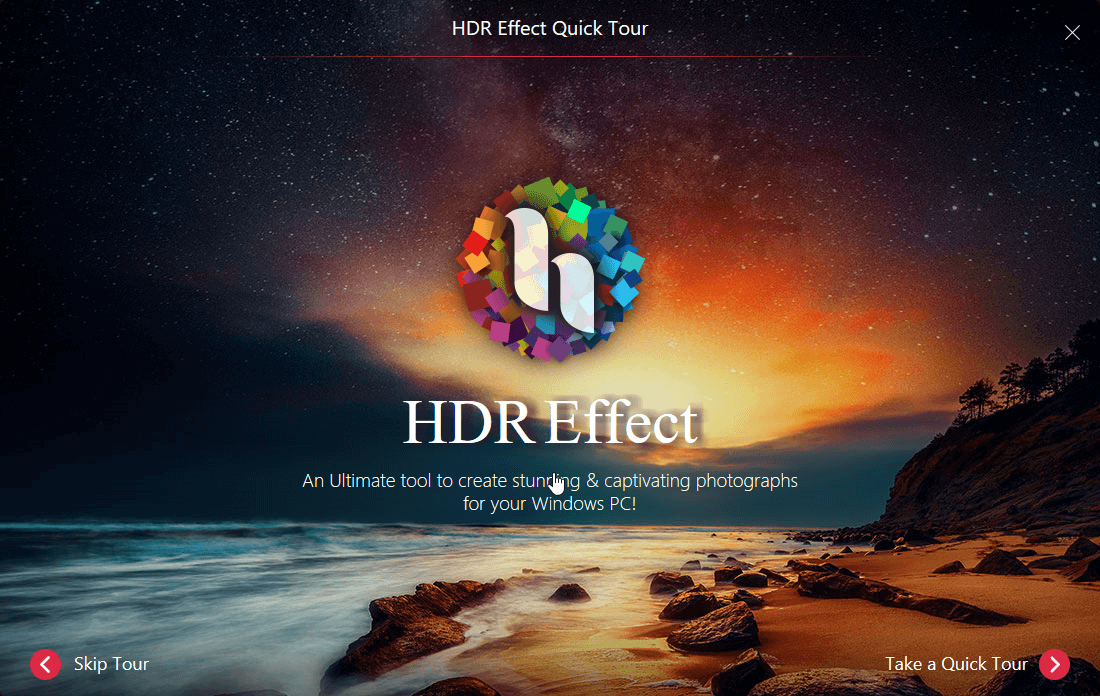
To understand the tool, you can Take a Quick Tour or if you are okay without it click Skip Tour.
STEP 2: GET YOUR PHOTO READY
AT first, this is something I did not like because I wasn’t able to add more than one image at a time. But then, I found that I work only on one image at a time. So, it is perfect.
You can either add a RAW photo, a JPG, or any other image format you want. RAW photos are the format most cameras now use and people like to work on them.
You can decide on the photo format you want to work on.
STEP 3: IMPORT YOUR PHOTOS INTO HDR EFFECT
Now the fun starts!
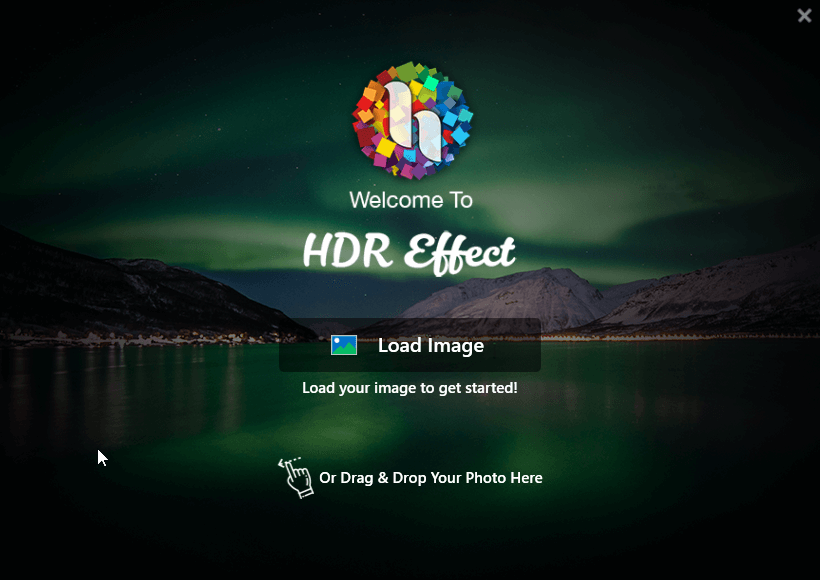
Use HDR Effect to load your files. Click Load Image > browse to the location where you have saved the image.
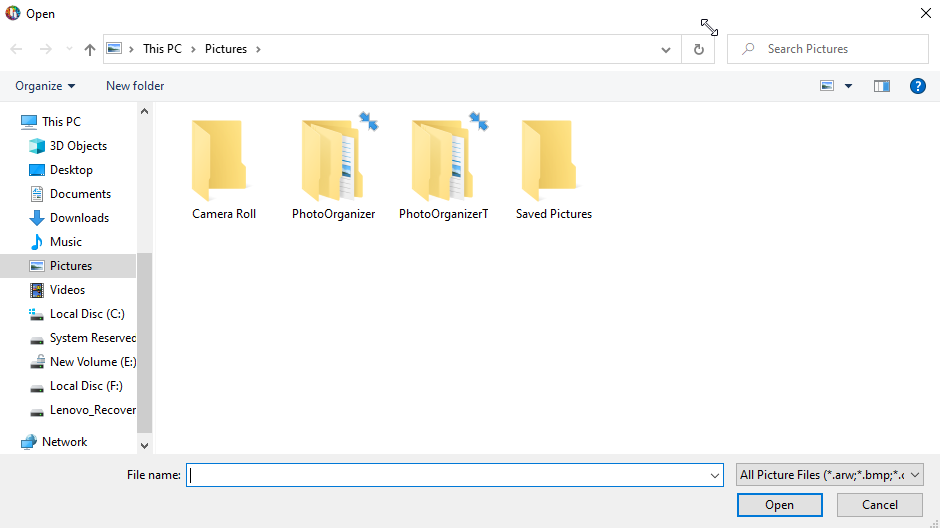
Wait for the processing to take effect. You will now see the loaded image.

Step 4: View Image
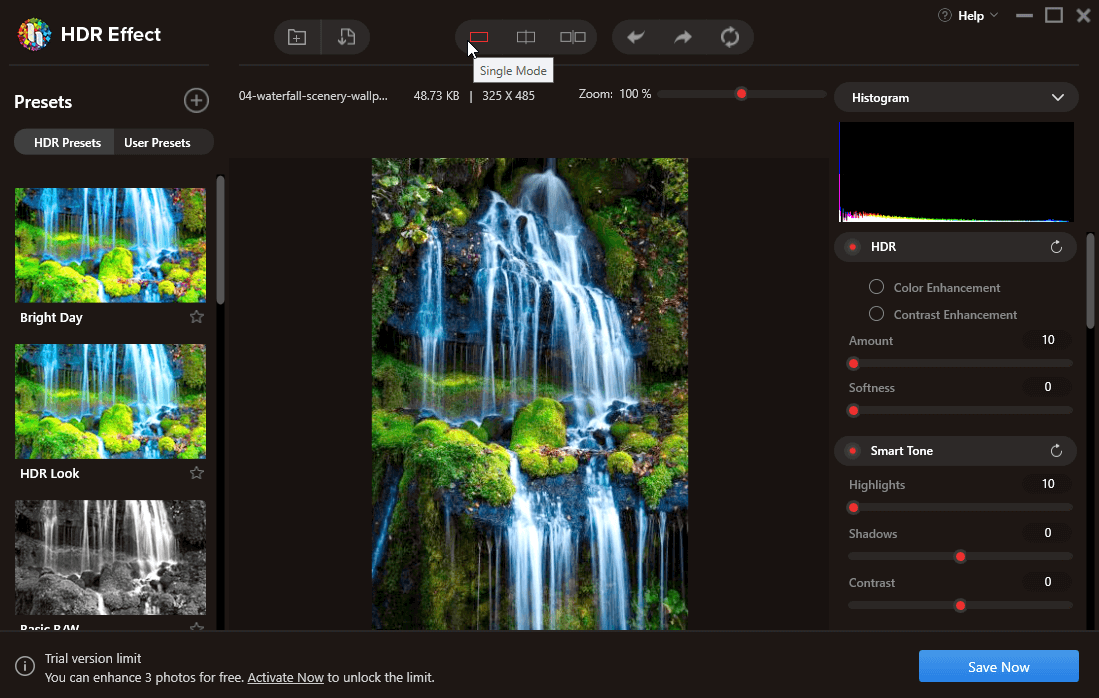
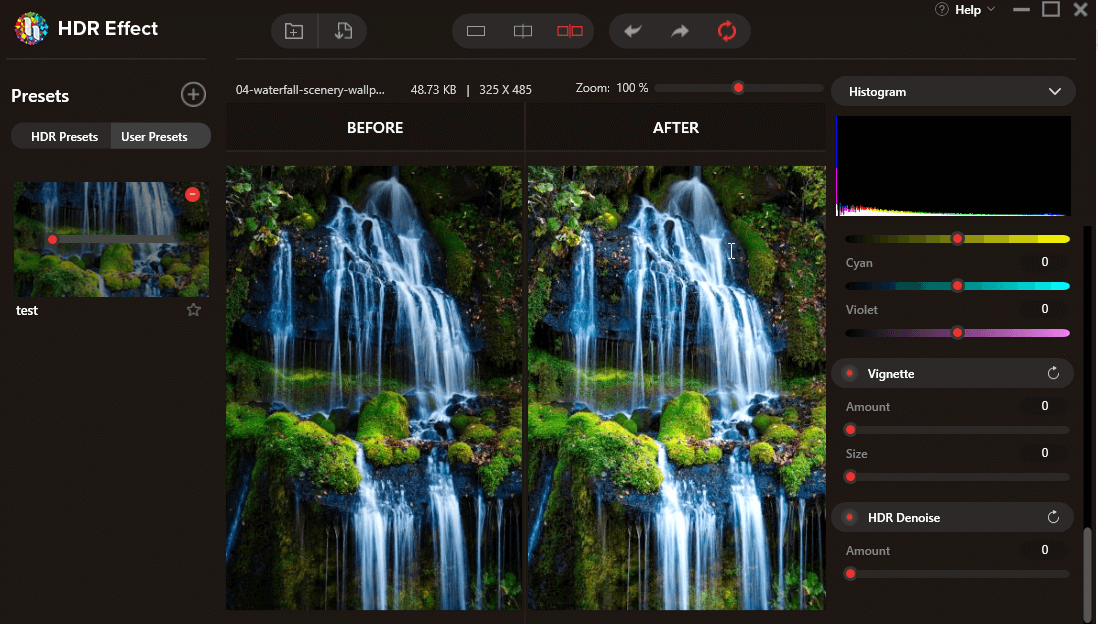
HDR Effect offers 3 ways to view the imported images. By default, you see the image in split mode. To change the view, you just need to click the icon present at the top bar :
1. Single Mode –
2. Split Mode –

3. Dual Mode –
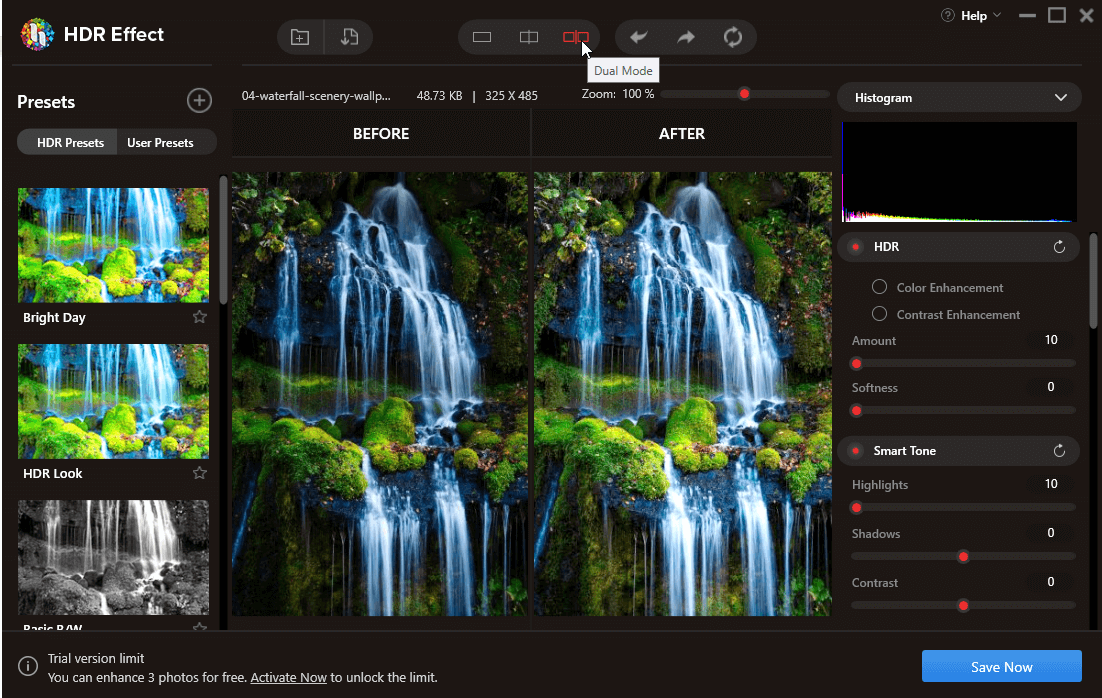
You can use any mode. We recommend using Split Mode as it helps to add effects easily.
STEP 5: PLAY WITH THE PRESETS
Now that you can see the image, it is time to add some effects to it and make it look astonishing.
To make changes, you can either use HDR Presets or set User Presets from the left pane.
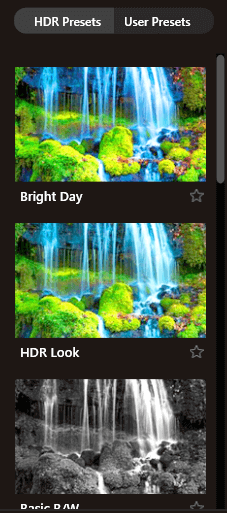
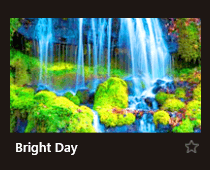
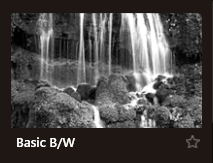
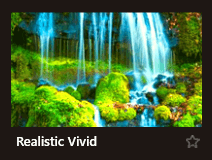
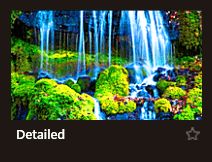
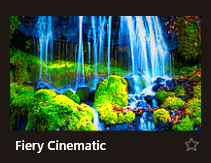
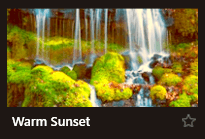
Using the HDR Presets, you can make a photo look like this:
Bright Day
HDR

Basic B/W
Realistic Vivid
Detailed
Fiery Cinematic
Smooth

Warm Sunset
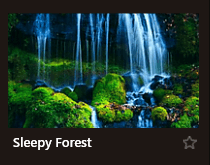
Sleepy Forest
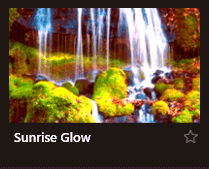
Sunrise Glow
If you click on any of the HDR presents, you’ll be able to see how the image will look after applying it.
Now if this is not enough, and you would want to make more changes, no worries, HDR Effect has a lot to offer.
Firstly, let me tell you there’s no right or wrong. Each individual has their imagination and preference so don’t be judgmental or critical. From the right pane, if you want you can decide whether you want to enhance color, add highlights, adjust color, or what.
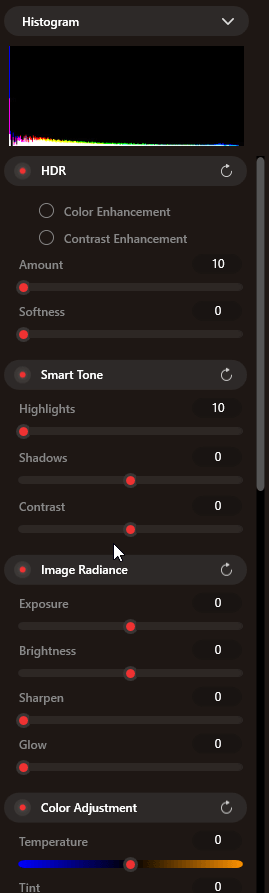
Here’s a special note HDR Effect offers functionality to Zoom in and out of the image. This helps add minute detailing to the image.
Presets are very powerful and they help keep things simple. This means you don’t need to make any changes manually. However, if you want to do things, your way you can set User Presets.
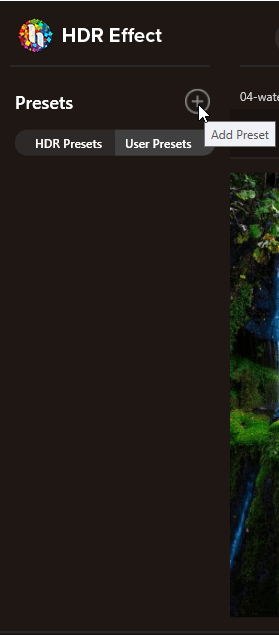
To set User Presets, click the + icon and click Add Presets > give a name to the preset.
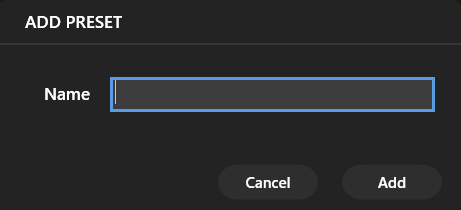
Click Add
When done you will see the user preset in the left pane.
STEP 6: SAVE CHANGES
Once you have made the changes, and are satisfied with them click Save Now.

Don’t get scared, you will get the image with HDR Effect. In addition to this, using the HDR Denoise option you can remove pixels from the image and get more clarity.
This is it, using these simple effects you can create stunning images and also remove noise from the image. HDR Effect as the name suggests is the best tool to create flawless pictures. We hope you like the information we shared and will give HDR Effect a try.
Do share your thoughts about the post in the comments section below.