
No matter which OS you use, the importance of cache memory can certainly not be neglected at any cost. Cache Memory is a crucial component on any device as it is responsible for improving the overall performance of your system. It does so by reducing the amount of time the CPU spends waiting for data to be retrieved from the main memory. So, cache memory is a high-speed memory that acts like a temporary storage that stores frequently accessed data.

In this post, we will be learning all about what DNS cache is, why it is important, and how to clear DNS cache on Windows 11.
Let’s get started.
What is DNS Cache on Windows?
DNS Cache is a temporary storage that stores information about the previous DNS lookups on a browser or OS. Keeping a local copy of DNS ensures that the OS can quickly retrieve the necessary information and resolve the IP.
Also read: How to Clear Chrome DNS Cache?
Why Flush a DNS Cache?

However, there are several reasons why you may want to clear or delete the DNS cache on any device. Whenever you’re facing any issues with your Internet connection, flushing out the DNS cache is highly recommended. Also, clearing the DNS cache removes the old records and makes sure that new requests aren’t being blocked. If the DNS cache contains outdated info, it may become a bit difficult to access different sites or applications.
Clearing the DNS Cache on Windows is also important from a security point of view. Deleting the DNS cache will flush out potentially harmful or outdated information that will make your device less exposed to DNS attacks.
Also read: How to Clear Cache in Windows 11?
How to Clear DNS Cache on Windows 11?
If you are facing any issues in loading a certain website or webpage, flushing the DNS cache can work as a troubleshooting hack. Here’s how you can make your browsing experience smoother by clearing out the DNS Cache on Windows.
1. Via Command Prompt
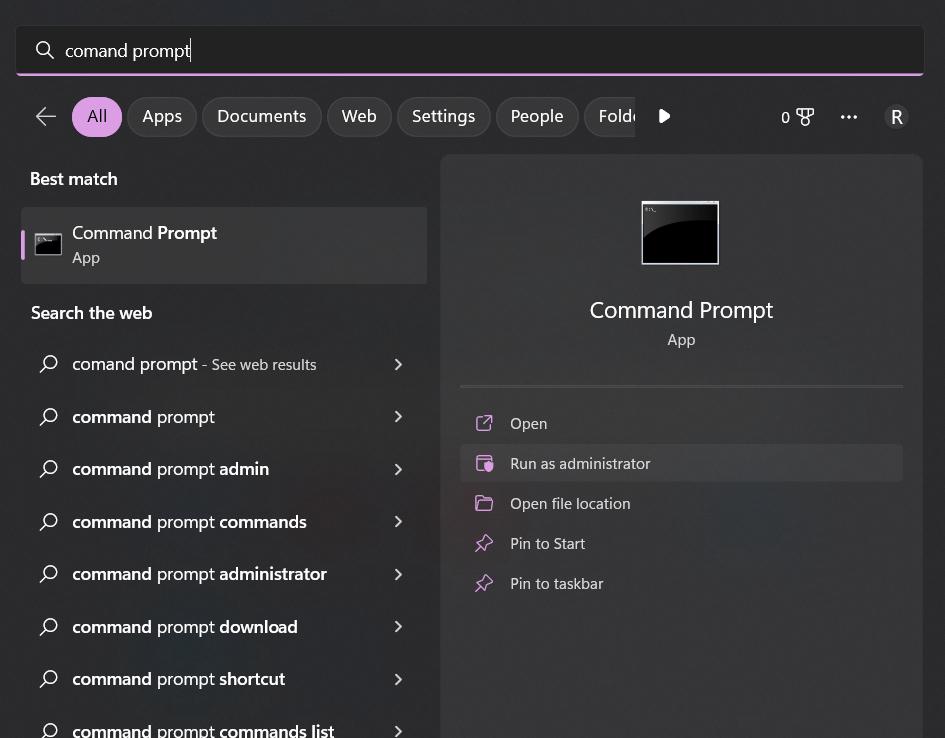
Tap on the search icon placed on the Taskbar, type “Command Prompt” and select the “Run as administrator” option.
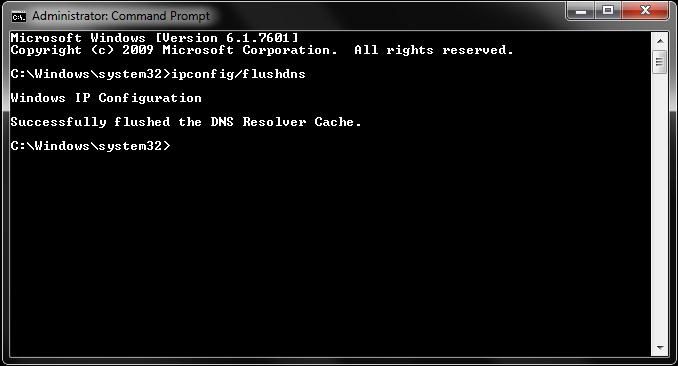
The Command Prompt app will now launch in admin mode. In the Terminal window, type the following command and hit Enter to execute it:
ipconfig/flushdns
And that’s it, folks!
Also, if you want to review the number of entries stored in the DNS cache before deleting it, you can run this command:
ipconfig/displaydns
In this way, you can gain a quick insight into how many entries are stored in the DNS cache.
Also read: What is DNS Spoofing? How To Save Yourself
2. Via Windows PowerShell
You can also use the Windows PowerShell app to flush the DNS cache on your device.
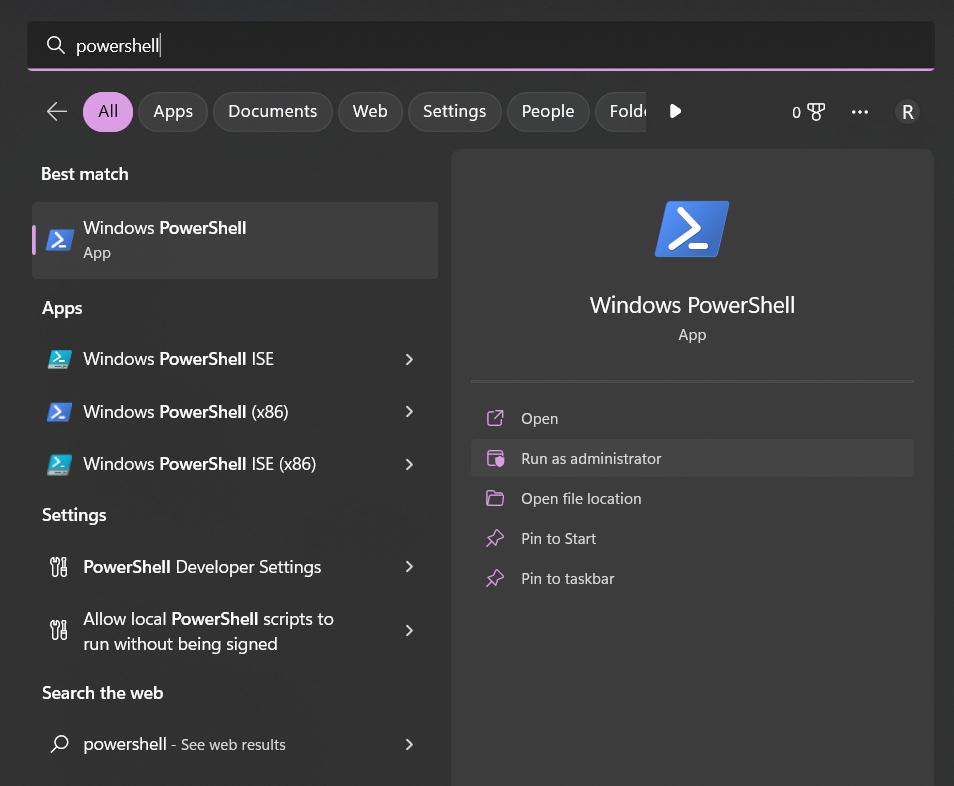
Tap on the search icon placed on the Taskbar, type “PowerShell” and hit Enter.
In the PowerShell window, type the following command and hit Enter to execute it:
Clear-DnsClientCache
3. Use the Windows Services Manager
The third way of clearing the DNS cache on Windows can be achieved via Windows Services Manager. Here’s what you need to do:
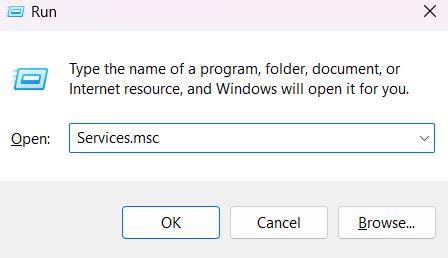
Press the Windows + R key combination to open the Run dialog box. Type “Services.msc” in the textbox and hit Enter.
In the Services window, look for the “DNS Client” service.
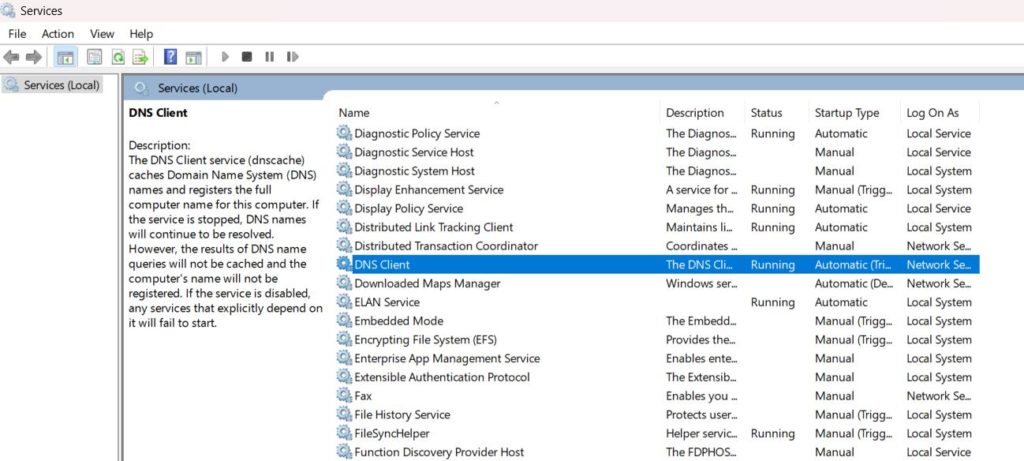
Right-click on it and select “Restart” to clear the DNS cache.
Also read: How To Fix Server DNS Address Could Not Be Found On Google Chrome
Conclusion
This wraps up our guide on how to clear DNS cache on Windows using several methods. Flushing the DNS cache can help you resolve certain issues and can also improve the speed of your Internet connection. If you are facing any troubles in loading a certain website, clearing the DNS cache can help you troubleshoot this issue.
Was this post helpful? Did you learn something new today about DNS cache? Feel free to share your thoughts in the comments box!