
A digital image, unlike a hand-held snapshot, can be used for a variety of purposes. You can resize, trim, rotate, and resize them, as well as modify their formats. However, to perform all of this, you’ll need an image editor tool that can assist you with these chores. Of course, you have Adobe Photoshop, which may assist you with your photographs, but it is a difficult program to use. This article focuses on using Image Resizer, a basic and easy-to-use tool, to change the formats of your digital photographs. You may simply convert images to other formats using this tool.
Features of the Image Resizer Program
You may have figured by now that the Image Resizer tool may be used for a lot more than just converting image formats. Some of its other features are as follows:
Resizer for several images

The Image Resizer program lets users select multiple images or a folder of images and resize them all with a single set of instructions. This saves time because you can make similar modifications to all of your photographs instead of doing them one by one.
Various Resizer Tools
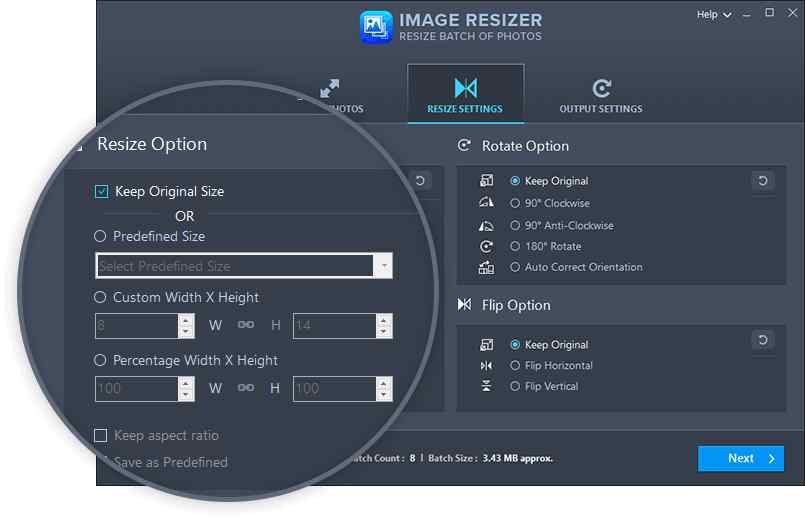
Users can resize their photographs in a variety of ways with Image Resizer, including choosing a custom Width & Height in size or percentage. They can also choose whether or not to keep the image’s aspect ratio. Once a user has selected a custom size, he or she may save it as a preset and select it from the drop-down menu the next time a new collection of photos has to be resized.
Change the orientation of the image
Only one component of image editing is resizing. This application allows users to flip or rotate images to modify their orientation. When it comes to flipping an image, you have two options: horizontally or vertically.
There are a variety of formats available
The Image Resizer software allows users to convert an image’s digital image format from its original to a variety of different formats such as JPG, JPEG, BMP, GIF, PNG, TIFF, and more. This eliminates the need to use a separate program to alter the format of your photographs and allows you to complete the task of resizing, changing the format, and changing the orientation in one step.
Change the names of the final photographs
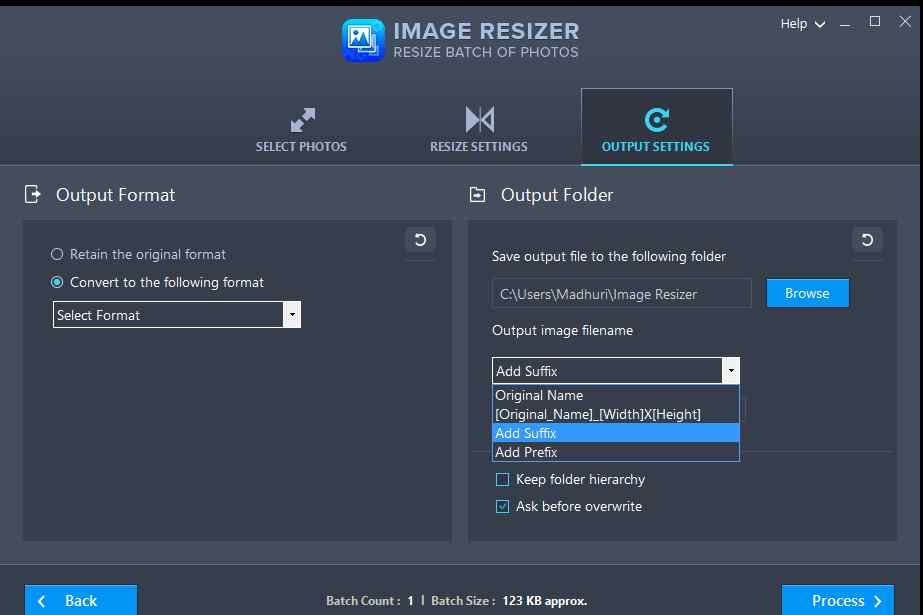
The Image Resizer application is an all-in-one solution for renaming all of your images by adding a Suffix or Prefix and selecting the destination folder. For example, if you recently returned from a vacation to the Maldives, you may choose all of your photographs from that trip, and simply add a Prefix to them without making any changes.
Logs can be viewed
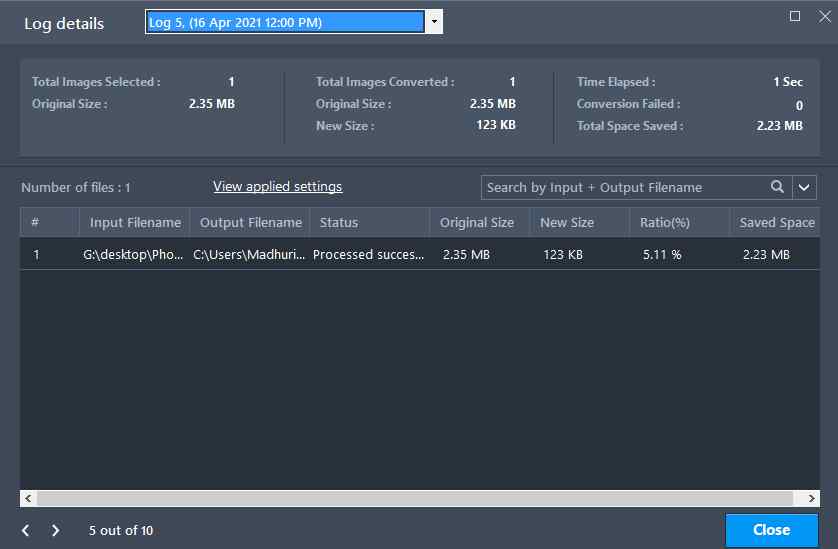
The Image Resizer software keeps track of all actions completed and may be reviewed afterward to see what adjustments were done to an image.
How To Change The Image Format Using Image Resizer
You can use a simple and convenient tool like Image Resizer to convert JPG images to PNG format. This application can do all of the basic image editing, altering, and resizing chores for you. The steps for converting a JPG to a PNG using Image Resizer are as follows:
Step 1: Download and install the Image Resizer application from the following link.


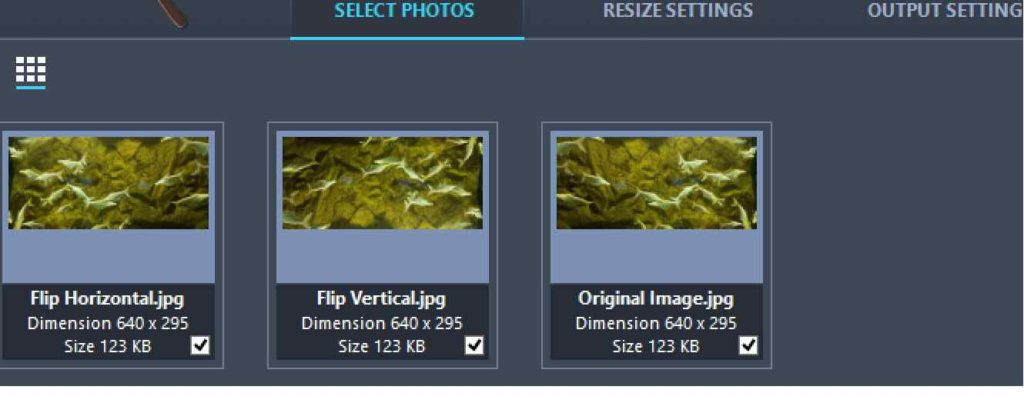
Step 2: Open the app and click the Add Photos icon in the left-hand bottom corner of the interface.
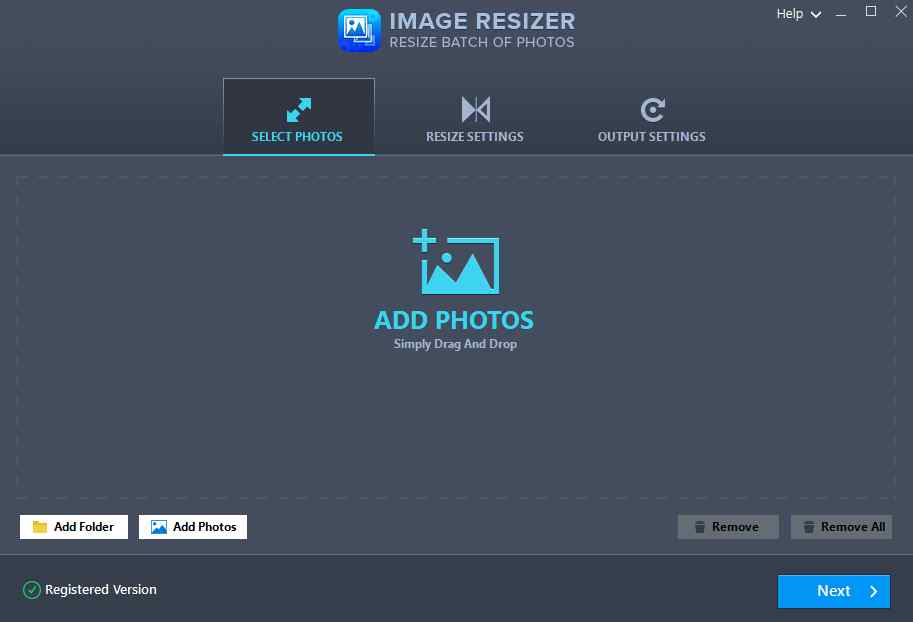
Step 3: After clicking the Add Photos button, the File Explorer window will open, and you’ll need to navigate to the image you wish to convert or change format.
Step 4: Click the Open button in the right bottom corner after selecting the photo.

Step 5: Click the Next button, once the photo has been added to the app interface.

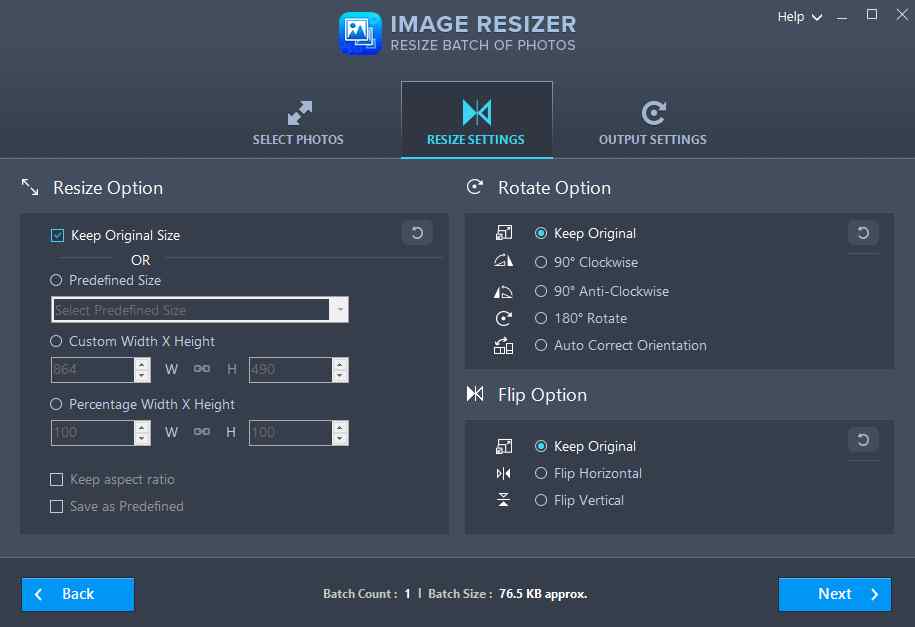
Step 6: Now you’ll see options like resizing, flipping, and rotating the image. Click the Next button in the right bottom corner if you don’t want to make any changes.
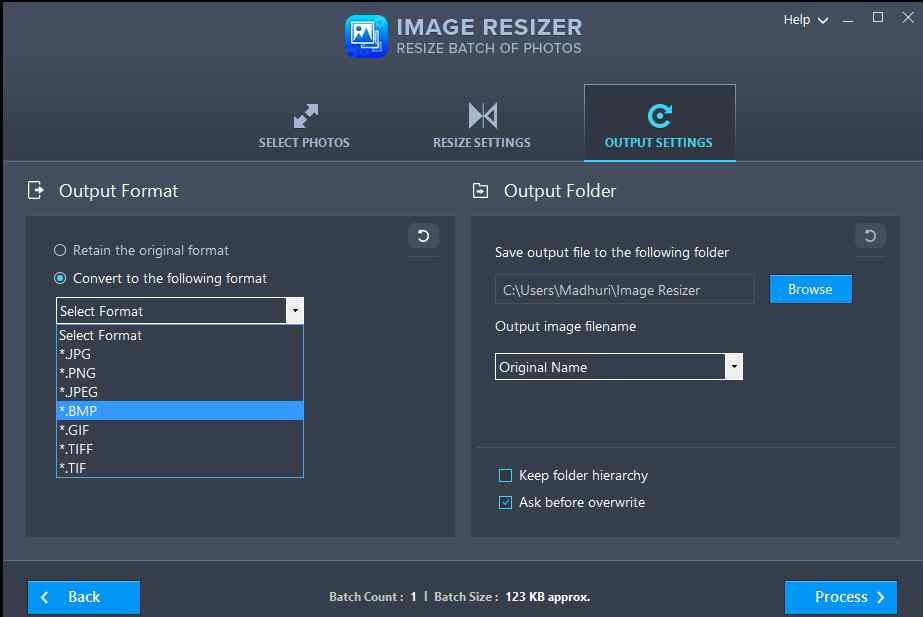
Step 7: Select Convert to the Following Format from the drop-down list in the next window of the app interface. PNG, BMP, GIF, TIFF, and more image formats are among the options. In this scenario, you can choose anyone from the dropdown menu.
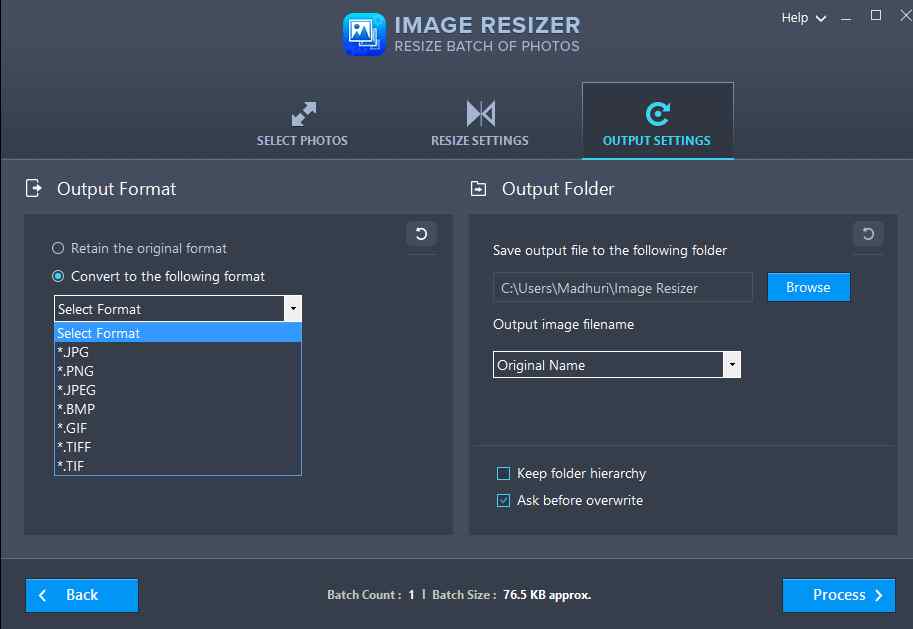
Step 8: From the right panel of the window, select the Output Folder and name, then click the Process Button in the right bottom corner of the app screen.
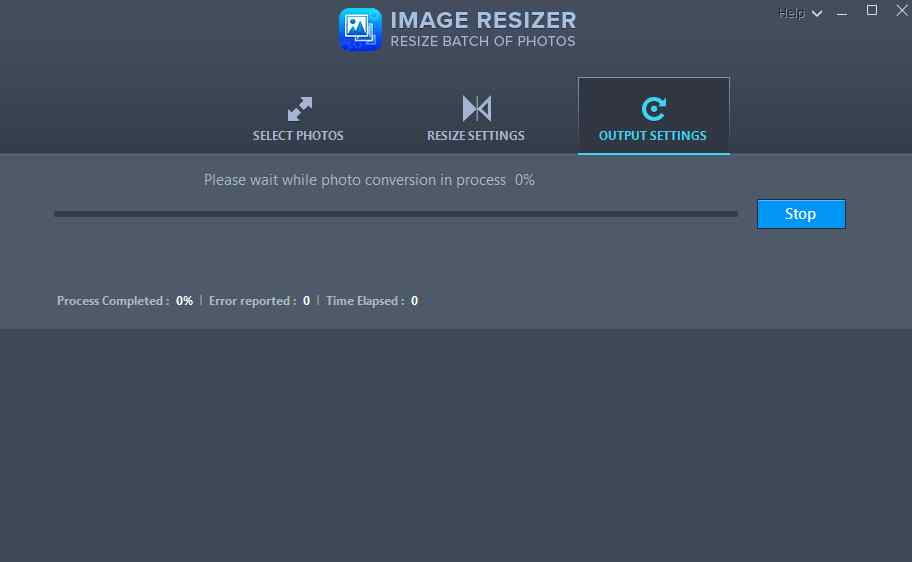
Step 9: Wait for the procedure to finish; it’s a quick process that shouldn’t take long depending on how many photographs you want to convert.
Step 10: You’ll see your newly converted image in the Output folder you designated previously.
The Final Word On How To Change The Image Format Using Image Resizer
This is the simplest approach for converting images in a couple of seconds using an application. I believe you must persuade me that Image Resizer is a crucial application to have on your PC because it does so much more than convert image file formats. Batch renaming of photographs is one of the best aspects of this tool, which can be a time-consuming operation if done manually.
Follow us on social media – Facebook, Instagram, and YouTube. For any queries or suggestions, please let us know in the comments section below. We would love to get back to you with a solution. We regularly post tips and tricks, along with answers to common issues related to technology.