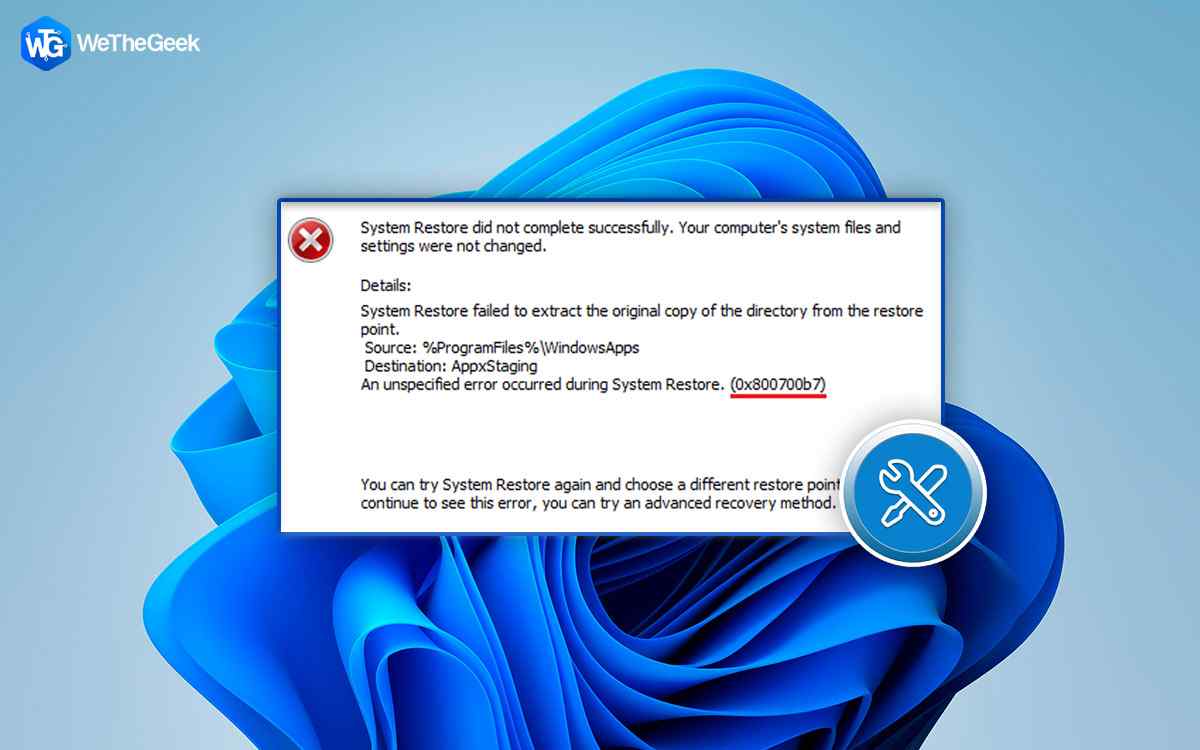
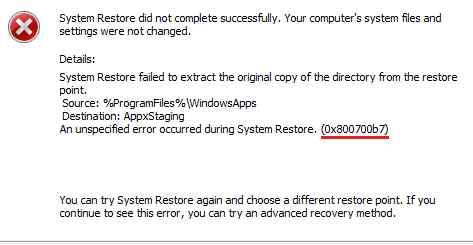
Stuck with the System Restore error 0x800700b7 on Windows 11? This error comes displayed with the following message:
System Restore did not complete successfully. Your computer’s system files and settings were not changed.
If the System Restore process is hindered due to error code 0x800700b7, you may not be able to restore your device and you might have to choose a different restore point to roll back your device. So, what causes the System Restore error on Windows and how can you fix it? You’ve come to the right place.
In this post, we have listed a variety of solutions that you can use for fixing the system restore error code 0x800700b7 on Windows 11/10.
Also read: How To Fix System Restore Did Not Complete Successfully
What Causes System Restore Error?
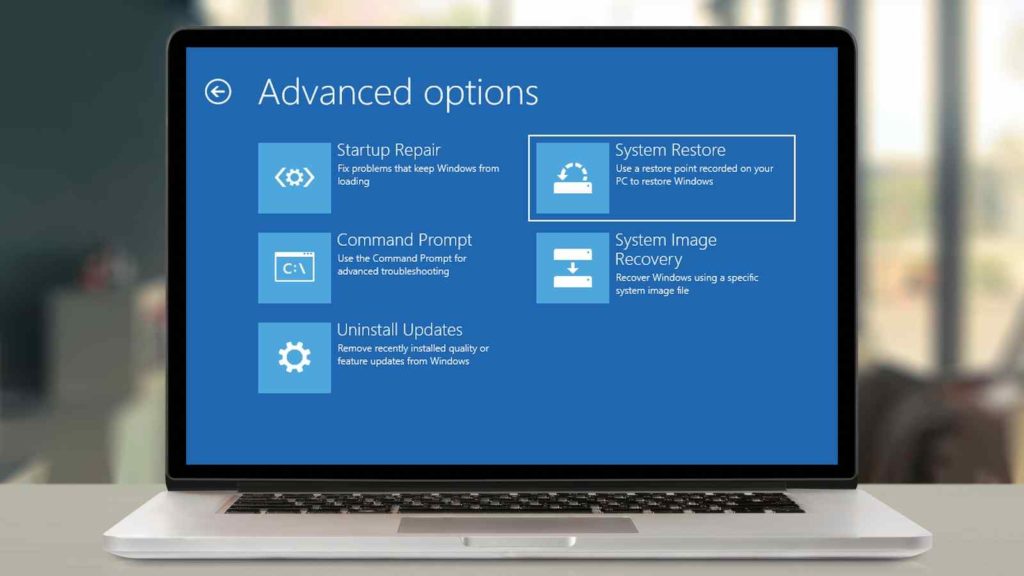
Image source: Tom’s Guide
System Restore is a useful feature on Windows OS that allows you to revert to a previous checkpoint while undoing all the recent changes. This nifty feature acts as a savior and helps in repairing the Windows environment without having to reinstall the entire operating system. By using the System Restore feature, you can easily roll back to any previously created “Restore Point” in case of system failure or data corruption.
The System Restore code error 0x800700b7 can be triggered due to corrupt system files and settings, damaged Windows components, outdated OS, presence of a virus or malware, or some issues related to incomplete installation.
You can use the below-listed methods to resolve the System Restore error on your device.
Also read: How to Use System Restore on Windows 11
How to Fix Error Code 0x800700b7 on Windows 11
Solution 1: Use Advanced System Optimizer
One of the most effective ways to deal with the System Restore code 0x800700b7 is to use specialized software that helps you get the job done within no time.
Download and install Advanced System Optimizer on your Windows PC, a comprehensive solution that delivers easy-to-use solutions to boost your PC’s speed and performance. Advanced System Optimizer (ASO) removes corrupt files, cleans the unwanted clutter to prevent your computerfrom unexpected crashes/slowdowns. It also defragments your disk drive for better allocation of data and response time.
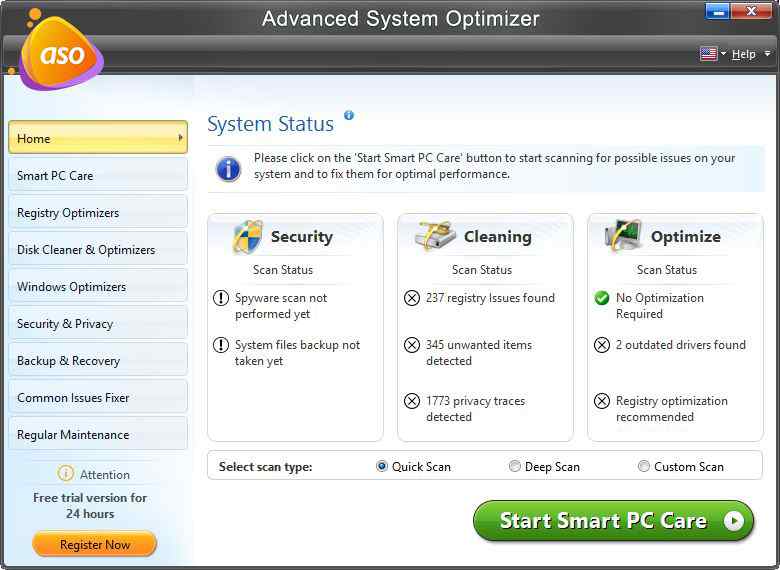
Advanced System Optimizer is an all-in-one PC optimizer tool for Windows that scans your device and resolves all the underlying critical issues.

Solution 2: Run the SFC Scan
System File Checker (SFC) is an in-built Windows utility that scans and restores corrupt system files. You can use the SFC tool via Command Prompt to check for file corruption and misconfigured settings. To run the SFC scan on Windows 11, follow these steps:
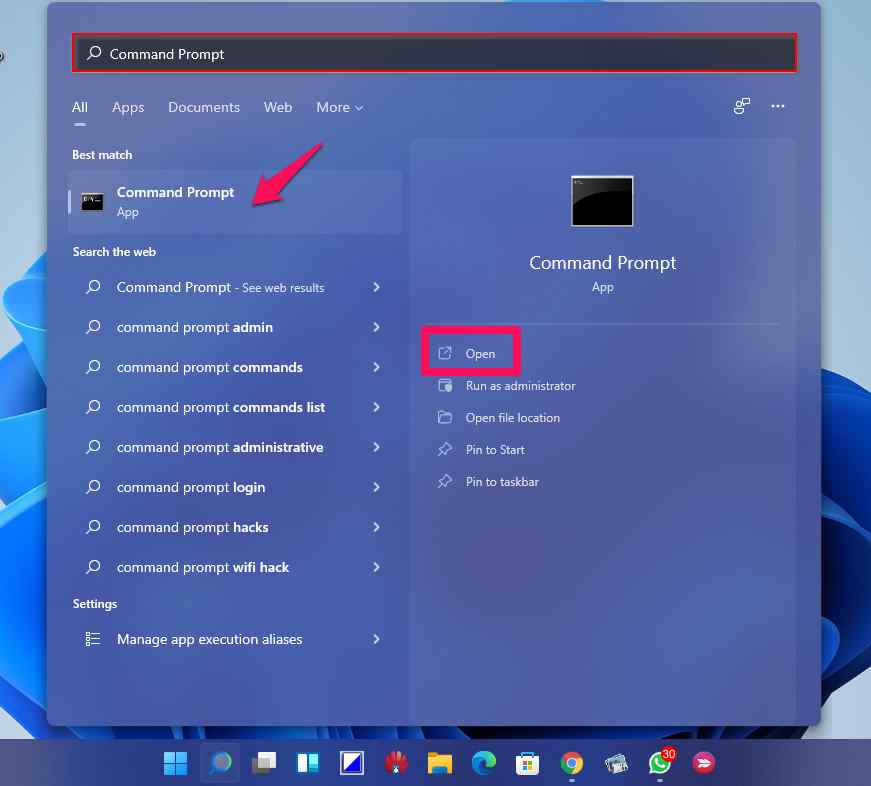
Press the search icon placed on the Taskbar, type Command Prompt. Now, select the “Run as Administrator” option.
In the Command Prompt window, type the following command and hit Enter.
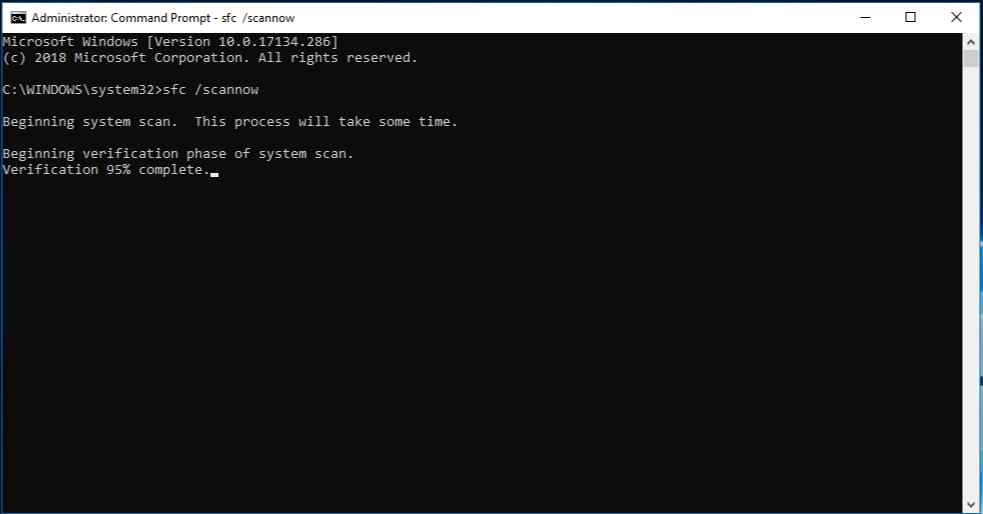
sfc/scannow
After the scan is completed, reboot your device and try using the System Restore feature to check if the issue persists.
Also read: How To Solve System Restore Greyed Out Problem In Windows 10?
Solution 3: Boot into Safe Mode
Press the Windows icon placed on the Taskbar, tap on the Power button. Now, hit on the “Restart” option while holding the Shift Key.
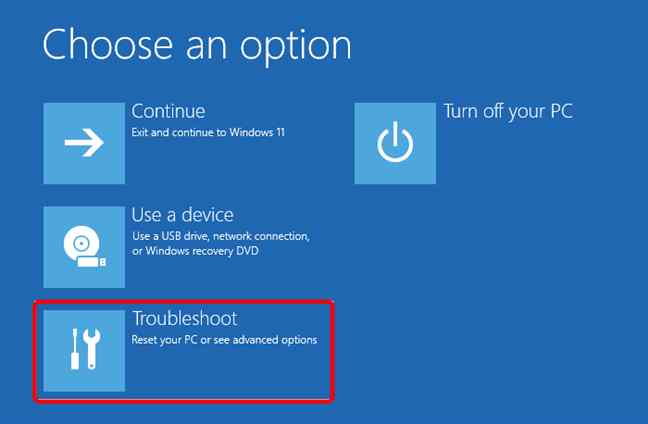
Once Windows boots in recovery mode, you will see a bunch of Advanced Startup options on the screen, select “Troubleshoot”.
Tap on “Advanced Options”.
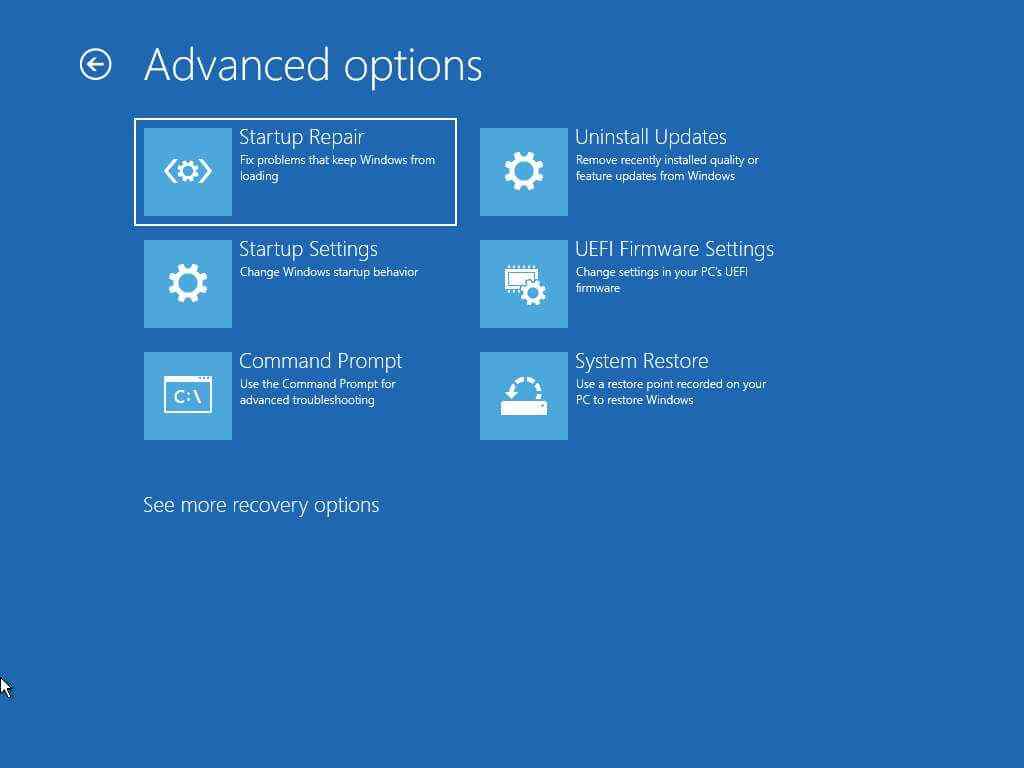
Tap on “Startup Settings”.
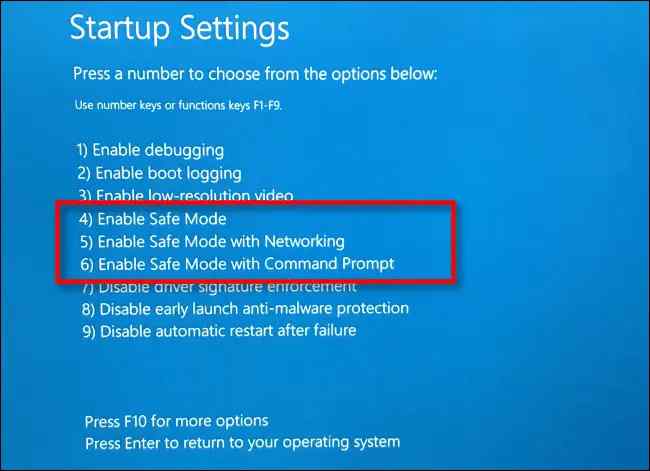
Now pick 4 to boot Windows into Recovery mode.
Once your Windows PC boots in Safe Mode, tap on the search icon placed on the Taskbar and then type “Create a Restore Point”.
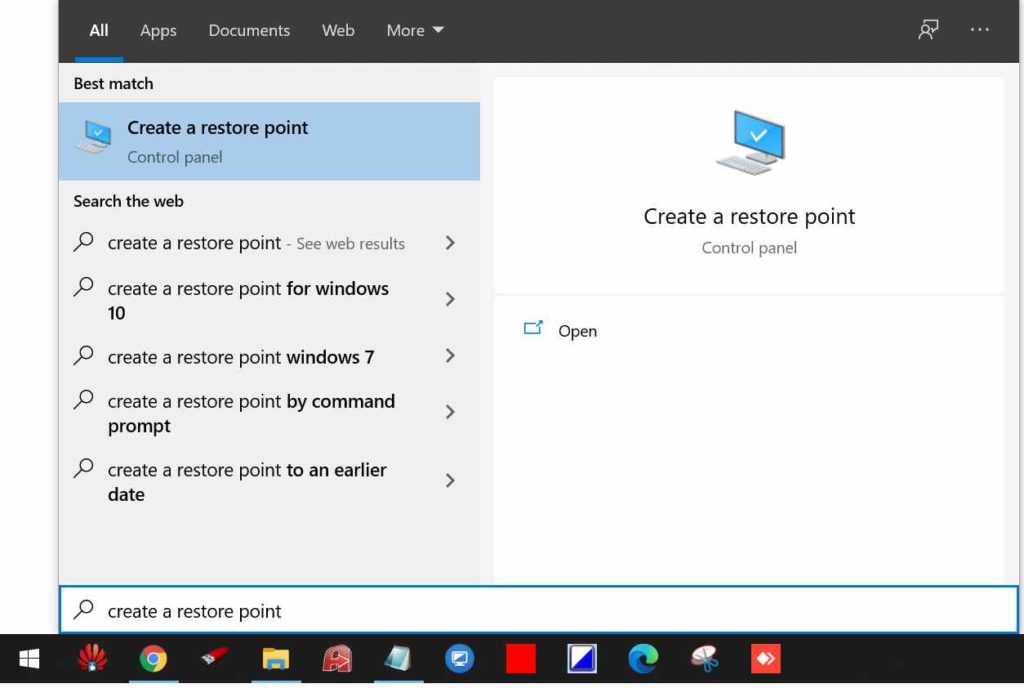
Tap on “System Restore”.
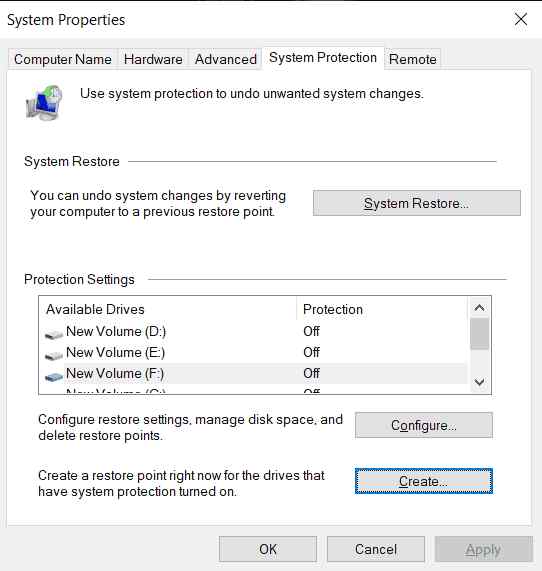
Tap on the “Choose a Different Restore Point” option. Hit on the Next button to proceed.

Pick a Restore Point from the list to revert your device to a previous checkpoint.
Solution 4: Edit the Registry
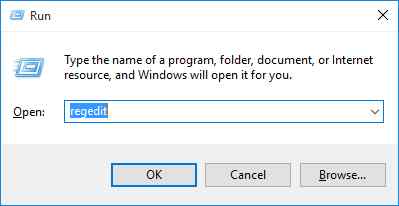
Press the Windows + R key combination to open the Run dialog box, type “Regedit” and hit Enter.
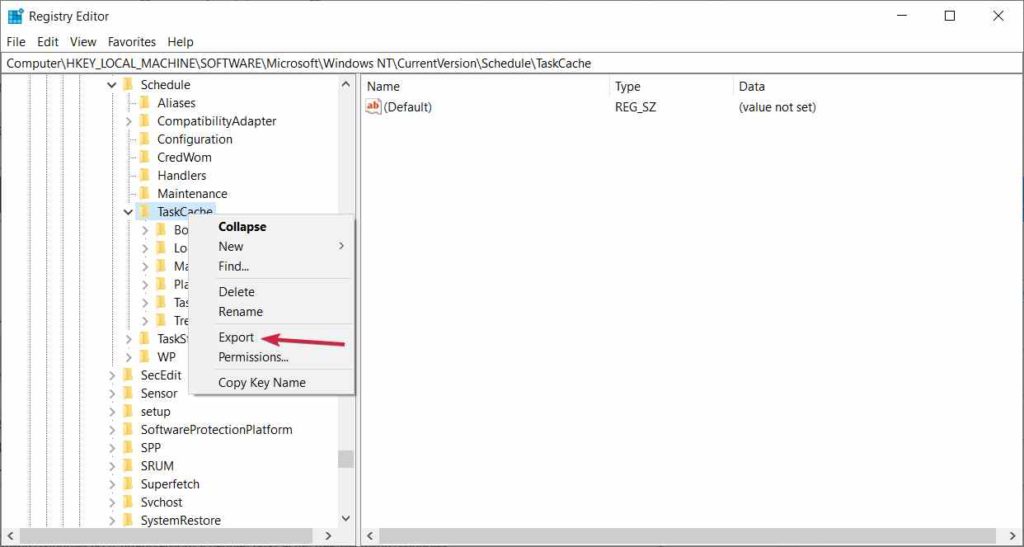
In the Registry Editor window, navigate to the following folder location:
Computer\HKEY_LOCAL_MACHINE\SOFTWARE\Microsoft\Windows NT\CurrentVersion\Schedule\TaskCache
Right-click on the Task Cache folder and then select “Export”.
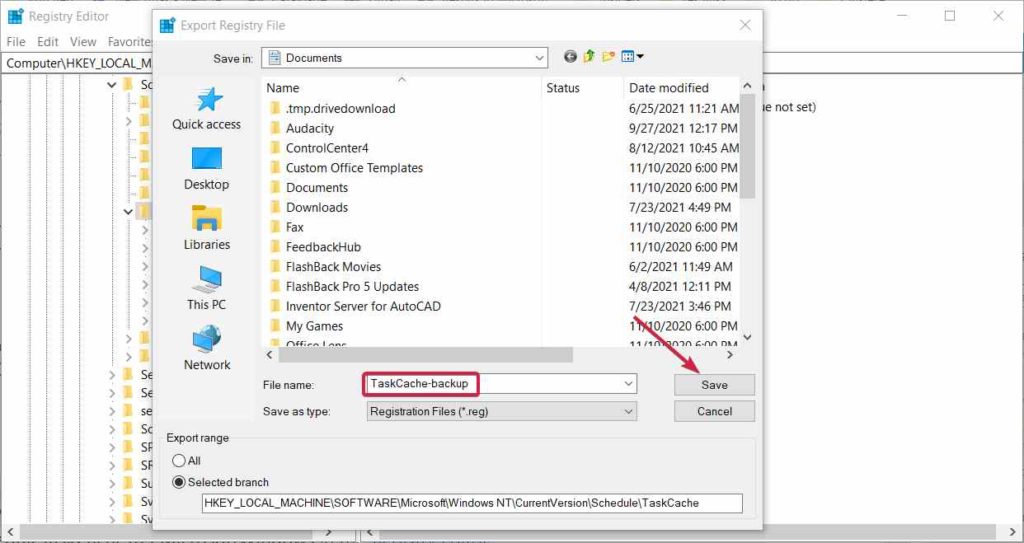
Enter a file name and then hit the Save button to backup the Task Cache Registry.
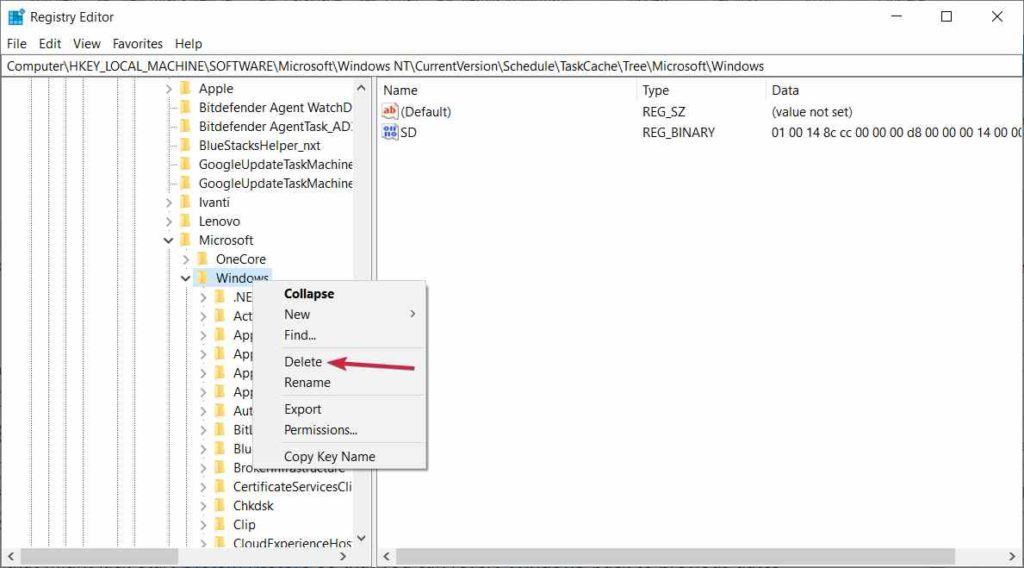
Exit all windows and now navigate to the following location in the Registry Editor window:
Computer\HKEY_LOCAL_MACHINE\SOFTWARE\Microsoft\Windows NT\CurrentVersion\Schedule\TaskCache\Tree\Microsoft\Windows
Right-click on Windows and then select “Delete”.
Following the above set of steps will erase the Task Registry cache on your device. Reboot your system and try using the System Restore feature to see if you’re still encountering the error.
Conclusion
Here were a few simple methods to resolve the System Restore error code 0x800700b7 on Windows 11/10. We hope the above-listed resolutions help you in fixing the error so that you can easily use the System Restore feature to repair Windows.
Follow us on social media – Facebook, Instagram and YouTube.
Good luck!