
Are you a Windows user who’s been struggling to keep your computer cool? Have you searched high and low for the system cooling policy option in your power settings, only to find that it’s missing? Well, fear not, because you’re not alone!
Many Windows users have reported this issue, and it can be a real headache, especially if you use your computer for high-performance tasks like gaming or video editing. In this post, we’ll explore why the system cooling policy option might be missing on your Windows device, and what you can do to work around it and keep your computer running cool and smooth.

But before we begin, let’s gain a little insight into Windows System Cooling Policy.
What is System Cooling Policy on Windows?
The system cooling policy is a feature in Windows that allows you to control how your computer’s cooling system operates. It determines how your computer’s fans and other cooling components respond to changes in the computer’s temperature.
There are two options available for the system cooling policy on Windows:
- Active Cooling Policy: The active cooling policy is designed to keep your computer’s components at a constant temperature, regardless of the workload. This means that the cooling system runs at full speed all the time, which can generate a lot of noise and consume more power.
- Passive Cooling Policy: The passive cooling policy, on the other hand, is designed to conserve power and reduce noise by running the cooling system only when necessary. When the computer’s temperature reaches a certain threshold, the cooling system will activate to reduce the temperature.
Also Read: How to Change System Cooling Policy in Windows 11/10
How to Access System Cooling Policy on Windows 11?
To access the system cooling policy settings in Windows, you can follow these steps:
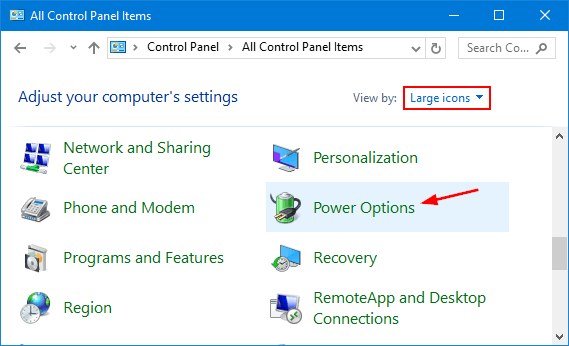
Step 1: Open the Control Panel and select Power Options.
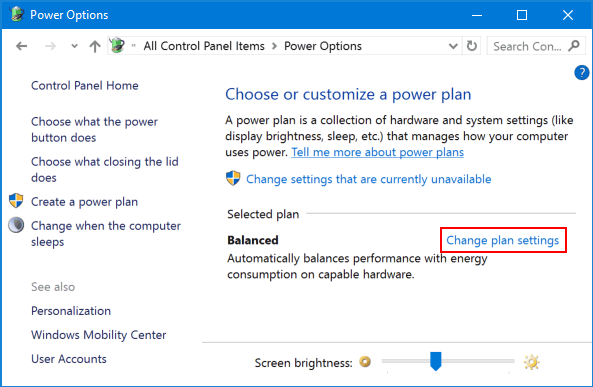
Step 2: Click on Change plan settings for the plan you want to modify.
Step 3: Tap on Change advanced power settings.
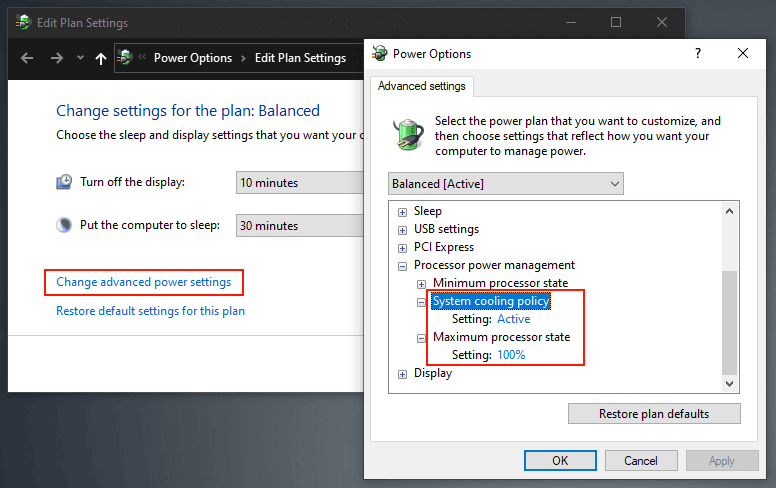
Step 4: Expand the Processor power management category.
Step 5: Expand the System cooling policy category.
Step 6: Select the cooling policy you want to use from the drop-down menu.
Step 7: Hit on Apply and then OK to save your changes.
System Cooling Option Missing on Windows? Try These Solutions!
Whether you’re a gamer, a video editor, or just a casual user, having control over your computer’s cooling system is essential for optimal performance and longevity. So let’s dive in and get your system cooling policy back on track!
Solution 1: Check Your Hardware Compatibility
Before trying any other solutions, make sure that your computer meets the hardware requirements for the system cooling policy option. The option is only available on computers with active cooling, which means they have fans or other cooling components that are controlled by the computer’s firmware or operating system. If your computer has passive cooling, such as a heat sink without fans, the system cooling policy option won’t be available.
Also Read: How To Fix An Overheating Windows 11 Computer
Solution 2: Use Windows PowerShell
Yes, you can use the Windows PowerShell app to get back the missing system cooling policy feature in the Power Options. Here’s what you need to do:
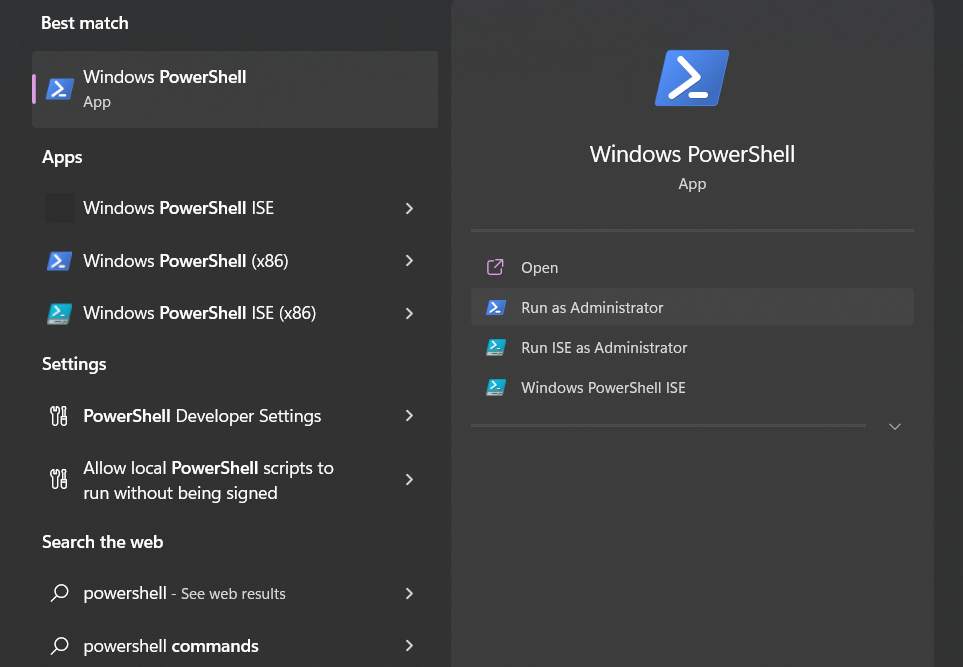
Step 1: To get started, tap on the search icon on the Taskbar and type “Windows PowerShell”. Select the “Run as administrator” option to launch the app in admin mode.
Step 2: In the PowerShell window, execute the following command:
powercfg -attributes SUB_PROCESSOR 94D3A615-A899-4AC5-AE2B-E4D8F634367F -ATTRIB_HIDE
And that’s it! Head back to Control Panel and check if the issue was resolved.
Also Read: 6 Best Tool To Stress Test GPU Of Your Windows PC
Solution 3: Edit the Registry
You can also restore the missing system cooling policy option in Power Options by making changes to the Windows Registry. Here are the steps to fix a missing system cooling policy using the Windows Registry:
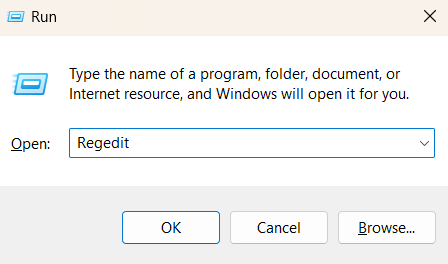
Step 1: Press the Win + R key combination to open the Run dialog box. Type “regedit” in the textbox and hit Enter.
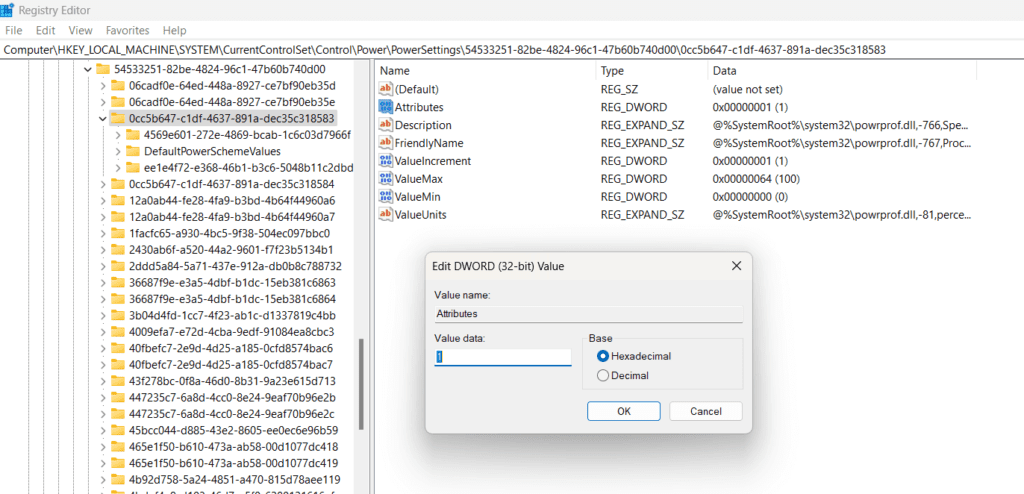
Step 2: In the Registry Editor window, navigate to the following folder location:
HKEY_LOCAL_MACHINE\SYSTEM\CurrentControlSet\Control\Power\PowerSettings\54533251-82be-4824-96c1-47b60b740d00\0cc5b647-c1df-4637-891a-dec35c318583
Step 3: Double-click the “Attributes” value on the right-hand side of the window and then change the value from “1” to “2” and click “OK”.
Step 4: Close the Registry Editor and open the Power Options menu from the Control Panel.
Step 5: Under “Choose or customize a power plan”, click “Change plan settings” next to the plan you want to modify.
Step 6: Click “Change advanced power settings”.
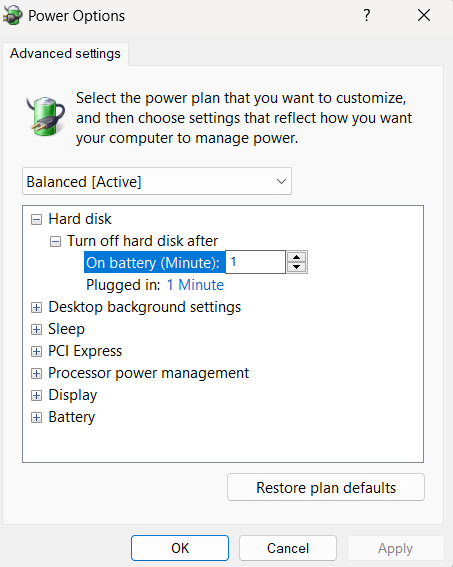
Step 7: Expand the “Processor power management” and “System cooling policy” categories.
Step 8: Change the “System cooling policy” option to “Active” or “Passive”, depending on your preference.
Once you’re done, tap “Apply” and then “OK” to save your changes.
Why is the System Cooling Policy Missing from Windows Power Options?
There are several reasons why the system cooling policy option might be missing from your Power Options:
- The system cooling policy option is only available on computers with certain hardware configurations, so if your computer doesn’t meet these requirements, the option won’t be available.
- Some laptop manufacturers disable the system cooling policy option in their customized Power Options settings, so you may need to use a third-party tool or modify the Windows Registry to regain access to the option.
- In some cases, Windows updates or other system changes can cause the system cooling policy option to disappear from your Power Options.
Also Read: 6 Ways to Fix Pink Screen of Death Error on Windows PC
Conclusion
The missing system cooling policy issue on Windows 11 can be a frustrating problem, but there are several solutions available to help you regain access to this important Power Option. Before making any changes, make sure your computer meets the hardware requirements for the system cooling policy option. If your computer is compatible but the option is still missing, you can try modifying the Windows Registry.
By following the solutions outlined in this post, you should be able to get your system cooling policy back on track and keep your computer running at optimal temperatures.
Was this post helpful? Which method did the trick for you? Feel free to share your troubleshooting. experience in the comments section! Follow us on social media – Facebook, Instagram and YouTube.