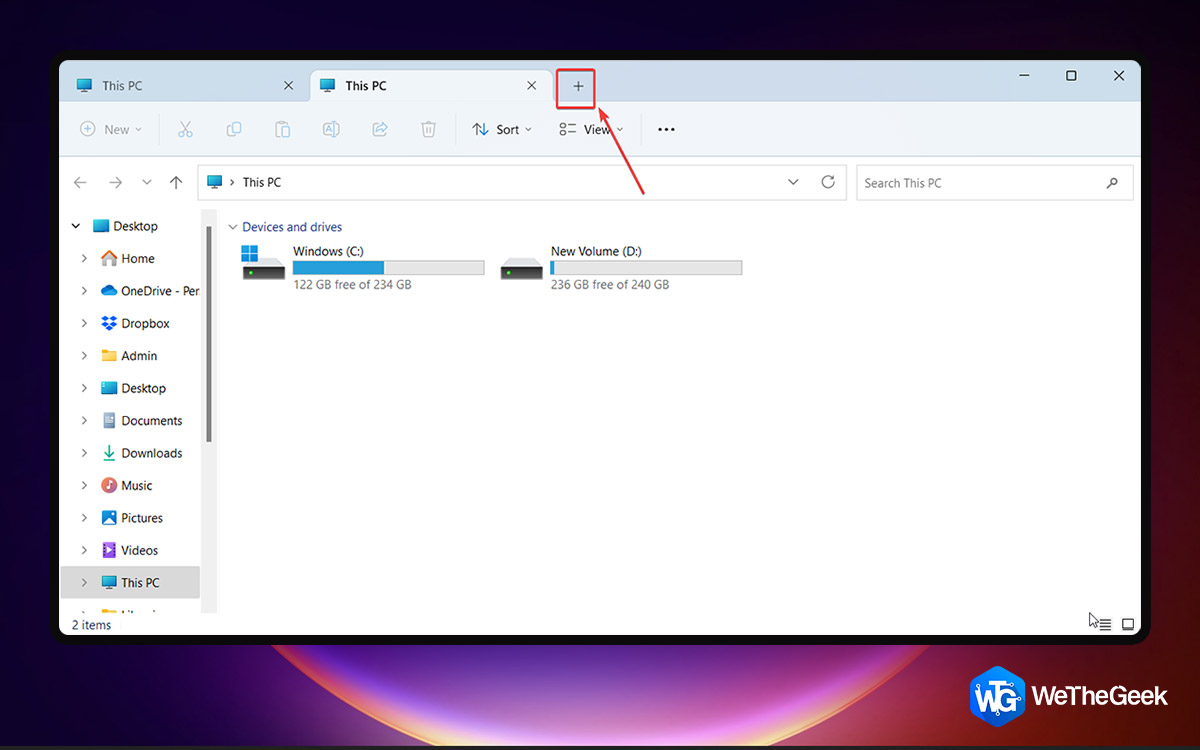
We recently talked about the Windows 11 22H2 update and the range of exciting features it has bought such as the Clipchamp Video Editor, New Snap Bars, Updated NotePad, etc. One feature, that has, in particular, excited users is the File Explorer Tabs where you can click on the “+” sign and open several Tabs. However, despite upgrading to Windows 11 22H2, some users still can’t access this feature.
In this post, we’ll look at the many ways in which you will be able to fix the “File Explorer tabs not showing” issue. Read on –
File Explorer Tabs Not Showing In Windows 11? Here Are Things You Can Do
Here are some of the tried and tested ways that can help you access tabs in File Explorer if you haven’t been able to up until now. Meanwhile, you can also try out ViVeTool as shown in this post which can help you access hidden Windows features
1. Restart Your Computer
How about starting with something as simple as restarting the computer? Restarting the computer is often the one-stop solution to various kinds of performance issues. And, if you have just updated your Windows to 22H2, a restart is something you shouldn’t ignore.
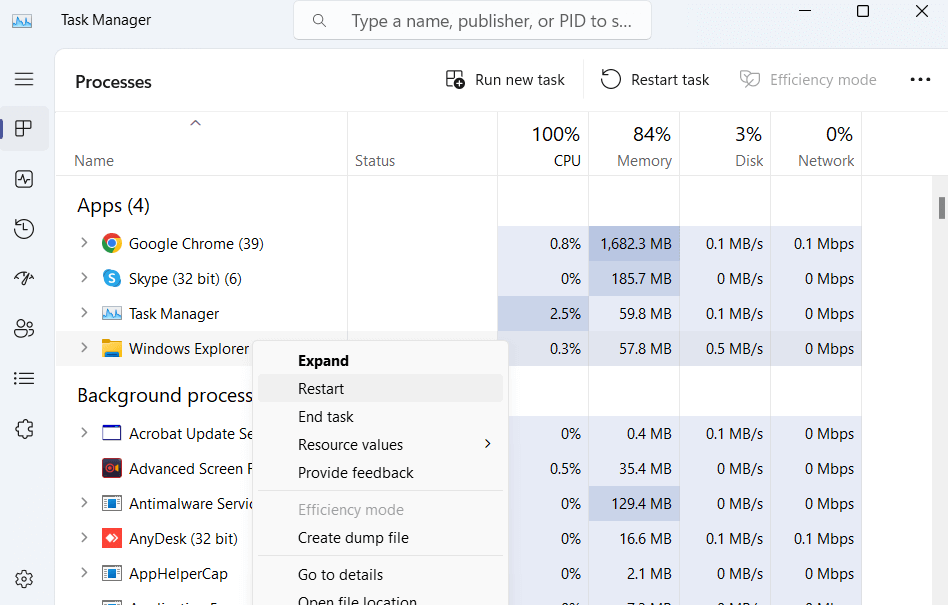
2. Restart Windows Explorer Process
The Windows Explorer process must function properly. Sometimes, the new features might not show up if old processes are running in the background. This could also be the case with your File Explorer. Here is how you can restart the process.
- Open Task Manager by pressing Shift + Ctrl + Esc
- Locate Windows Explorer
- Right-click on it and click on Restart

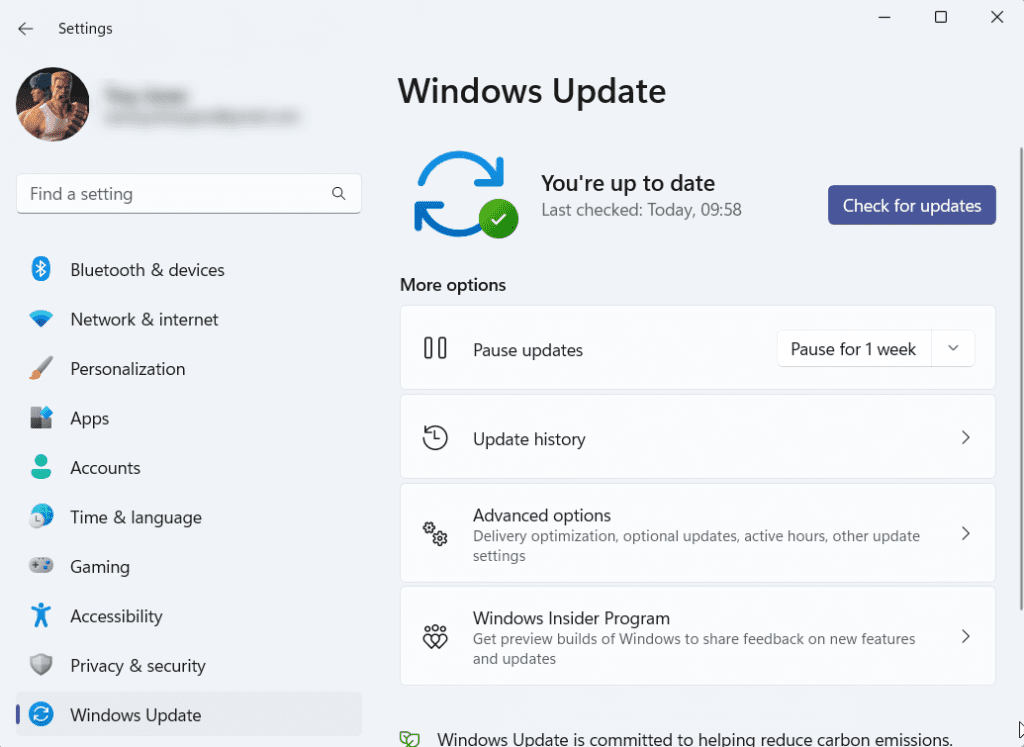
3. Update Your Windows or Reinstall Updates
Here you can check if you have installed the Windows 22H2 update. If not, here are the steps to update your Windows.
- Open Settings
- From the left, click on Windows Update.
- Click on Check for updates.
- Install any pending updates.
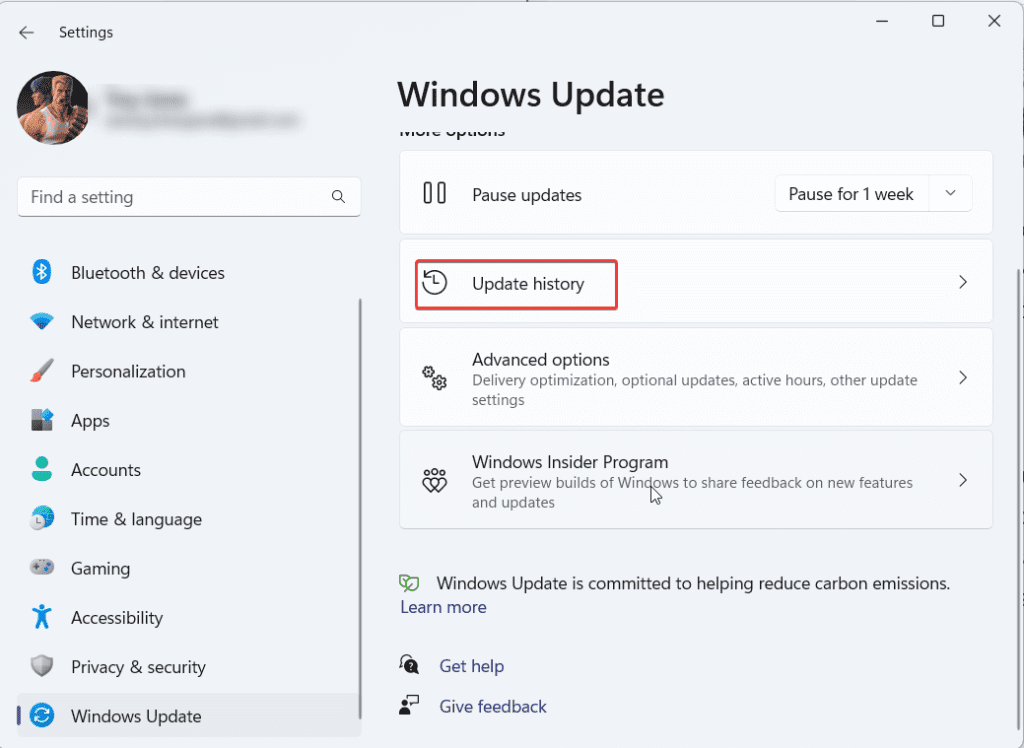
And, in case you had installed the 22H2 update, maybe it didn’t get installed correctly. In that case, you can uninstall the update and reinstall it, here are the steps to do that –
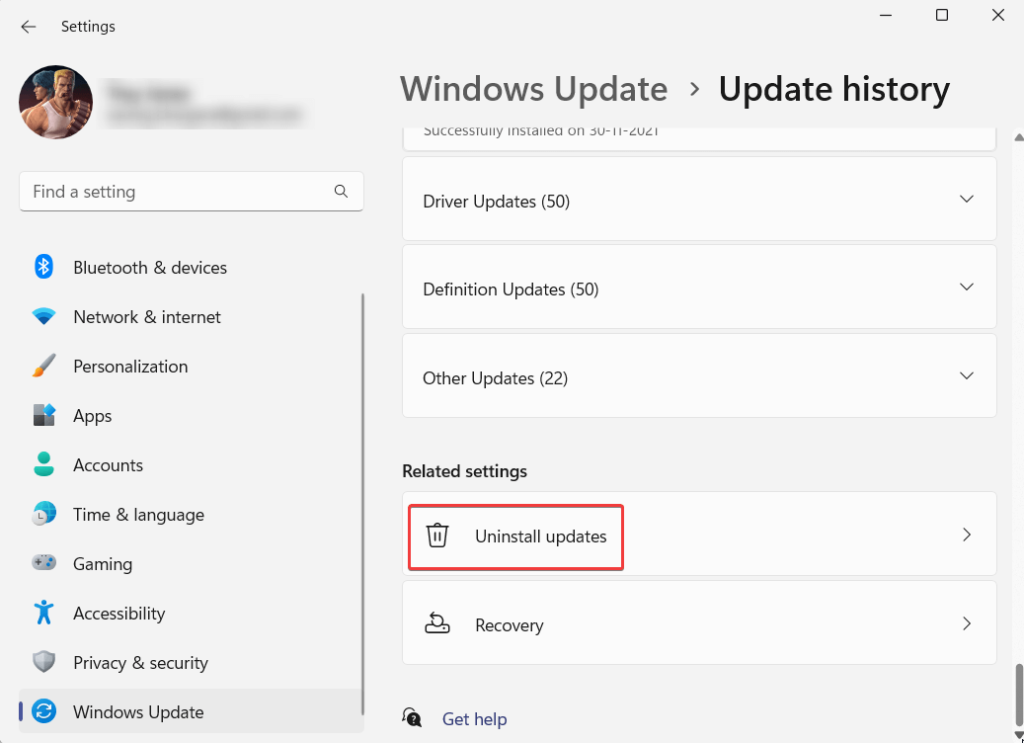
- Open Windows Update as shown above.
- From the right, click on Update history.
- Scroll down and click on Uninstall updates under Related settings
- Locate the 22H2 update and click on Uninstall.
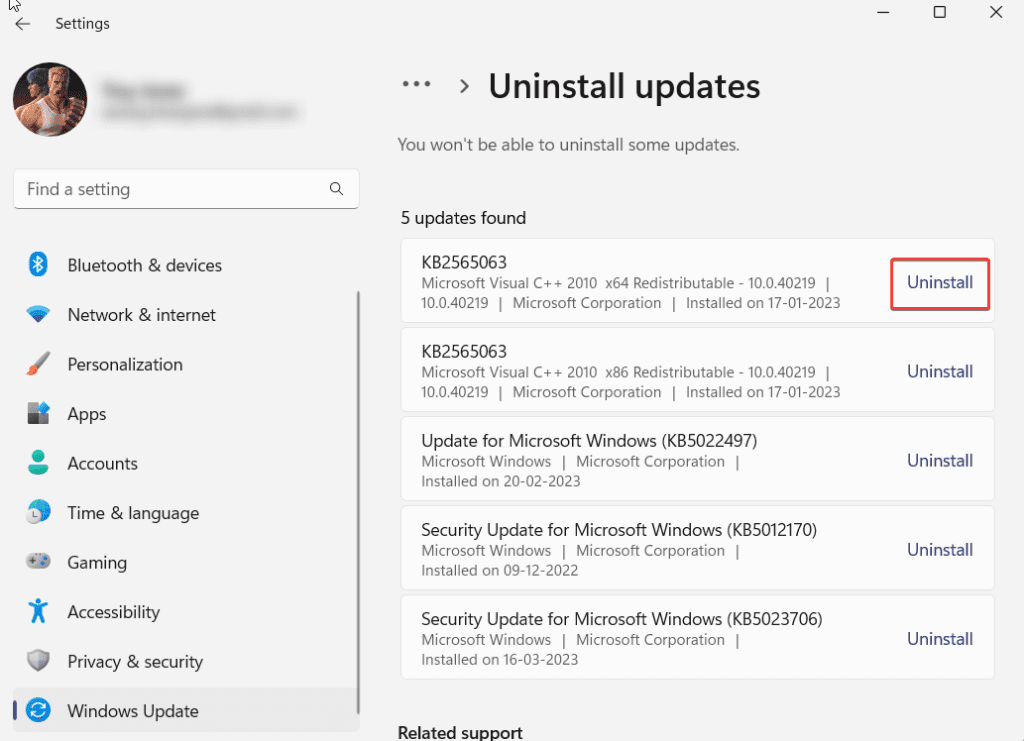
In case the 22H2 update doesn’t show up here, you may have to opt for a clean install of Windows 11.
4. Run SFC
As we have mentioned in many of our posts, corrupt system files are often the reason behind many system issues and if you are unable to see tabs in your File Explorer, corrupt system files might be responsible. You can easily get rid of them using the SFC command in the Command Prompt. To do that –
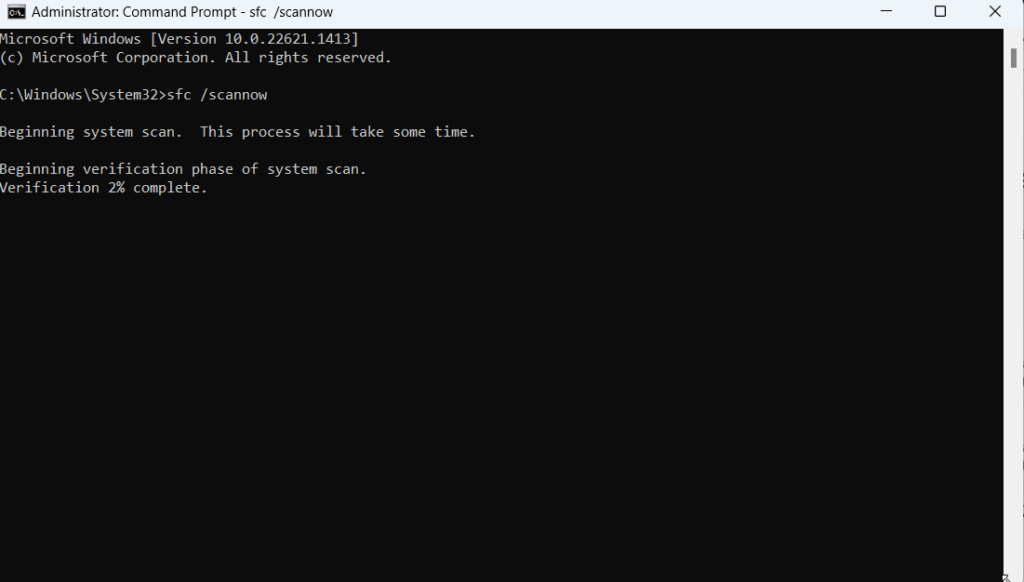
- Open Administrative Command Prompt by searching for cmd in the Windows search bar and then clicking on Run as administrator from the right.
- When the Command Prompt opens, type sfc /scannow
- Press Enter.
- Let the process complete
5. Clear File Explorer History
By clearing the File Explorer history you can remove irregularities in File Explorer which could be the reason why you are unable to access the File Explorer tabs –
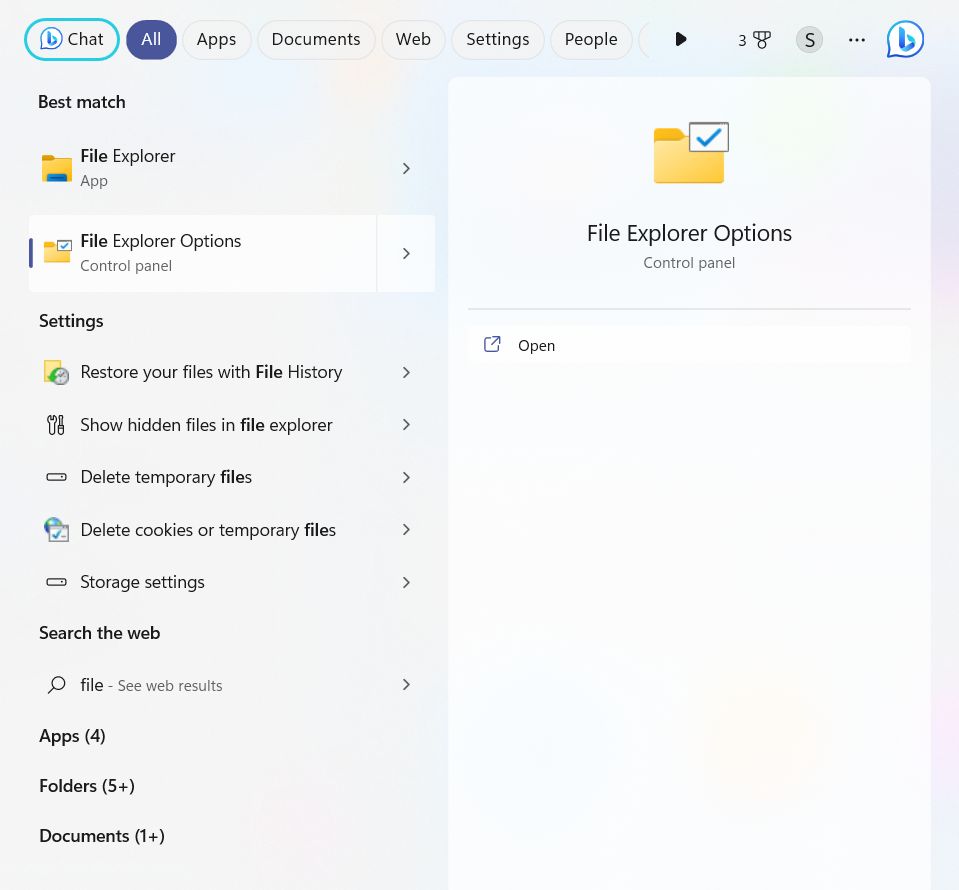
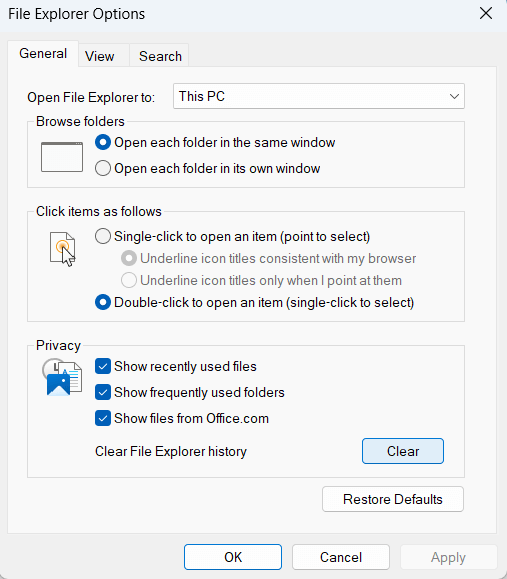
- In the Windows search bar, type File Explorer Options and click on Open.
- In the General tab, go to Clear File Explorer history under Privacy
- Click on Clear
6. Check For Malware
If, despite all the solutions in this post, you are unable to see tabs in File Explorer, your computer might be infected with malware. You can either use Windows Defender to scan and remove malware or you can even count on third-party anti-malware software.
7. Run System Maintenance Troubleshooter
Windows 11 itself has a System Maintenance Troubleshooter that can help you get rid of desktop shortcuts, and unused files, and run other maintenance tasks. It can also help get rid of hindrances that are stopping Windows Explorer from functioning properly.
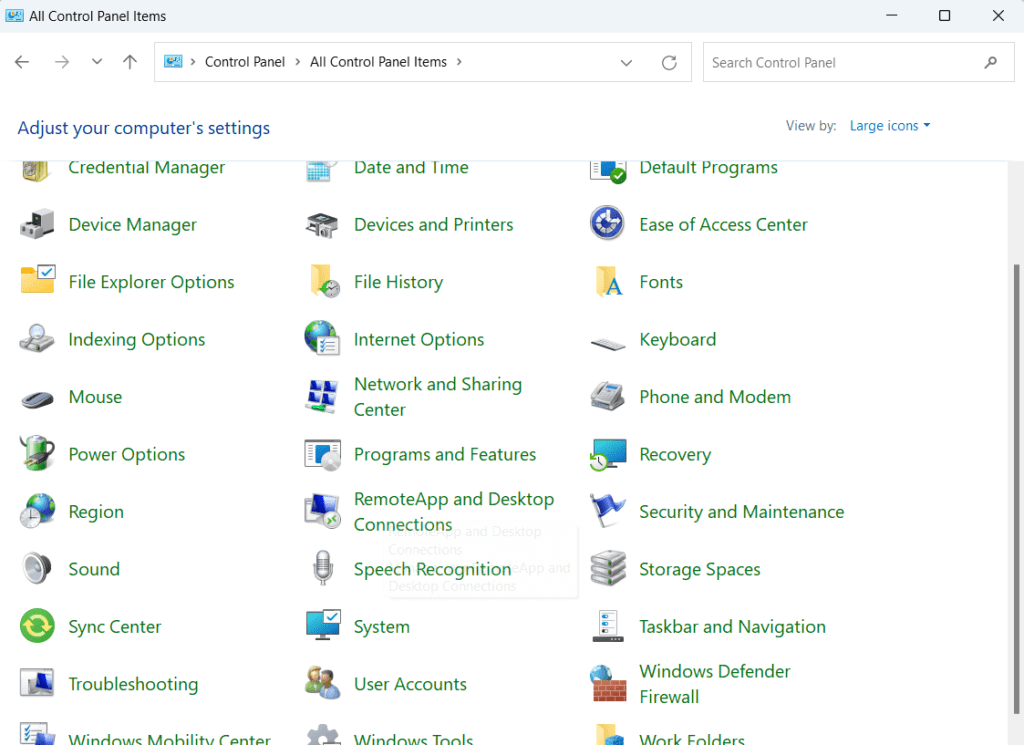
- Open the Control Panel by typing Control in the Windows search bar
- Click on the View by dropdown and select Large icons.
- Click on Troubleshooting.
- Under System and Security, click on Run maintenance tasks
- Click on Next
Wrapping Up
We hope that after having tried these solutions, you are now able to enjoy tabs in your File Explorer. And, if you have been able to successfully resolve the issue, do take a moment and share the exact solution that helped you out. For more such content, keep reading WeTheGeek. You can also find us on Facebook, Pinterest, YouTube, Flipboard, Instagram, and Twitter.