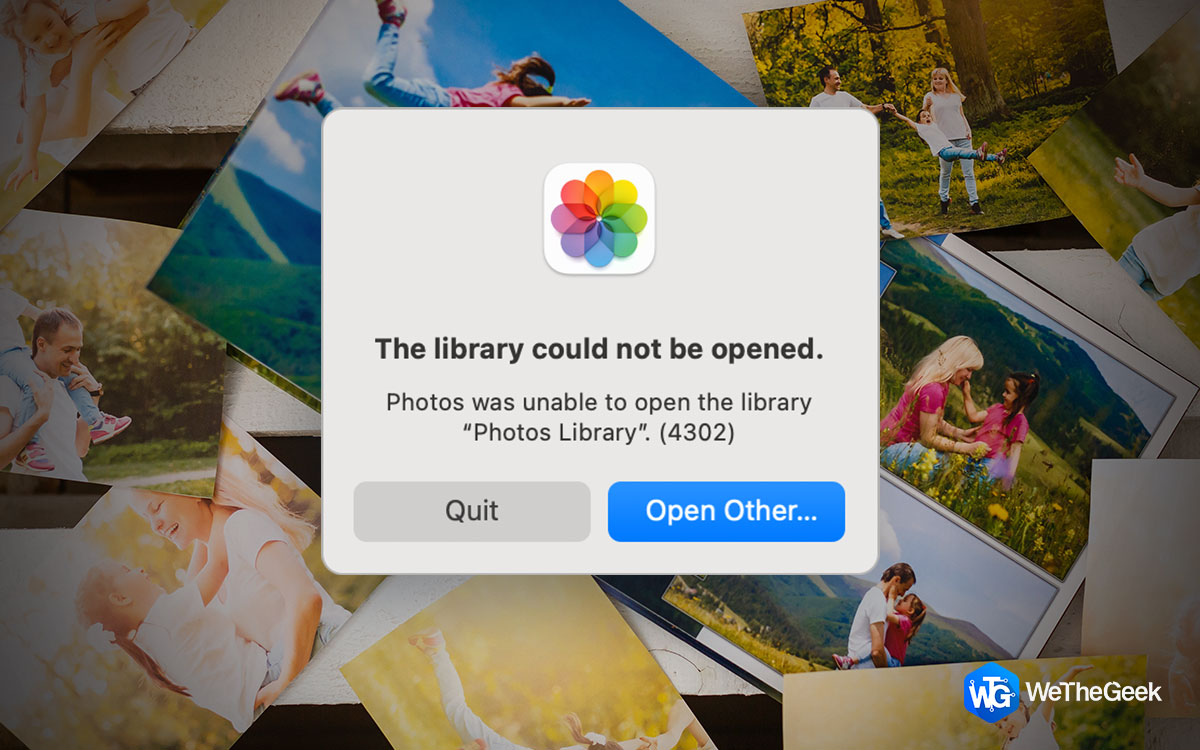
Tried to open the library in your Photos app only to receive the error Photos was unable to open the library “Photos Library”. (4302)?
With the update 11.5.1, macOS 11 Big Sur has stopped supporting photo libraries on external drives that are either formatted for Windows OS or exFAT drives. The only file system that macOS now supports is APFS.
What is Error 4302 in Photos On Mac?
Various users who updated their Mac to Big Sur (11.5.1) were unable to access their Photos library from an external hard drive and saw error 4302. The error might also surface when –
- There are disk errors.
- Conflicting permissions
- Library corruption.
Best Ways To Resolve Photos Error 4302 “ Photos Was Unable to Open the Library”
1. Repair Corruption Issues With Photos Library
As we said, library corruption can be one of the reasons why you are receiving this error. The good news is, the Photos itself has a “Repair” tool using which you can identify and resolve the issue. Here are the steps to do that –
- Exit Photos app
- Open Photos from Launchpad or Dock.
- Choose Repair.
- Enter your Mac’s password.
- Wait for the process to complete.
2. Use A Time Machine Backup
If possible you can use a Time Machine backup and revert Photo Library to a time when everything was working just fine. Why did we mention “If possible”? That’s because unless the drive was a part of Time Machine backup, you won’t be able to restore Photo Library –
- Exit Photos app.
- Start Finder and head to the directory that has your photo library.
- From the menu bar, select Time Machine and choose Enter Time Machine.
- Navigate the Time Machine backups using the up arrow and down arrow keys.
- Once you have found the version you want to restore, click on Restore.
- Open Photos. In case you use iCloud Photos, recent changes will start syncing soon.
3. Ignore Ownership of External Hard Drive
Please note: The option “Ignore ownership on this volume” is available for APFS and HFS+ drives.
- Select the External Drive using the ctrl + click operation, or select File > Get Info from the Finder sidebar.
- Click on the Lock icon and furnish your admin password.
- Click on the arrow next to Sharing & Permissions.
- Click on the checkbox that says Ignore ownership on this volume.
4. Perform a System Update
Timely software updates are very important for your Mac. Through these updates, bugs are fixed and features are rolled out. It is likely that a simple update may just be able to fix the issue. Here are the steps to update macOS.
- Click on the Apple Menu.
- Select System Preferences.
- Select Update Now

- If there is an update available you will see an Upgrade Now button.
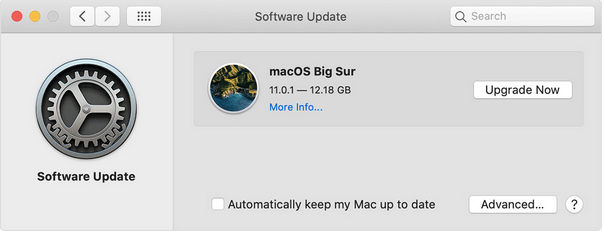
Now check if the photo library opens without error 4302.
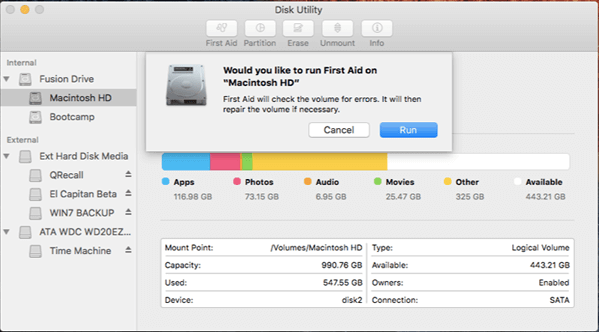
5. Repair External Drive Using Disk Utility
When receiving error 4302 despite trying all the above solutions, the possibility of disk-related issues can’t be ruled out. Here, you can use the First Aid option in the Disk Utility to identify and remove such issues –
- Open Launchpad
- Select Other, and then click on Disk Utility
- Select the drive from the sidebar.
- Choose the First Aid option.
- Click on Run.
- Wait until Mac checks for any errors and once the process is complete, click Done.
6. Format Your External Drive To APFS or HSF+
External hard drives formatted in the exFAT format can lead to the error in question. You can convert your exFAT drive to either HSF+ or APFS.
Before you chose to convert your exFAT drive to either of the formats, we urge you to take a backup of your data elsewhere. That’s because once you have formatted the drive, you will lose all your data. Once you have done that here is how you can format your external hard drive –
- Open Disk Utility.
- Select your external drive from the sidebar.
- Click on the Erase button.
- Set the Format to Mac OS Extended or APFS and Scheme to GUID Partition Scheme.
- Choose Erase to confirm.
- Select Done.
 Additional Tip
When copying photos from one drive to another there are chances that duplicate photos may surface. To avoid duplicates, you can use a utility like Duplicate Photo Fixer Pro.

Here is how this utility can make your life simple when it comes to getting rid of similar and identical duplicates –
- The utility helps you get rid of both exact and similar-looking images in a few clicks.
- Categorizes duplicate photos into groups. You can automate the duplicate photo in each group.
- It supports both external and internal storage mediums.
- Remove duplicate photos directly from Google Drive and Photos.
- It is available on Windows, macOS, and Android.
Want to see the tool in action? Here is an in-depth that’ll take you through the various options and show how easy it is to get rid of duplicates using Duplicate Photos Fixer Pro.
Wrapping Up
Do let us know if you are now able to access your Photos Library and have stopped receiving the error message 4302 with the Photos utility on your Mac. And, if you have, which of the above solutions worked out for you, do let us know in the comments section below. For more such content keep reading WeTheGeek.
