
This article will teach you how to enable or disable Quick Settings on your Windows 11 PC. Users can use the Quick Settings panel to access Accessibility, switch Wi-Fi, enable/disable Battery saver, Airplane mode, Bluetooth, and other available features when Quick Settings is activated. However, for individuals who do not need it, there are two alternatives for hiding Windows 11 Quick Settings.
Note: The Quick Settings panel will not appear after you have disabled this option. Its hotkey (Win+A) will not operate, and the system tray icons will not open Quick Settings (battery, Wi-Fi, volume). But really, don’t worry; if you want to use Quick Settings again, you can enable and display it at any moment.
How To Enable Or Disable Quick Settings In Windows 11 Computer
Method 1: Group Policy Editor Can Be Used To Disable Quick Settings
Step 1: Press Windows + S and type Group Policy Editor.
Step 2: Click on the Edit Group Policy from the search results.
Step 3: A new box will open where you must locate and expand the folder named User Configuration, followed by Administrative Templates.

Step 4: Now locate and select Start Menu and Taskbar option.
Step 5: There will be a list of various settings in the right panel of the group policy editor window. Look for the Remove Quick Settings option on the right section and double-click on it.

Step 6: Select the Enabled option in the upper left area there.

Step 7: Press the OK button.
Step 8: Reboot your PC for the changes to take effect.
On your Windows 11 machine, this will turn off or remove Quick Settings.
Note: To enable quick Settings once again, follow the steps mentioned above, and this time, select the Not Configured option in the Remove Quick Settings window to turn on or show Quick Settings in Windows 11. Click on the OK button and reboot your PC.
Method 2: Windows Registry Can Be Used To Disable Quick Settings
Step 1: Press Windows + R to open the RUN box.
Step 2: Type Regedit in the text box followed by the Enter Key.
Step 3: Once the Windows Registry opens, navigate to the following path:
HKEY_LOCAL_MACHINE\SOFTWARE\Policies\Microsoft\Windows
Step 4: Click on the Windows key to select it and then locate the Explorer key. If it is not present, then you will have to create it.

Step 5: Keeping the Windows key selected in the left panel, right-click on the right panel, and choose New, followed by DWORD (32-bit) Value.

Step 6: Rename this key as DisableControlCenter.
Step 7: Double-click the DisableControlCenter key and change the value data from 0 to 1.
Step 8: Exit the Registry Editor and reboot your computer.
Note: Follow the steps again and change the value data from 1 to 0 of the DisableControlCenter key if you wish to enable the quick Settings. Do not forget to reboot your computer after you make any setting changes.
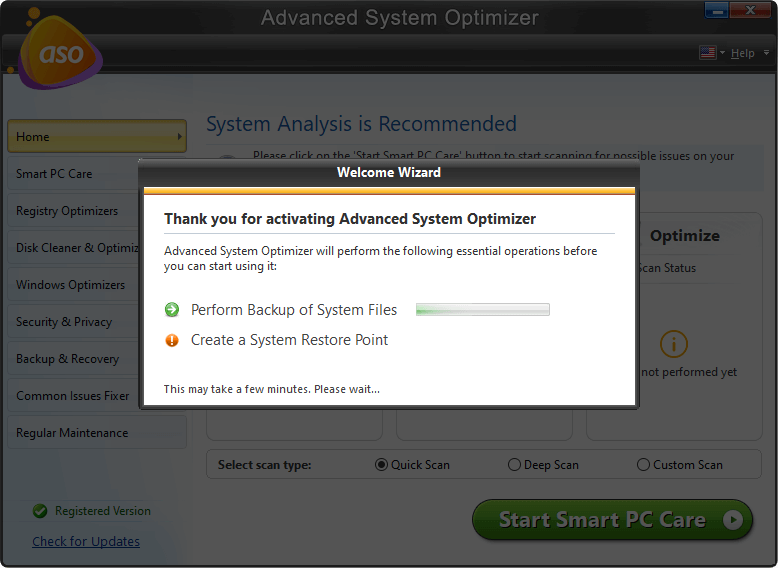
Bonus Tip: Advanced System Optimizer For Windows Registry

When you have a problem with your computer, you will search the internet for a solution. In most circumstances, one of the options suggests modifying your Windows Registry.
On the other hand, this tool should not be toyed with until you’re confident you know what you’re doing. Duplicate keys and unknown or leftover keys are the most prevalent Registry issues. These undesired entries are unlikely to create problems and should be ignored. If you believe many of these registry keys have been gathered, I recommend removing them with expert software.
Advanced System Optimizer is a comprehensive program for Windows PCs that includes numerous modules for computer maintenance.
Regarding the Windows Registry, there are two distinct modules to consider:
Registry Cleaner: This module examines the Windows Registry, removing any unnecessary data references and preventing program crashes.
Registry Optimizer: This module defragments and compresses the Windows Registry.
Both of these modules can assist in the maintenance of your Registry and enhance your computer’s performance. The best thing is that the procedure is fully automated, requiring only a few clicks from the user.
The Final Word: How To Enable Or Disable Quick Settings In Windows 11 Computer:
If the default options in Windows 11’s Quick Settings panel aren’t to your liking, you can quickly modify them by clicking the Edit quick settings icon in the Quick Settings panel. In the Quick Settings panel, a pencil icon appears just before the Settings icon. Otherwise, you can disable them for good using any of the two methods described above.
Follow us on social media – Facebook, Instagram, and YouTube. Please let us know any queries or suggestions in the comments section below. We would love to get back to you with a solution. We regularly post tips, tricks, and answers to common technology-related issues.