
Disk Utility can be your go-to place to erase or reformat a hard drive especially if you are undergoing a dearth of storage space.
But, what if you come to a point where your Disk Utility won’t erase hard drives on Mac. To make things more relatable, let’s assume you are planning to sell your old Mac to someone and you are in a hurry to erase hard drives on Mac so that the new user has no access to the data. And, just when you try and erase data your Disk Utility acts up and doesn’t let you do that.
If you are in such a position, needn’t worry! We’ll give you some of the best moves you can make if your Disk Utility won’t erase hard drives on Mac. First, let’s quickly have a look at some reasons so as to why this issue is taking place –
Probable Reasons Why Disk Utility Won’t Erase Hard Drives On Mac
- Outdated Mac
- Corrupt files
- Erase option in Disk Utility is greyed out
- Boot sector problems
- Kernel panic issues
- Virus or malware attack – If you suspect this, take prompt steps to remove it.
What To Do If Disk Utility Won’t Erase Let You Erase Hard Drives On Mac
1. Update Your Mac
Before you delve into advanced moves, let’s start with basic ones. An outdated Mac could be the culprit and is causing your hard drive to not erase hard drives on Mac. What to do next? Simple! Update your Mac and here’s how you can do that –
1. Click on the Apple icon
2. Head to System Preferences
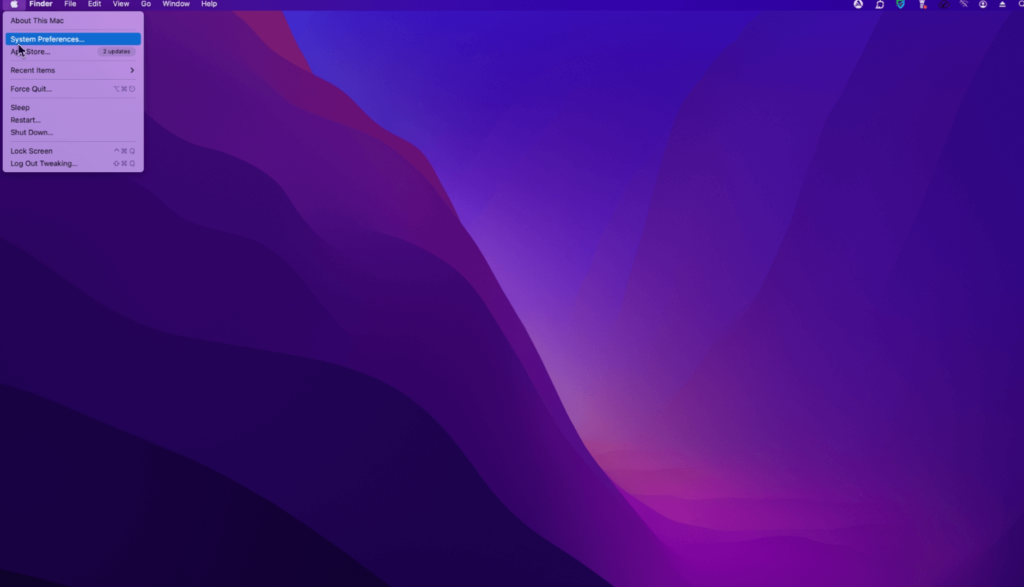
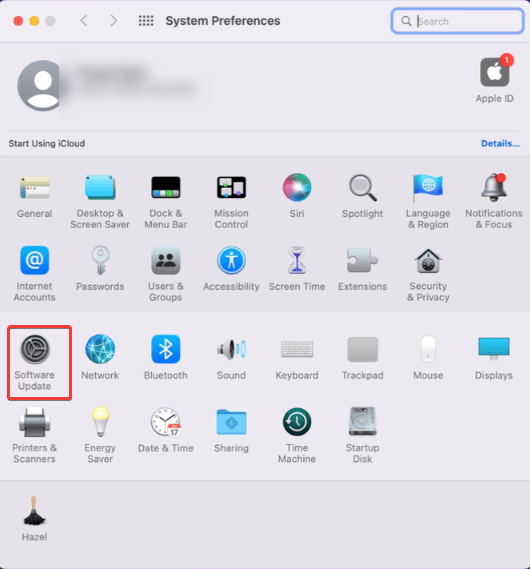
3. Click on Software Update
However before you update your Mac to a new version, you can go through this post that’ll tell you what to do in case you are unable to update your Mac or how to find if your Mac is update-ready.
2. Enable Show All Devices
If your Disk Utility is unable to erase the hard drive on Mac, you can enable the “Show All Devices” and see if then you are able to view the hard drive you want to delete –
1. Open Finder
2. From the left-hand side, click on Applications
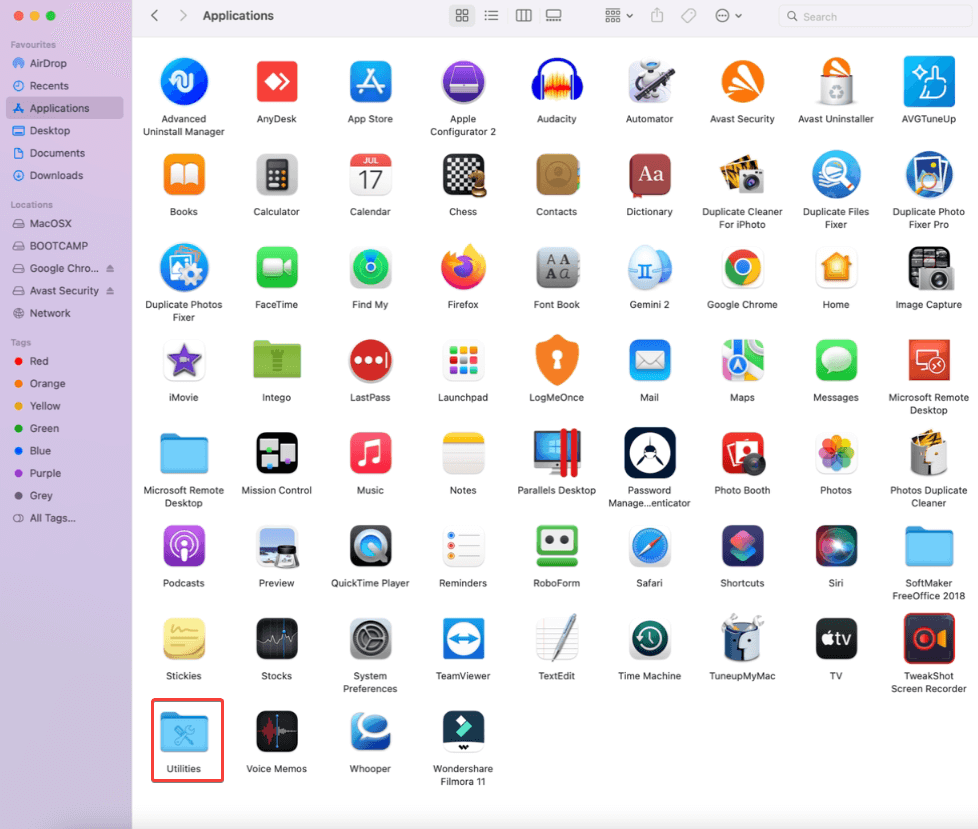
3. Head to Utilities
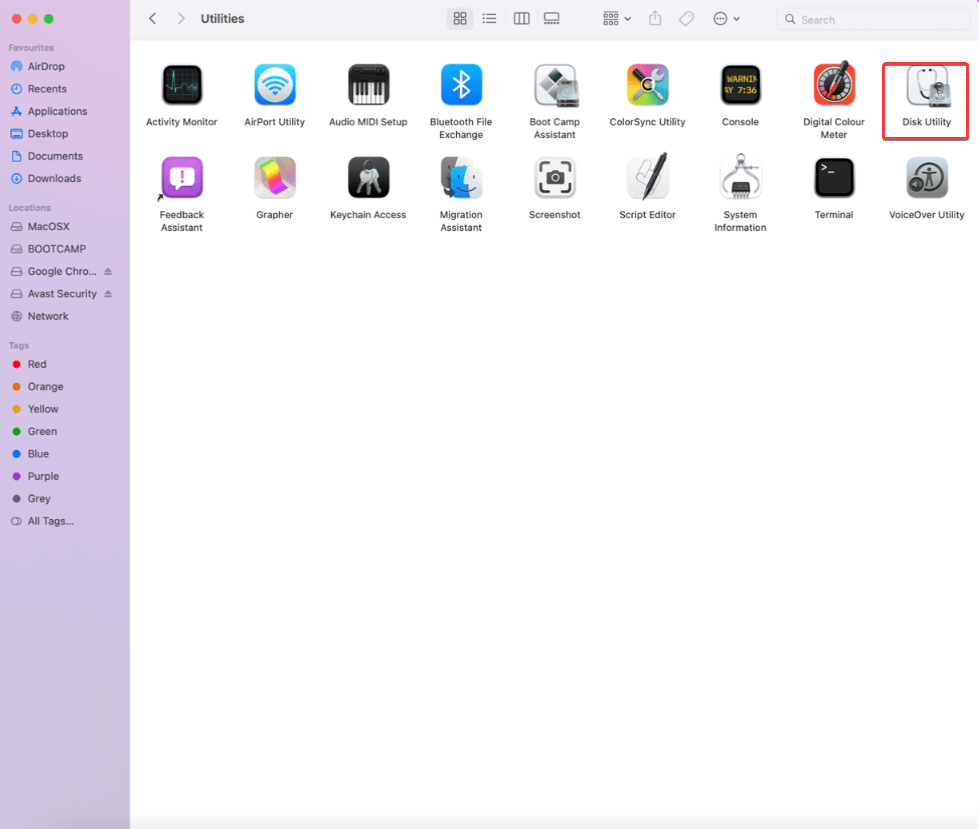
4. Click on Disk Utility
5. From the topmost left-hand corner, click on the view icon just under the close/ minimize and maximize buttons and then click on Show All Devices
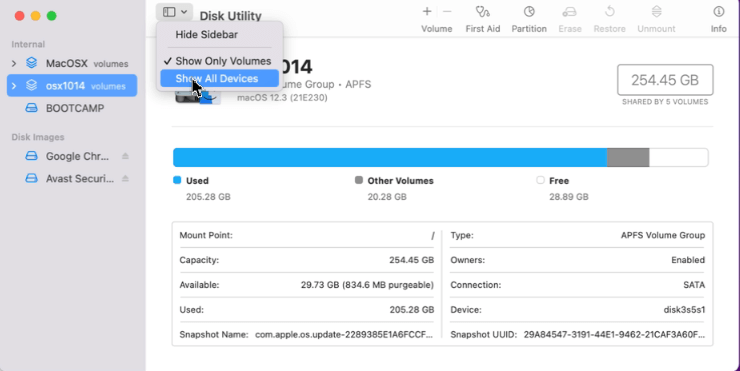
6. From the left sidebar, select the parent folder of the drive that you want to erase
7. From the top, select Erase button
We urge you to take a backup of your data on your Mac before you hit that erase button. If later, you come to realize that you have deleted some important data you can take the aid of a Mac recovery tool to restore the lost data.
3. Run First Aid
The First Aid feature is integrated into Disk Utility and is deft at dealing with drive-related issues such as corrupt files, slow performance, or even unexpected behavior. In case your Disk Utility won’t erase hard drives on your Mac, there are likely some corrupt files or system issues attributing to the same. By running the First Aid, you can identify and fix any such issues. Here are the steps to run First Aid –
1. Open Disk Utility
2. From the sidebar, select the drive you wish to erase
3. From the top click on First Aid
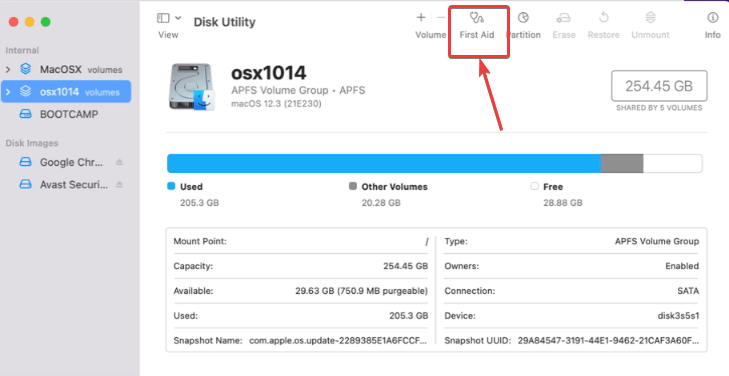
4. Click on Run to start the process
4. Adjust Security Levels
Are you facing the issue at hand with one of your external hard drives? By adjusting security levels to format an external device you might be able to resolve the issue of Disk Utility not erasing hard drives. Here are the steps –
1. Open Disk Utility
2. Connect your external hard drive or device
3. From the left-hand sidebar select your device and hit the Erase button
4. When the new window pops up, select Security Options
5. From here drag the bar to the left-hand side and check if you are still getting the message or not
5. Use The Recovery Mode To Erase Your Mac’s Hard Drive
If your Disk Utility won’t erase hard drives on Mac in normal, it most probably would, in the recovery mode. Since, in the recovery mode, there is minimum usage of the drive. To reboot Mac in recovery mode –
1. Restart your Mac
2. When it starts booting, immediately hold down Command + R key combination
3. Keep holding this key combination until you are able to see the Apple logo
4. From macOS Utilities, select Disk Utility and then press Continue
Now try erasing the hard drive you want.
Writer’s Tip
Can’t delete hard drives with the help of Disk Utility? Chances are you want to erase the hard drive to recover precious disk space or remove unwanted items which are slowing down your Mac. While you are able to resolve the issue at hand, you can get rid of unwanted items, old and unused files, cache files, partial downloads, large files, and other such items with the help of an efficient third-party utility like Disk Clean Pro.
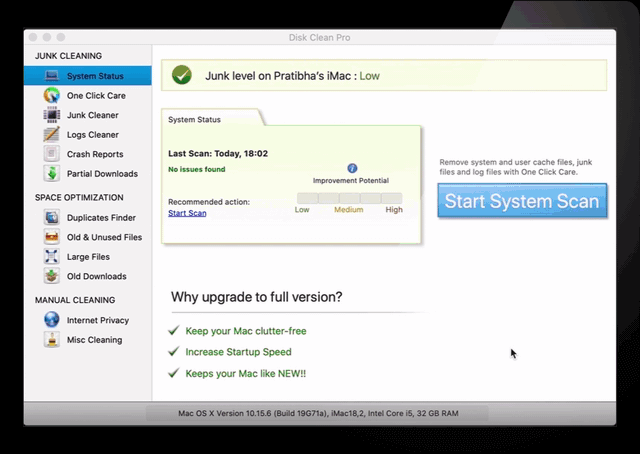
In fact, you can easily remove hidden clutter from your Mac with the help of this tool. We have covered a comprehensive inside-out guide on how you can use this Mac cleaner app to clean your PC.

To get you started, we’ve even put up a brief video as well –
Wrapping Up
Hope that with the solutions mentioned above you have gotten over Disk Utility not erasing hard drives on Mac. And, if it has, do share this goodness with your fellow Mac users who might be facing the same situation. For more such tech-related content, keep reading WeTheGeek.