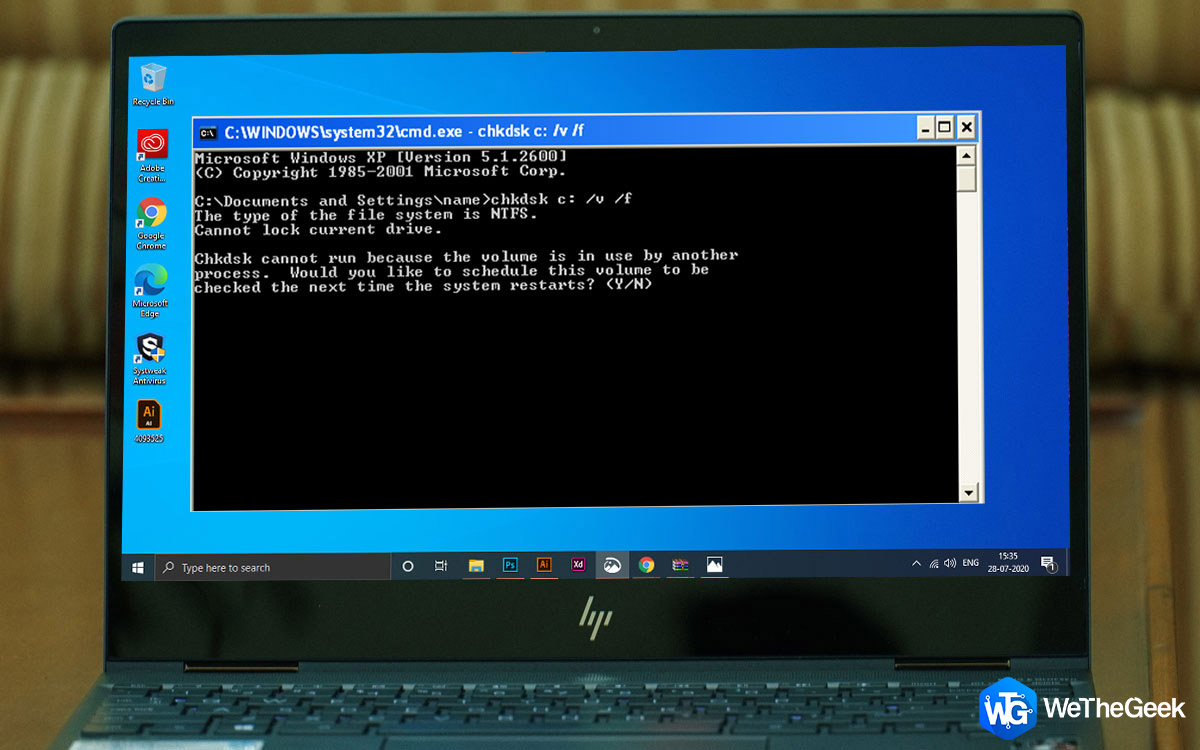
Did you get ‘CHKDSK cannot continue in read only mode’ error message while running a command on your Command Prompt? CHKDSK, or check disk feature in Windows 10, is a life-saving measure when facing any hard drive issue. The CHKDSK command analyzes the hard drive’s file system integrity and tries to fix any file system errors. The CHKDSK command can be run on disk management, command prompt, and Windows 10 File Explorer.
But sometimes, the CHKDSK command shows an error that says – CHKDSK Cannot Continue In Read-only Mode. This error restrains your command prompt and disk manager from checking on your hard drive errors.
On this page, you’ll find the fixes to rectify this error in the CHKDSK command and then restart analyzing hard drive errors, if any.
What Causes ‘CHKDSK Cannot Continue In Read-only Mode’ Error?
There are three different scenarios where you might witness the ‘CHKDSK Cannot Continue In Read-only Mode’ error on Windows 10 PC:
- In case you’re trying to scan a disk drive or partition, which is already in current use in some program.
- In case you are trying to scan a drive that is in use by a program running on your PC.
- The disk under scan has a read-only file system.
How to Fix ‘CHKDSK Cannot Continue In Read-only Mode’ In Windows 10?
1. Schedule a CHKDSK Reboot
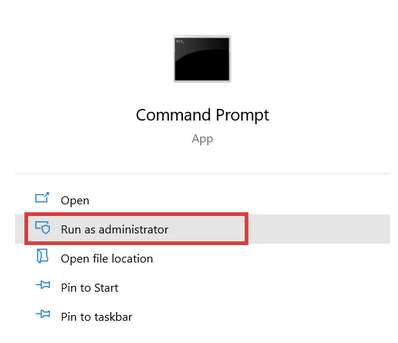
Step 1: Search for Command Prompt and then run it as an administrator.
Step 2: In the Command Prompt, type chkdsk /r c: and press Enter. Just replace “c” with the letter assigned to your disk drive, which you wish to scan.
Step 3: You’ll be asked if you want CHKDSK to run when the system restarts next.
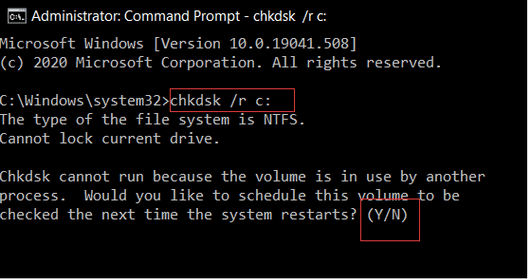
Step 4: Type Y and press Enter.
Step 5: Restart the PC. CHKDSK will run automatically this time and will scan and fix the hard disk errors on Windows PC.
2. Remove read-Only on a Disk using Diskpart
In case you find an error while executing the CHKDSK check on the hard drive, you might want to change the drive from read-only status to read-and-write status.
Step 1: Open Command Prompt as an administrator.
Step 2: Now, in the command prompt, you must enter each of these commands one-by-one in the command lines. Just press Enter after every command.
- diskpart
- list disk
- select disk + number
- attributes disk clear readonly
- exit
Now you can rerun CHKDSK.
3. Using Disk SpeedUp to Remove all Hard Drive Errors
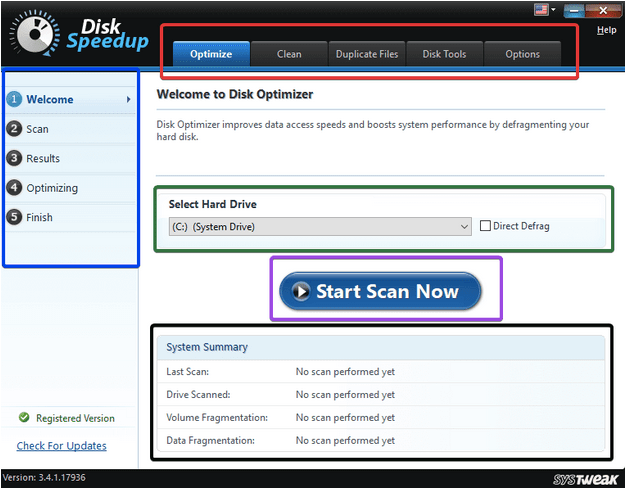

Disk Speedup is a disk optimization tool that performs defragmentation and junk cleaning processes on disk drives. It then improves its response and boot time and removes any errors associated with hard drives. It takes off some load from the hard drive and helps you continue to run the CHKDSK command on the drives.
Here’s how Disk SpeedUp works:
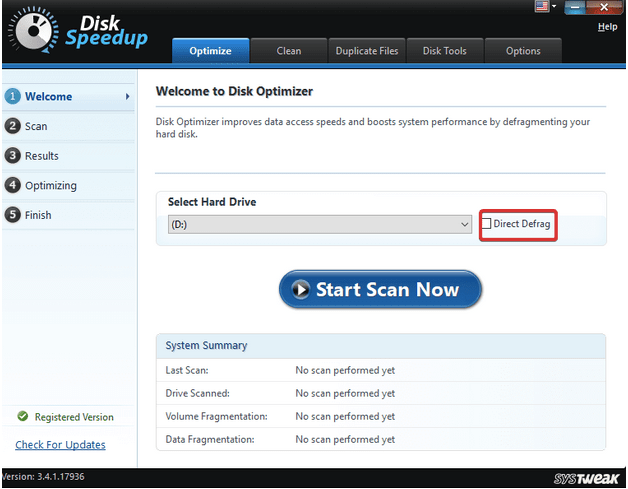
Step 1: Open Disk SpeedUp
Step 2: Select the drive you want to defragment.
Note: If you want to defrag your disk directly, you can select Direct Defrag for complete defragmentation of the disk drive.
It is recommended that you don’t select your system drive and SSD drive.
Step 3: Once the scan for defragmentation is complete; you’ll get the scan results for the job done. You shall be notified in case there was no defragmentation required.
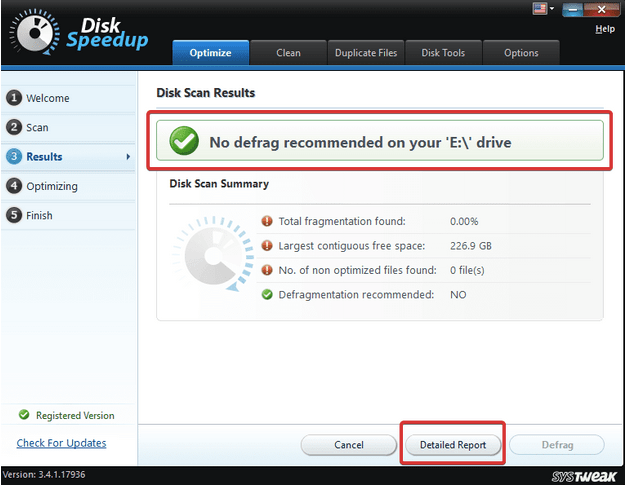
Step 4: Get a detailed report of the entire defragmentation process.
This is how you defragment your drive and resolve CHKDSK Cannot Continue In Read-only Mode’ Error.
The list of Disk Speedup’s features doesn’t end here. It also comes with Clean, Duplicate Files, and Disk Tools tabs. If you wish to clean the clutter, go to these tabs one by one and scan the selected drive to declutter and remove junk to increase the drive’s storage space.
This way, you’ll be able to not just remove all the errors on your hard drive, you may also end up cleaning temp logs and cache and enhance its response and boost time, eventually making it more efficient.
It’s recommended to use Disk SpeedUp if the CHKDSK command does not work on your hard drive as it will fix that and any other remaining hard drive troubles. It has a highly intuitive interface and is easy to comprehend. Moreover, it runs in the background without hampering your work. Disk SpeedUp comes at a fixed price and does not involve any additional charges for using its features, making it economically reasonable for buyers.
So, go ahead and find Disk SpeedUp for Windows and install to eliminate any errors associated with the drive.
Try Disk SpeedUp and let us know of your take on the tool in the comments section. Follow us on Facebook, Twitter, Instagram, & YouTube and get the latest blog updates.