Windows gives every drive you connect to your computer by default a common name. You can modify the volume labels to make them more illustrative. For NTFS drives, you can give them a unique name up to 32 characters long, or 11 characters long for FAT drives, including spaces. FAT drives are always saved in uppercase, regardless of how they are input, whereas NTFS drives can have mixed-case labels. We’ll go over several methods for changing the volume label on Windows.
How To Change a Volume Label on Windows 11
1. Use The File Explorer To Modify The Volume Label
The quickest method for changing the volume label in Windows is File Explorer. It is as easy to accomplish on Windows as renaming a file. This is the procedure.
Step 1: For File Explorer to launch, press Win + E.
Step 2: Go to This PC by using the left pane.
Step 3: Select Rename from the context menu when right-clicking on your drive.
Step 4: Press Enter after giving your drive a new name.

Step 5: Select Continue.
Step 6: To modify if you’re using a Standard account, you’ll need to input the administrator’s password.
2. Use The Settings App To Modify The Volume Label
The Disks & Volumes section of the Settings app allows you to manage drives and carry out sophisticated storage-related actions. You can format a drive from this menu in addition to changing the drive letter and volume label. To modify the volume label in the Settings app, follow these steps:
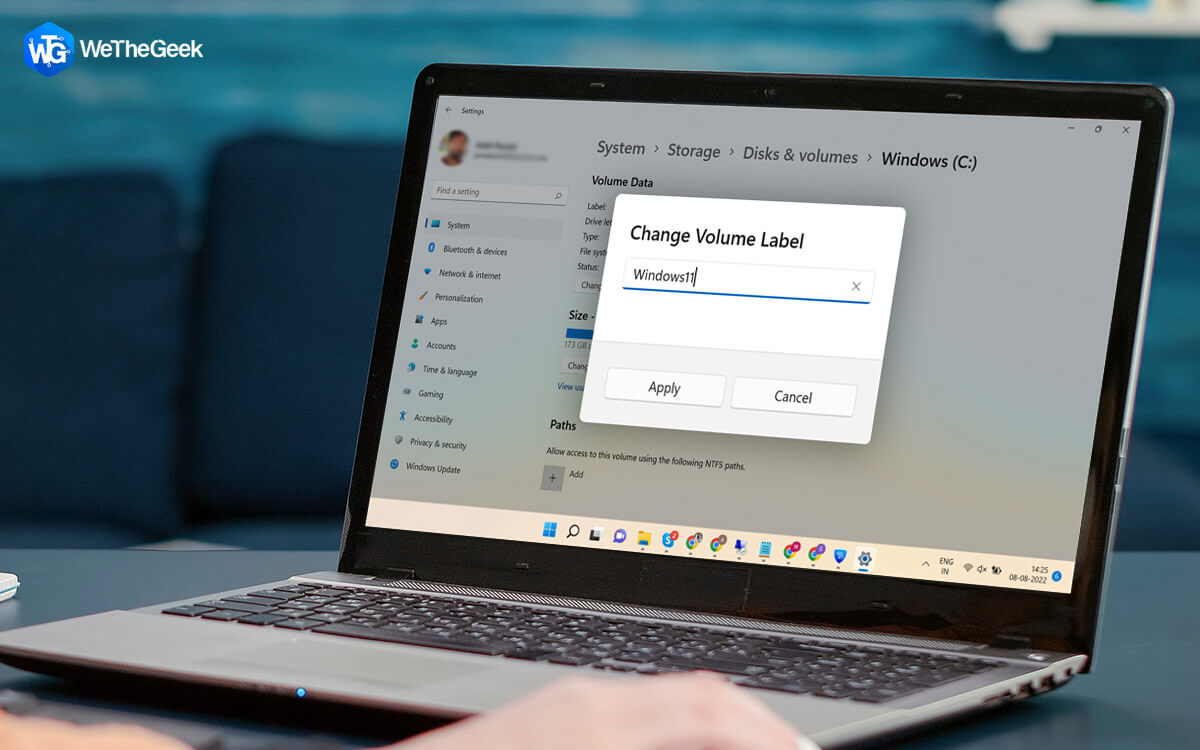
Step 1: To access the Settings app, press Win + I.
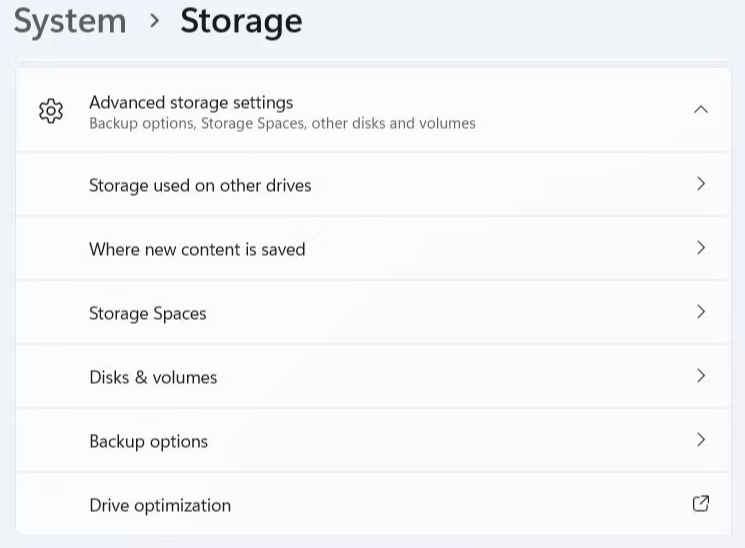
Step 2: Go to the System tab and select Storage.
Step 3: Click Disks & volumes after expanding Advanced storage settings.
Step 4: You can rename a drive by going to its Properties.
Step 5: Select “Change label” from the menu.
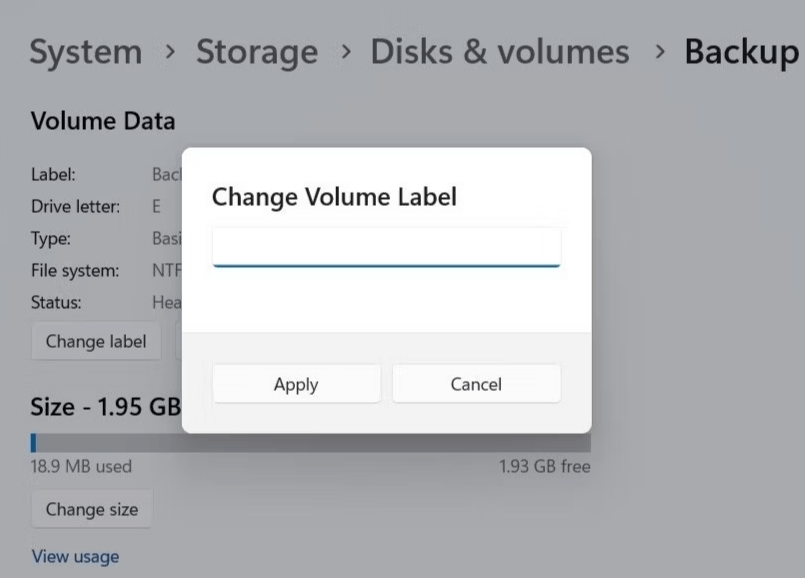
Step 6: Hit Apply after giving your drive a name.
3. Use the Disk Management Tool To Modify The Volume Label
If you’d instead do things the old-fashioned way, you can rapidly rename a disc on your PC using the Windows Disk Management utility. Here’s how you approach it.
Step 1: To launch the Run dialogue box, press Win + R. In the Open area, type diskmgmt.msc and hit Enter.
Step 2: Right-click the drive you want to rename in the Disk Management window and choose Properties.
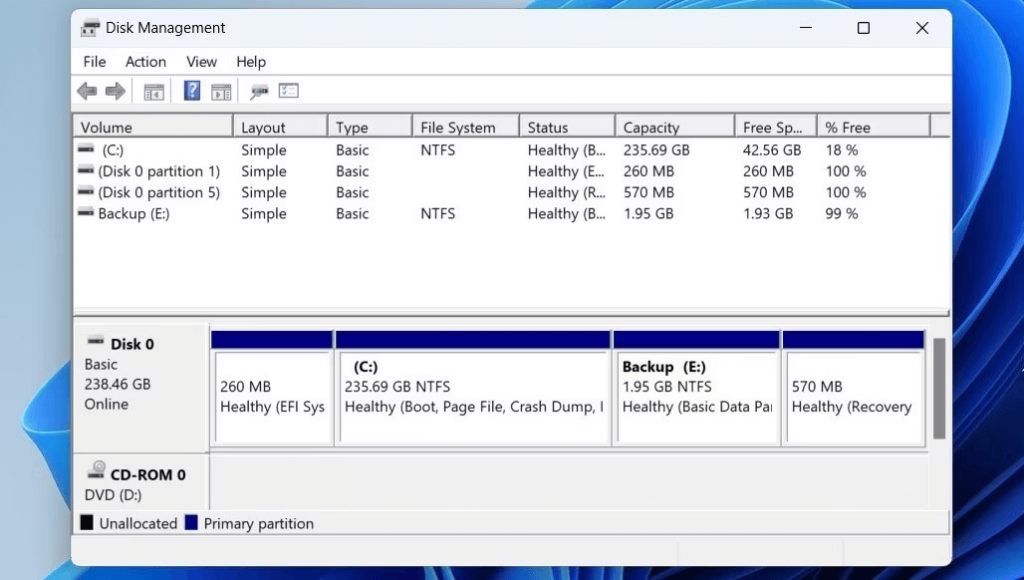
Step 3: Enter a new label for the drive in the text box under the General tab.
Step 4: Click Apply and then OK.
Bonus App: Use Advanced System Optimizer To Maintain Your Hard Disk
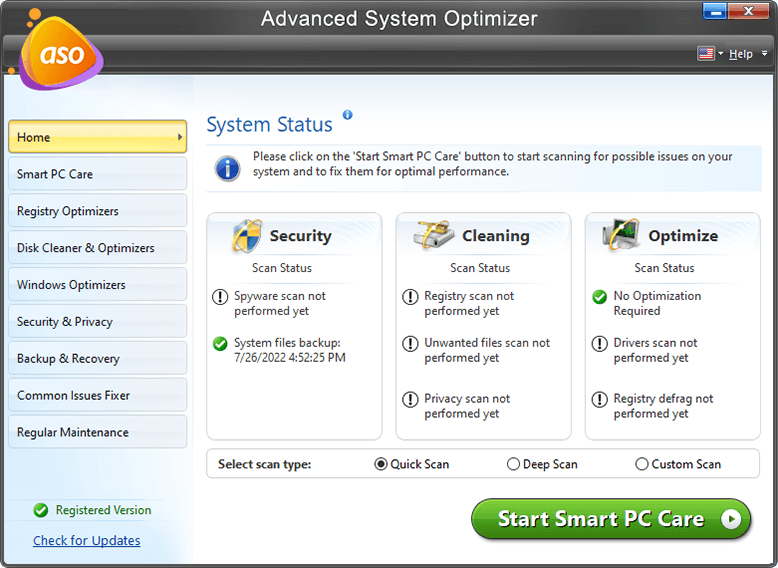
Advanced System Optimizer is a great software that helps optimize and maintain your PC to deliver optimal performance. Many modules within the app can help you optimize your Windows OS, Take backup, fix Registry, update drivers and identify duplicates, among many others. But for hard disks, four dedicated modules fall under Disk Cleaners and Optimizers.

System Cleaner: This module helps remove unwanted and junk files from your PC and free up valuable storage space.
Disk Optimizer: Disk Defragmentation is an important feature that systematically rearranges all the fragments of your files and folders.
Disk Tools: This module helps users check their startup hard drives and fix issues.
Disk Explorer: View the disk usage statistics to know which files and folders occupy the most space.
The Final Word On How To Change a Volume Label on Windows 11
You may distinguish between your drives by giving them descriptive names. On Windows, you can rename discs using any technique you wish. Remember that there are still additional ways in Windows to organize your volumes after sorting the volume label order.
Follow us on social media – Facebook, Twitter, Instagram, and YouTube. Please contact us with any questions or ideas. We would be delighted to provide you with a resolution. We frequently publish advice, solutions, and guidance for common technological problems.