
Autoplay not working on Windows 11? Well, don’t worry! You can easily troubleshoot this issue by following a few workarounds.
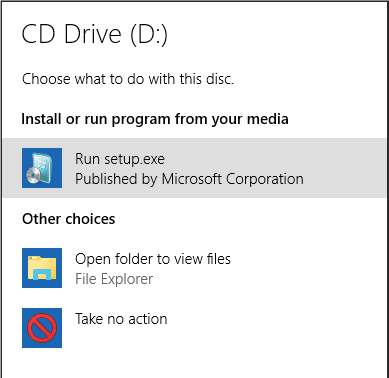
Autoplay is a valuable feature that has been a part of the Windows OS for decades. So, whenever you insert or connect a removable media like CD/DVD, memory card, USB flash drive, etc., to your device, the autoplay automatically gets in charge to take action. Hence, based on the type of media detected on your device, the Autoplay instantly takes the necessary action. For instance, if you insert a CD or DVD into your Windows PC, the Autoplay window will appear on the screen to ask which media player you want to use to play the content.
Struggling while using the Autoplay feature on Windows 11? You’ve come to the right place. In this post, we have listed a few methods you can use to resolve this issue.
Let’s get started.
Also read: How to Disable the Autorun Feature on Windows 10
How To Fix Autoplay Not Working on Windows 11 Issue
Solution 1: Manually Enable the Autoplay Feature
To manually enable the Autoplay feature on Windows 11, follow these quick steps:
Press the Windows icon placed on the Taskbar and select “Settings.”
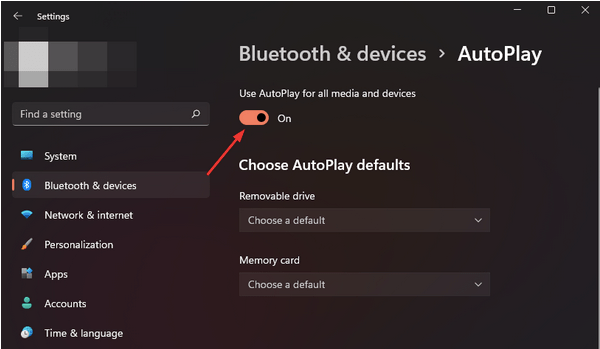
In the Settings window, switch to the “Bluetooth and devices” section from the left menu pane. Select “Autoplay.”
Now, enable the “Use Autoplay for all media and devices” option.
Reboot your device and check if the issue was resolved.
Solution 2: Reset Autoplay Settings
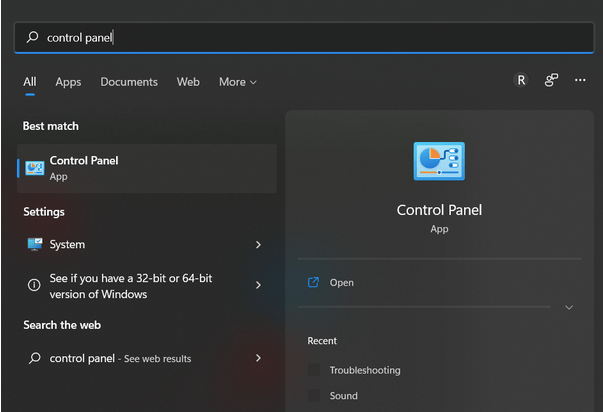
Tap the search icon placed on the Taskbar, type “Control Panel,” and hit Enter.
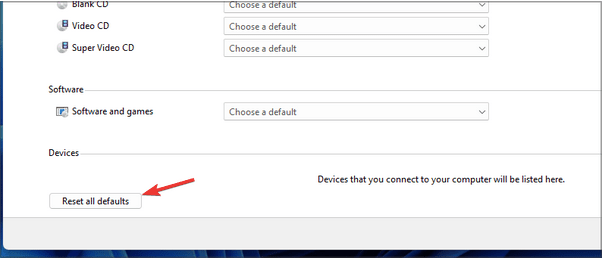
In the Control Panel window, select “Autoplay.”
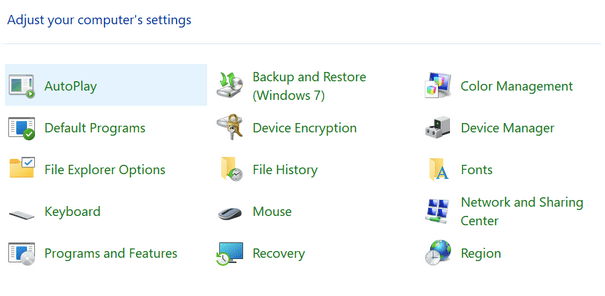
Tap on the “Reset all defaults” button placed at the bottom.
Also read: FIX: USB 3.0 External Drive not Recognized on Windows 11/10
Solution 3: Enable Shell Hardware Detection Service
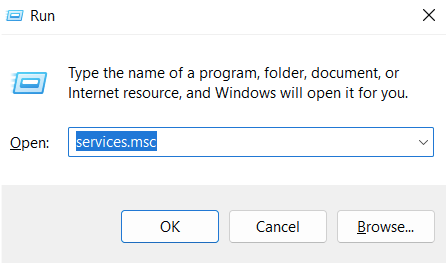
Press the Windows + R key combination to open the Run dialog box. Type “Services.msc” and hit Enter.
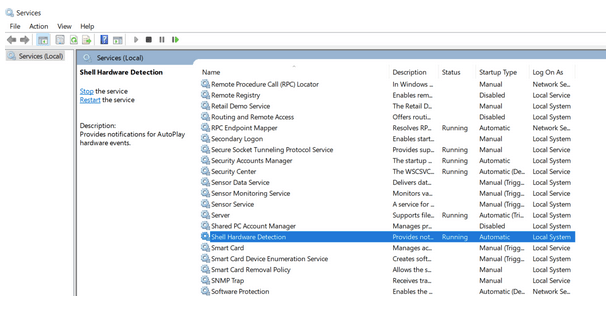
Look for the “Shell hardware detection” service in the list. Right-click on this service and select “Restart.”
Reboot your device and insert a removable media to check if the Autoplay feature is working properly.
Also read: How to Create a Bootable Windows 11 USB Drive.
Solution 4: Configure the Service as Automatic
If restarting the shell hardware detection service did not work out well, then here’s another workaround you can try.
Press the Windows + R key combination to open the Run dialog box. Type “Services.msc” and hit Enter.
Look for the “Shell hardware detection” service in the Service window. Double-tap on it to open Properties.
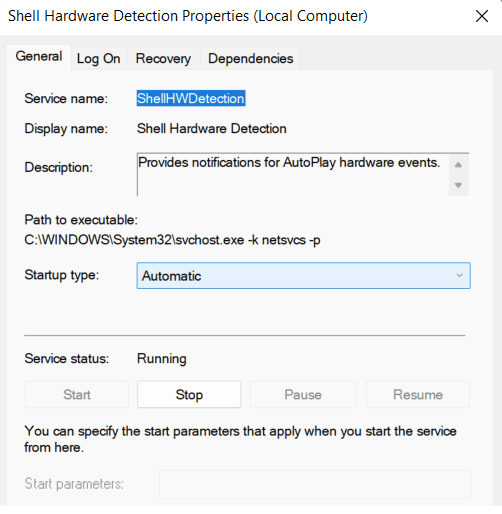
Set the “Startup type” value as “Automatic” instead of Manual.
Hit on the OK and Apply button to save changes.
Also read: How to Prevent a USB Attack
Solution 5: Use the Command Line Terminal
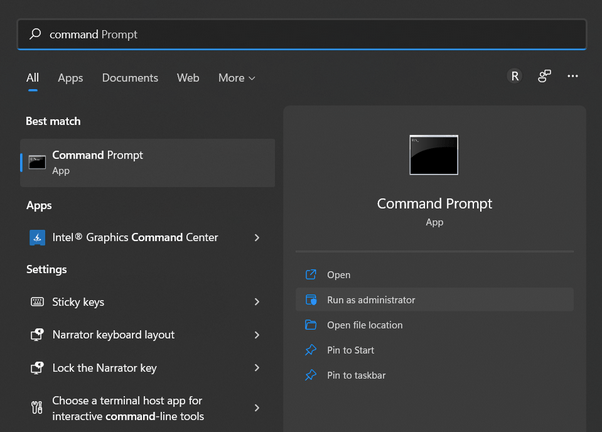
Tap the search icon placed on the Taskbar, type “Command Prompt,” and select the “Run as administrator” option.
In the Command Line window, type the following command and hit Enter to execute it:
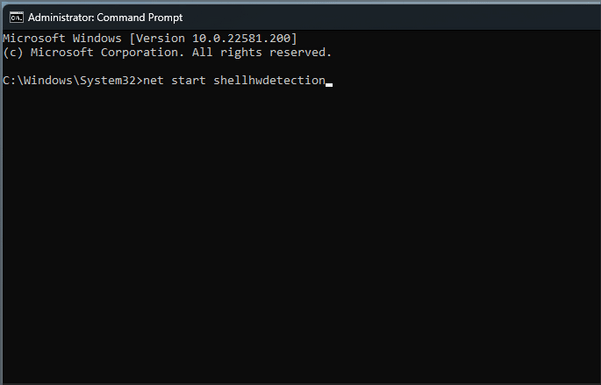
net start shellhwdetection
After executing this command, reboot your device.
Solution 6: Change Autoplay Settings
Launch the Settings app and head on to Bluetooth and Devices> Autoplay.
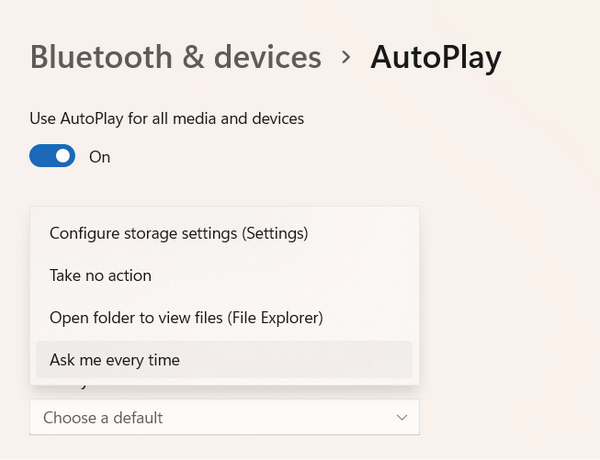
Under the “Choose Autoplay Defaults” section, change the value to “Ask me every time” for all the removable drives.
Solution 7: Edit the Local Group Policy Editor
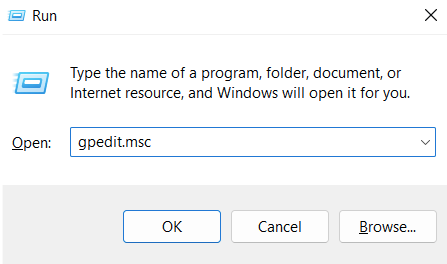
Press the Windows + R key combination to open the Run dialog box. Type “gpedit.msc” and hit Enter.
In the Local Group Policy Editor window, navigate to the following folder location:
Computer Configuration > Administrative Templates > Windows Components > AutoPlay Policies.
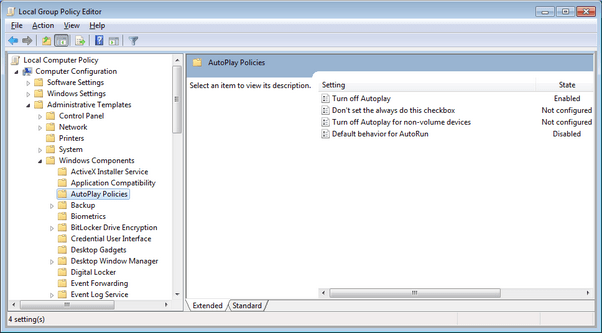
Right-click on “Turn off autoplay”, and select “Edit.”
The properties window will now appear on the screen. Select “Disabled.” Hit on the OK and Apply button to save changes.
Conclusion
Here are a few simple solutions that you can use to fix the “Autoplay not working on Windows 11” issue. The Autoplay feature on Windows automatically kicks in as soon as you connect a CD/DVD, memory card, or USB flash drive to your device. But if the external device is corrupted or your PC’s settings are misconfigured, the autoplay feature might not work. So, suppose the Autoplay dialog box is not showing up when you insert a removable media into your device. In that case, you can use any of the above-listed solutions to resolve the issue. Do let us know which method did the trick for you. Feel free to share your thoughts in the comments section!