
Taking a snapshot is simple, but what about annotating it later? Here are several simple methods to follow when using Windows 11 or any other Windows operating system version.
After capturing a screenshot, some users feel the need to annotate screenshots. Fortunately, using annotation tools, this task can be easily accomplished. Windows 11 comes with a few pre-installed programs that have the capabilities of annotating screenshots. However, they offer only basic features. Therefore, alongside the annotating function, TweakShot Screen Capture is the right tool for you if you are looking for some additional features.
The tool helps annotate screenshots and photographs and helps add arrows, squares, circles, text boxes, or simple highlights. In addition to this, using TweakShot, the best annotation tool, you can even crop, blur, pixelate the screenshots, record a video, and do more. To get the tool, click the download button below:

How To Annotate Screenshots On Windows 11 PC
How To Annotate Screenshots Using Windows 11’s Built-In Snipping Tool
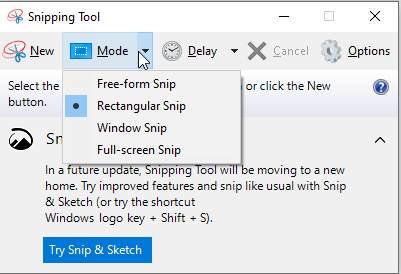
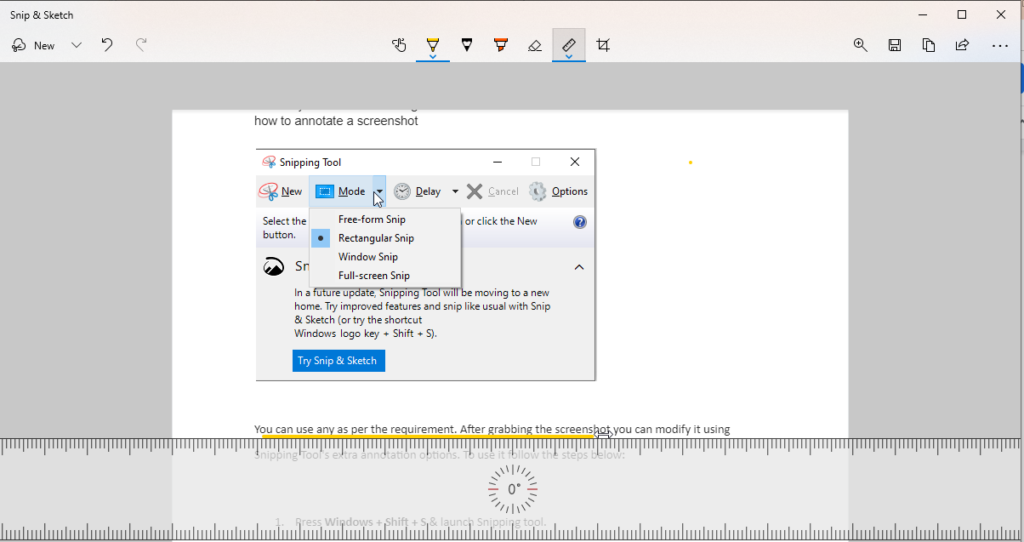
The Snipping Tool (also known as Snip and Sketch) is the built-in screen-capturing software in Windows 11. To capture screens, the tool gives four different choices:
- Free-form Snip
- Rectangular Snip
- Window Snip
- Full-screen Snip
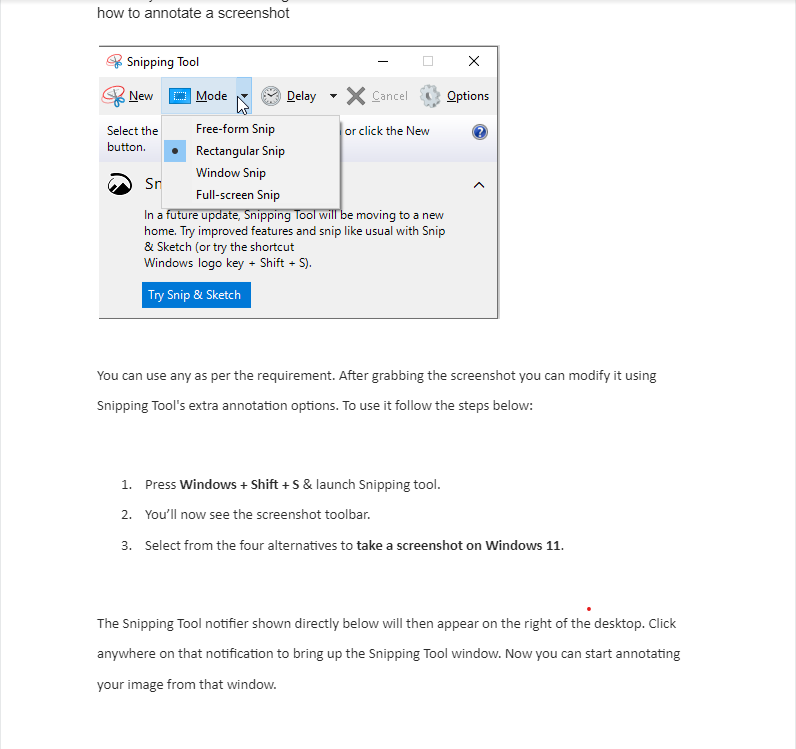
You can use any as per the requirement. After grabbing the screenshot, you can modify it using Snipping Tool’s extra annotation options. To use it, follow the steps below:
1. Press Windows + Shift + S & launch the Snipping tool.
2. You’ll now see the screenshot toolbar.
3. Select from the four alternatives to take a screenshot on Windows 11.
4. Once the screenshot is captured, you will get the notification on the right of the desktop. Click on it & open the Snip & Sketch image editor.
 5. Now, you can start annotating your image from that window.6.2M
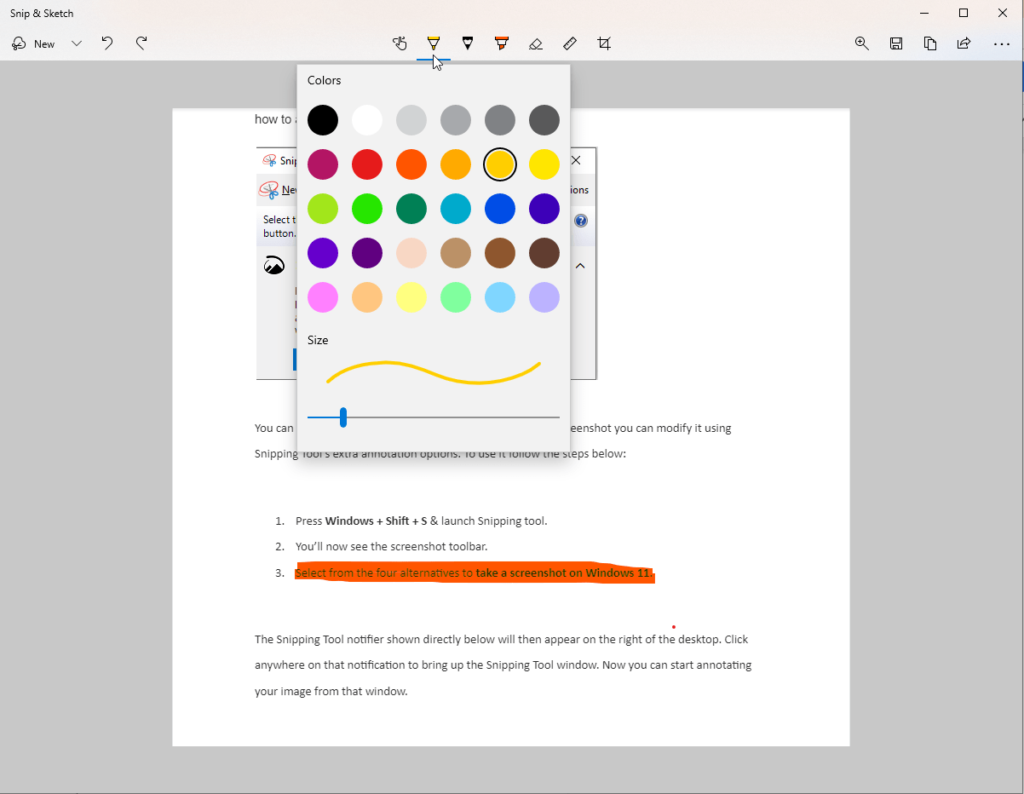
6. To highlight text on the screenshot, double-click the yellow Highlighter button. Select a color, and drag the bar’s slider to change the highlighter’s size. Then hold the left mouse button and move your cursor over the text to highlight it.
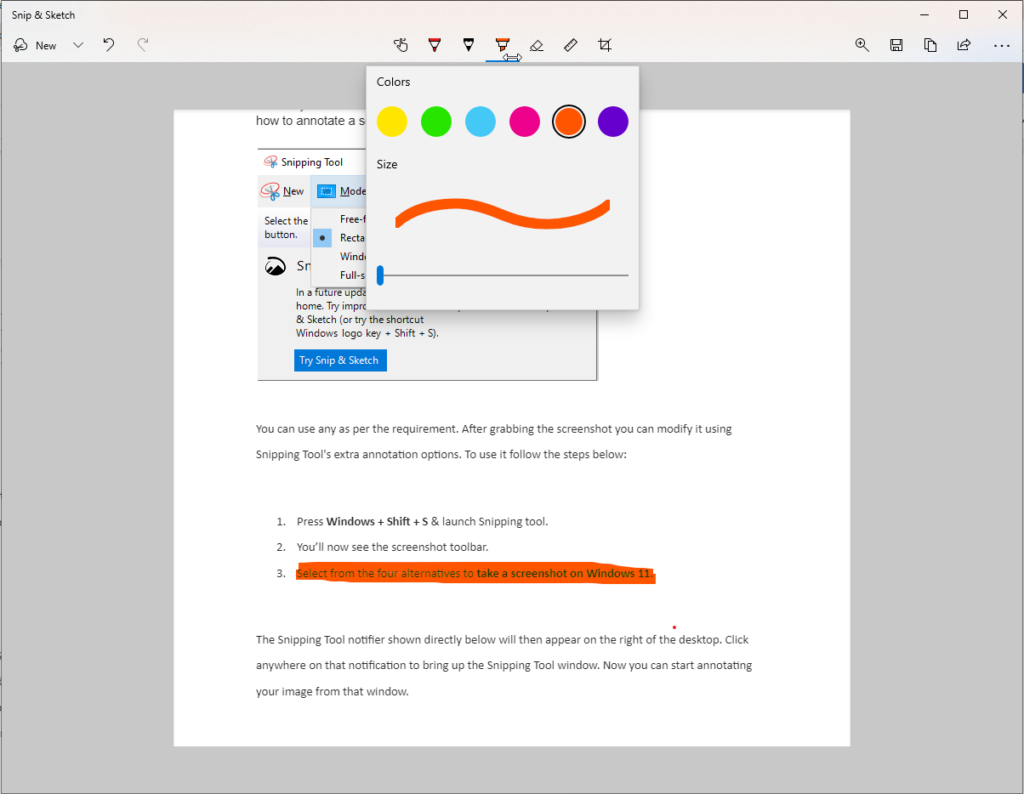
Note: There are no arrow line or shape choices available with the Snipping Tool. However, you can use the Ballpoint pen option to write or doodle on the screenshot. To change the color and size of the Ballpoint pen, double-click it > hold down the left mouse button > slide the cursor over the screenshot & add annotation pen strokes.
7. To add straight lines, click the Ruler button.
8. Rotate the ruler using the scroll wheel on the mouse.
9. To create circles or semi-circles, pick Protractor by clicking the Ruler button and select Protractor. Hold down the left mouse button, and drag the cursor around it. To alter the size of the protractor, use your mouse’s scroll wheel up and down.
When finished annotating, save the edited screenshot by clicking the Save icon or using Ctrl + S hotkeys. Name the image file > choose a folder > click Save.
How To Annotate Screenshots With Microsoft Paint
The annotation options in the Snipping Tool are basic for those who need to add shapes and text to their screenshots. In such cases, you can use the improved Microsoft Paint image editor. The tool offers more painting and text abilities. As a result, for users who need to annotate photos with shapes and text, MS Paint is superior.
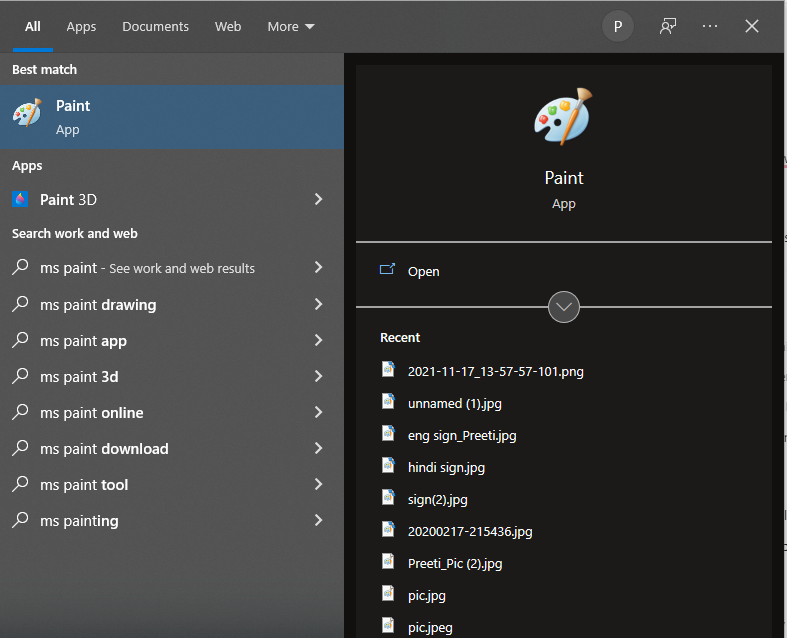
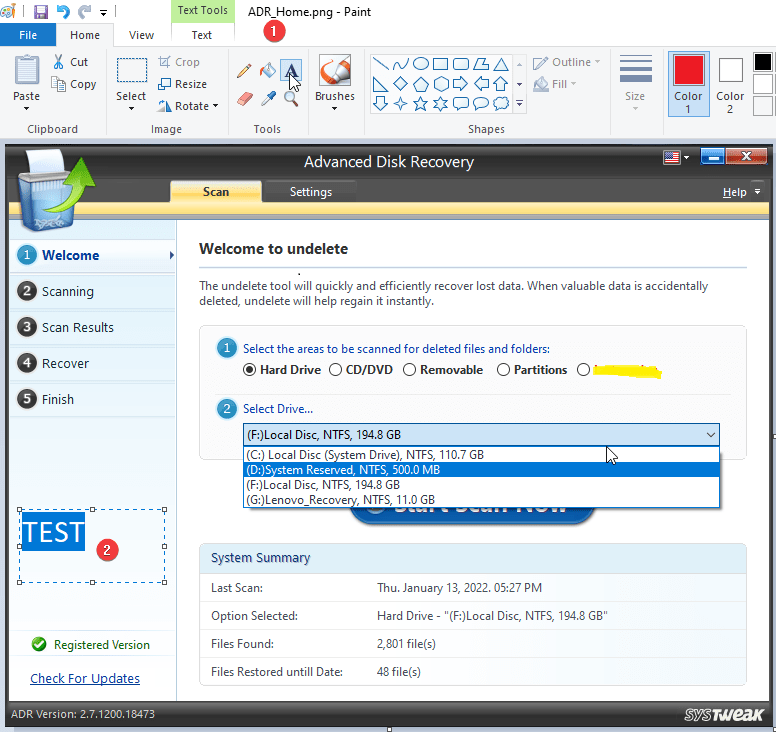
1. Type MS Paint in the search window. Select the best option from the search result.
2. Open captured snapshot to annotate it. File menu > select the Open option.
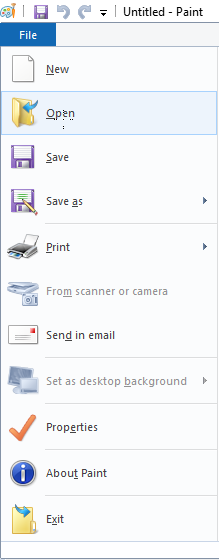
3. Select the image or screenshot to edit and press the Open button.
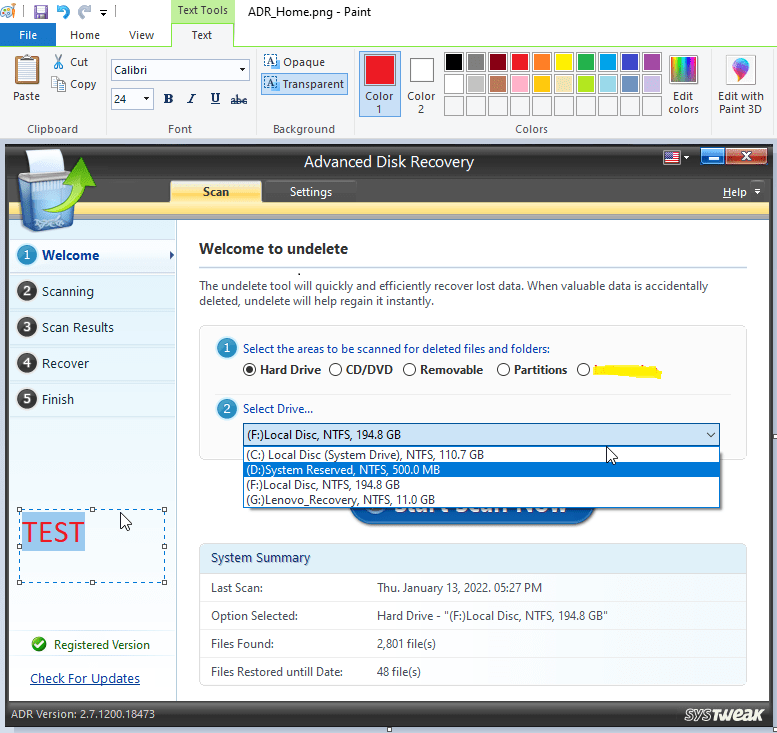
4. Next, to scribble on your images, select from any brush options. Click the arrow below the Brushes option and select it from the menu. Select Brush, and click Edit colors to choose a color for it. Then hold the left mouse button and drag the cursor to draw on the image.

5. To add highlights, select the Marker option. It is one of the most transparent brushes available. Choose the color. Also, you can change the size by clicking the size option.

In addition to this, you can use shapes in MS Paint to annotate images. You can circle certain features in your screenshots by selecting the Oval option in the shapes box.

You may also add rectangles, straight lines, arrows, and callouts to your photos by selecting those forms from the drop-down menu. Hold the left mouse button on the picture > move the cursor to add it.
To add text notes to your screenshot, click the A button shown. Click on the image where you want to add text. Type the text.
To format the text, select the entered text and then change the size, color, and font to format the text.
When done, don’t forget to save your annotated image. Click File > Save As > select image file format > name the file > click Save.
This is how using the built-in tools; you can annotate the text. However, if you want to do more, then? No worries, try TweakShot Screen Capture, the best tool to edit & capture images. Also, it helps to record your desktop and laptop screen.
How To Annotate Screenshots With TweakShot Screen Capture
TweakShot Screen Capture is the best screen-capturing utility for Windows. It is much better than Snipping Tool and is feature-rich. The screen capture tool has several options:
- Different shapes
- Line
- Arrow
- Pencil
- Text Outline
- Blur
- Pixelate
- Crop
- Zoom in and out
- Resize
- Upload to drive
- Record video
- Add cursor
- Highlight Text
- Step Number
To use the TweakShot Screen Capture tool, follow these steps:
1. Download and install the TweakShot Screen Capture tool.
2. Launch the tool. You will now see a Big Eye toolbar and select the screen capture option.

The tool offers 4 opinions to capture screen:
- Capture Single Window
- Capture Region
- Capture Full Screen
- Capture Scrolling Window
3. Once you capture the screenshot, it will automatically open in the TweakShot Image Editor.
4. After that, select the option you want to use to annotate the image from the left pane.
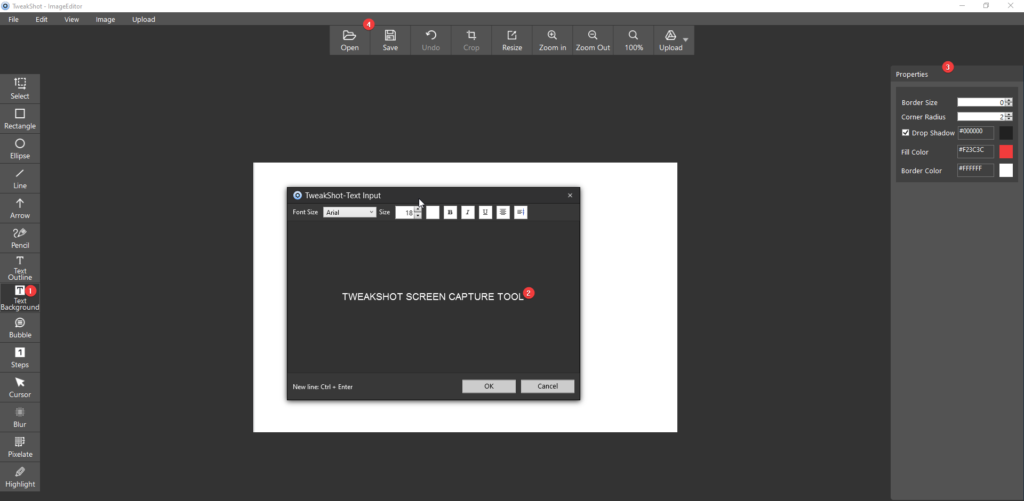
5. To add text, click the Text Background option. This will open a new window where you need to type the text. You can change the font style, size, and alignment. Also, you can select the font color from the right pane. When done, click OK.

6. The final output will look as below:
Note: To change text placement, you need to click the Select option and then can drag the text anywhere on the document you want.
In addition to this, you can also add step numbers, arrows, lines, shapes, and a lot.
To add a line, click the Line option. Drag the mouse to add line > from the right side, select the line color
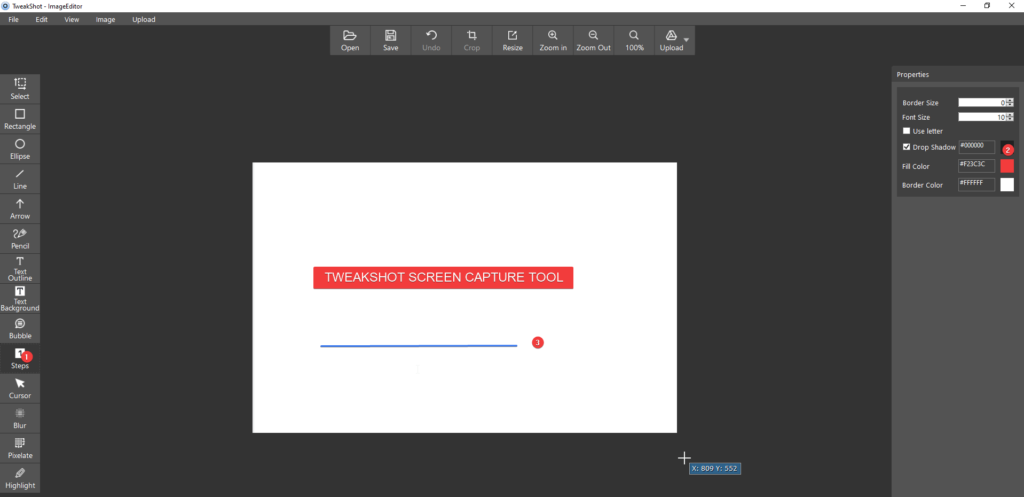
Click Step and take the mouse cursor to screenshot you want to add numbers to add step numbers.
Similarly, you can blur, pixelate, highlight and do more. You can even take screenshots, edit images, and record videos using TweakShot Screen capture. All the photos edited by the tool are automatically saved in the TweakShot Screen Capture folder under Documents. To save images to another location, click File > Save As > select the location and folder > name the edited image > Save.
Moreover, using the TweakShot Screen Capture tool, you can upload images to the cloud, resize images, pick colors, set Hot Keys, zoom in and out, etc. Also, you can capture the scrolling screen. This is an extraordinary option, and you will not find it in other screen capture and annotating tools.
Annotate Your Screenshots With TweakShot Screen Capture, Snipping Tool, Or MS Paint
Annotating screenshots with TweakShot Screen Capture, Snipping Tool, or MS Paint will let you highlight information and make it stand out. The annotation tools are helpful for educational screenshots. Also, players can use them to emphasize scores and other data in the game snapshots. We hope you find the information helpful and will give the tools a try. Please share your feedback with us in the comments section. Follow us on social media – Facebook, Instagram and YouTube.
FAQs –
How do annotate an object in an image?
To annotate an object in an image, you can use built-in Snip & Sketch, MS Paint, or TweakShot Screen Capture. The third-party tool offers more than basic features to annotate an image.
To annotate the object, launch TweakShot Screen Capture > capture the image. The screenshot will automatically open in TweakShot Image Editor. From the left pane, select the option you wish to use and start annotating the object in the image.
How do you add annotations to a picture in the word?
To add annotations to a picture in Word, firstly, insert an image into your document.
1. To do so, click the “Insert” tab.
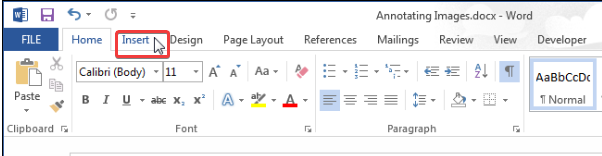
2. Click “Pictures” from Illustrations
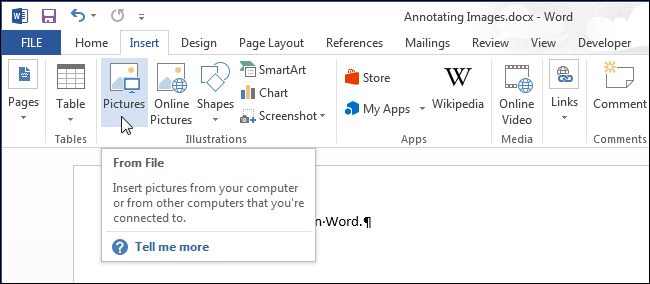
3. Go to the folder containing the image you want to insert > select it > click “Insert”.
4. Click “Shapes.”
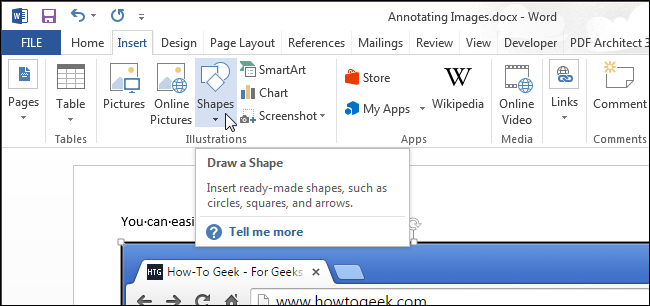
5. Select the shape you want to add
6. Drag the “+” cursor on the image to define the size and location of the callout.
7. Start typing to enter your text. To change the size, style, and font, select the text and select the ones you want to use from the list of options. Save the image. That’s it.
How many images can I annotate in 1 minute?
Using TweakShot Screen Capture, you can annotate 10 images on average in a minute.