Windows 11 clock time wrong? Is your device displaying an incorrect time after upgrading? Don’t worry; we’ve got you covered. If your PC’s clock timings are not synchronized, you can use various solutions to troubleshoot this issue. There may be a few reasons why the Windows 11’s clock might be acting strangely.
You can quickly resolve this issue by configuring the date and time settings, re-registering the DLL files, changing the Internet server, syncing the time using the Command Prompt, and so on.
In this post, we have listed a detailed guide on how to sync the clock time on Windows 11 within no time. You can use any of the below-listed methods to fix the incorrect clock time issue on Windows.
Let’s get started.
Also read: How To Fix Windows 11 Lag After the Update (7 Solutions)
How to Fix Windows 11 Clock Time Wrong Error
Solution 1: Manually Configure Date and Time Settings
Tap on the Windows icon placed on the Taskbar and select “Settings.” Switch to the “Time and Language” section from the left menu pane.
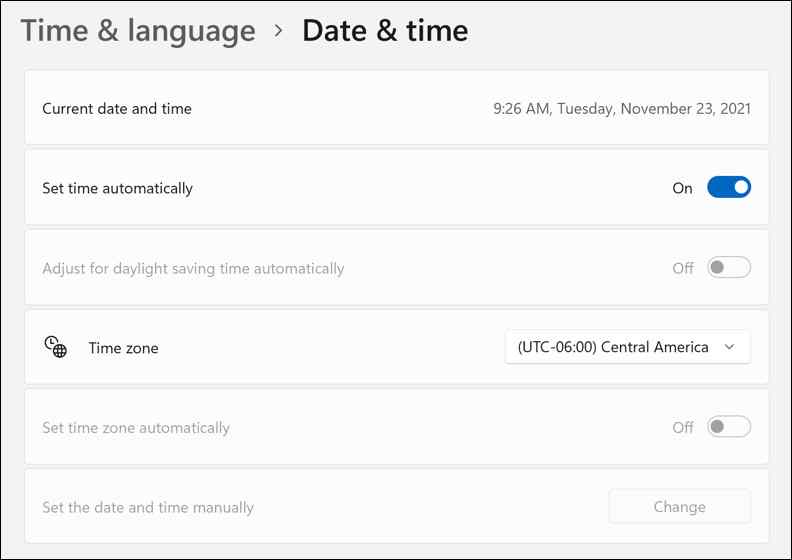
Toggle ON the “Set time automatically” switch. If this option was enabled by default, you can also try turning it off and then turning it ON again.
Solution 2: Enable the Windows Time Service
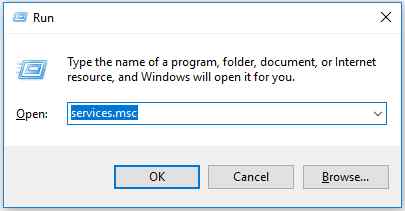
Press the Windows + R key combination to open the Run dialog box. Type “Services.msc” and hit Enter.
Scroll through the list of services and look for the “Windows Time” service. Double-tap on it to open Properties.
Select the “Startup Type” value as “Automatic.”
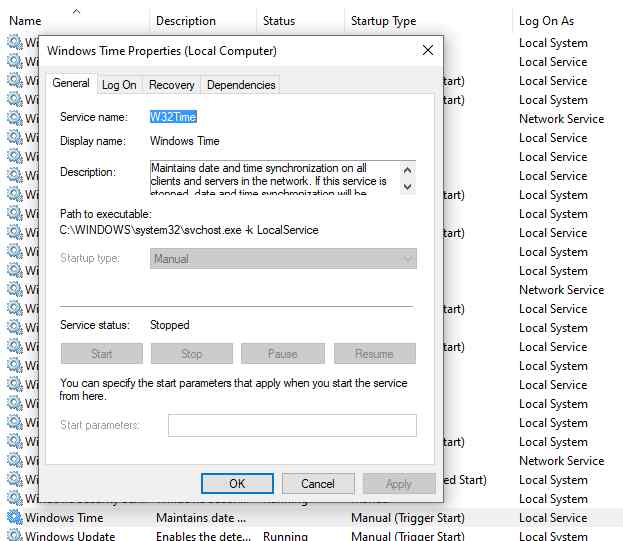
Hit on the OK and Apply button to save recent changes.
Also read: Windows 11 Taskbar Not Working: Here’s How To Fix (2022 Updated Tips)
Solution 3: Change the Internet Time Server Settings
To manually sync the Internet time server on Windows 11 to resolve the “Windows 11 clock time wrong” issue, here’s what you need to do.
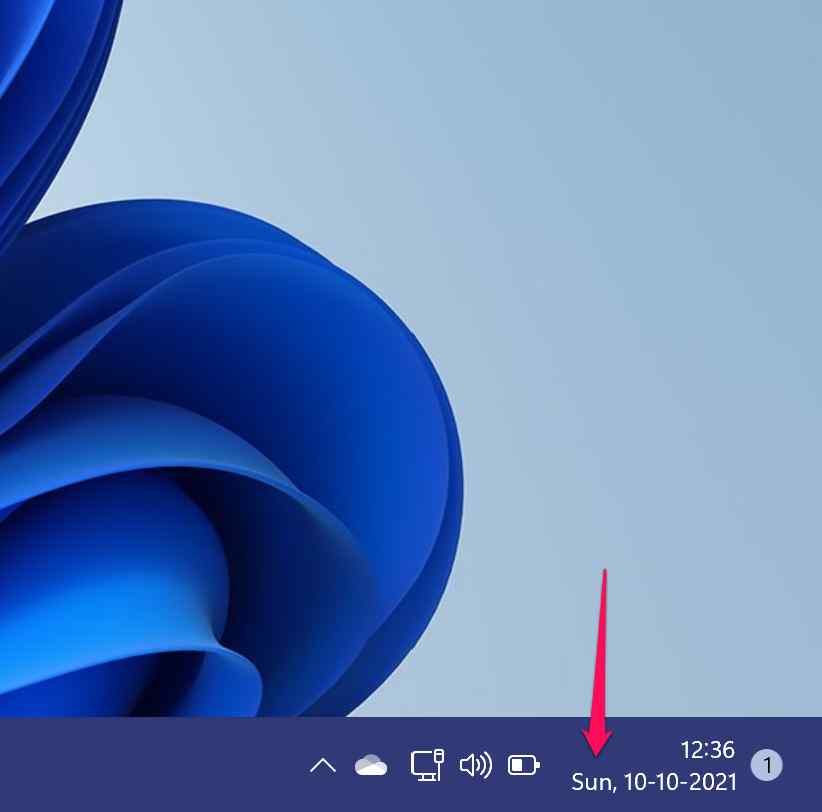
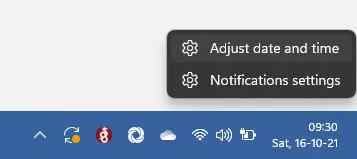
Right-click on the Taskbar where the clock time is displayed and select “Adjust Date and Time Settings.”
You will be re-directed to the date and time settings window. Scroll down and tap on “Additional clocks.”
Switch to the “Internet Time” tab in the Properties window.
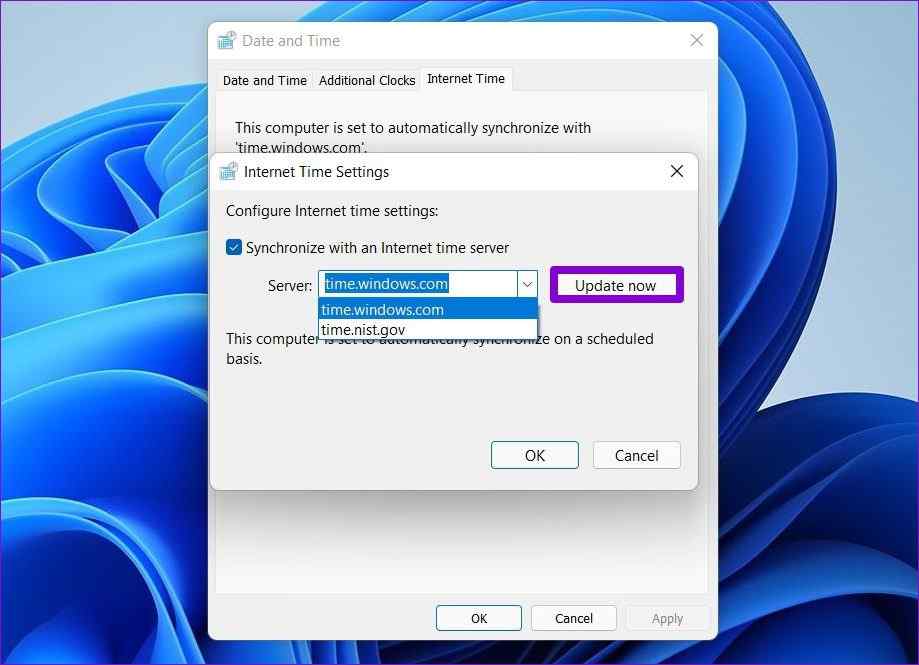
Tap on the “Server” option and select any different server from the drop-down list. Hit on the OK and Apply buttons to save the changes.
Reboot your device and check if the date and time are displayed accurately on the Taskbar.
Also read: How To Fix Windows Update Troubleshooter Not Working
Solution 4: Re-Register the Windows Time DLL File
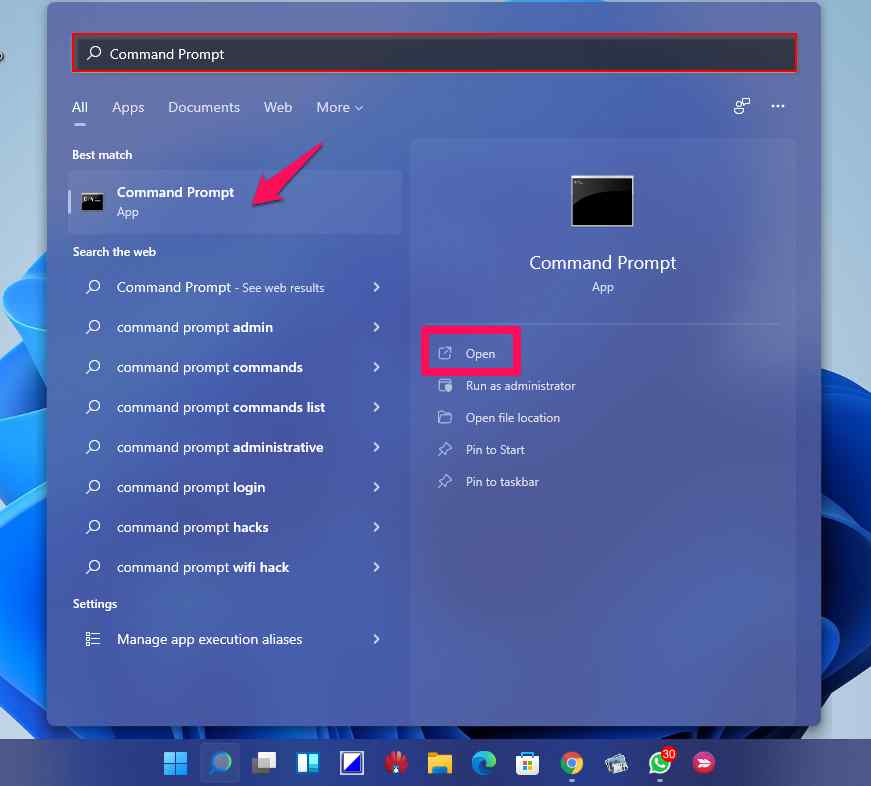
Tap on the search icon placed on the Taskbar, type “Command Prompt,” and select the “Run as Administrator” option.
Once the Command Prompt app launches in admin mode, type the following command to re-register the time DLL file on Windows 11.
regsvr32 w32time.dll
After executing this command, reboot your device and check if the issue persists.
Solution 5: Sync Time Using CMD Commands
To configure the Windows Time service manually, here’s what you need to do:
Tap on the search icon placed on the Taskbar, type “Command Prompt,” and select the “Run as Administrator” option.
Once the Command Prompt app launches in admin mode, execute the below-listed commands one by one:
Net stop w32 time
w32tm /unregister
w32tm /register
Net start w32 time
w32tm /resync
After executing these commands, reboot your machine and check if the clock is synchronized.
Solution 6: Check the CMOS Battery
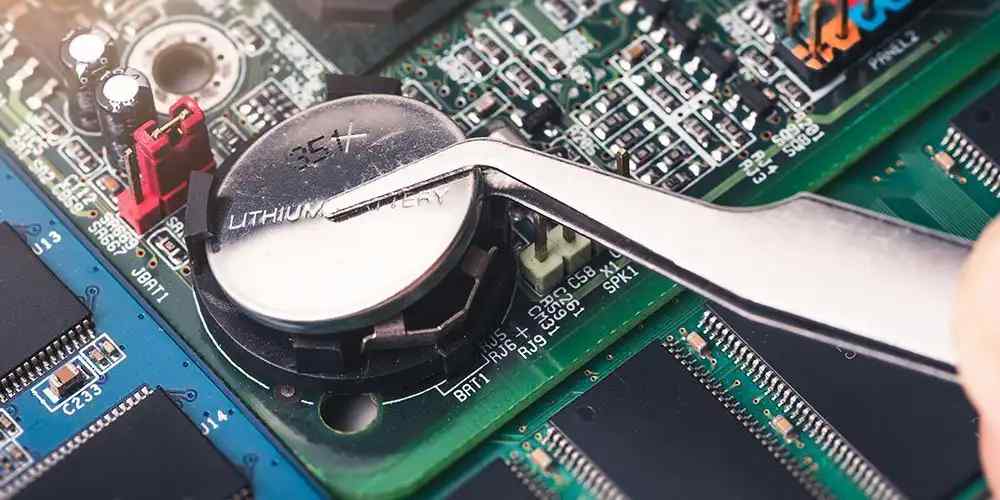
Tried the above-listed solutions, and still no luck? If your laptop’s CMOS (Complementary Metal Oxide Semiconductor) battery has malfunctioned or probably died, it may mess up your device’s clock settings. The CMOS battery is a part of the motherboard and is used to power up the BIOS settings on your device. So, you can try replacing the CMOS battery on your machine and check if it helps.
Solution 7: Run the SFC Scan
SFC (System File Checker) is a built-in Windows utility that scans and restores corrupt system files. You can run the SFC command on the Command Prompt Terminal so that Windows can automatically replace the corrupt system file with a cached copy.
Launch Command Prompt in Admin mode.
Type the following command and hit Enter to execute it:
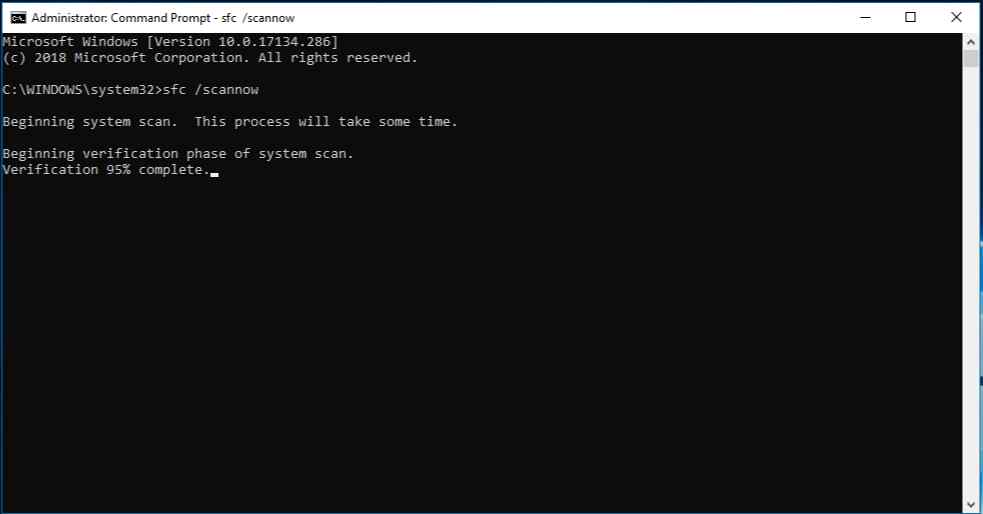
sfc/scannow
After executing this command, reboot your device and check if the issue was resolved.
Conclusion
Here are a few simple methods to fix the “Windows 11 clock time wrong” issue. You can use any of these solutions to sync the clock settings on your device. So, yes, now you know how you can configure the date and time settings on Windows 11. Do let us know which method did the trick for you. Feel free to share your thoughts in the comments section!
Follow us on social media – Facebook, Instagram and YouTube.