
Windows 10 has a wonderful feature which allows you to share files and folders with people on the same or local network. Sharing files and folders could help you conveniently share information among colleagues and friends. If you share a lot of folders and files often, then eventually you might lose count of files shared. However, there is a way to keep a track on what files you share over the course of time.
In this post, we will discuss how you can share files with people and keep track of shared files and folders in Windows 10.
Steps To Share Files With Specific People
To share a folder or a file with people, press Windows and E to get File Explorer. Open File Explorer and navigate to the file that you want to share.
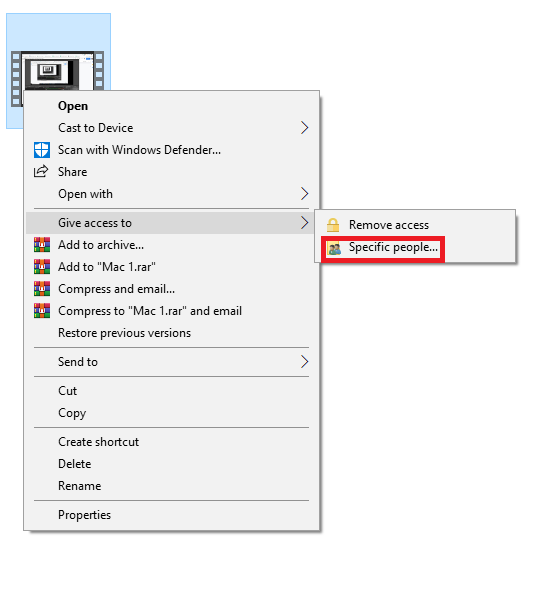
Right click on the file and select Give access to, and from the followed context menu, select Specific people.
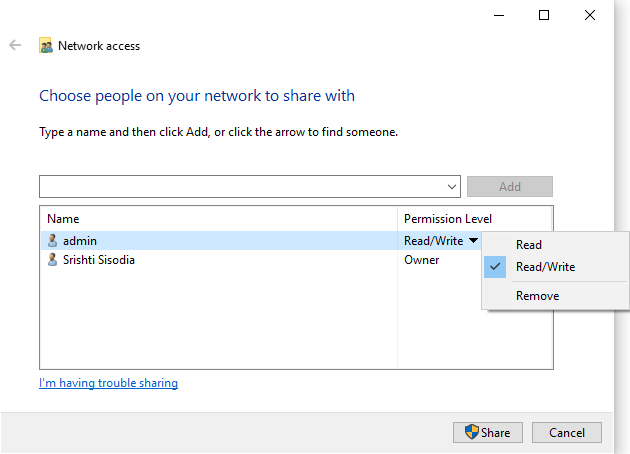
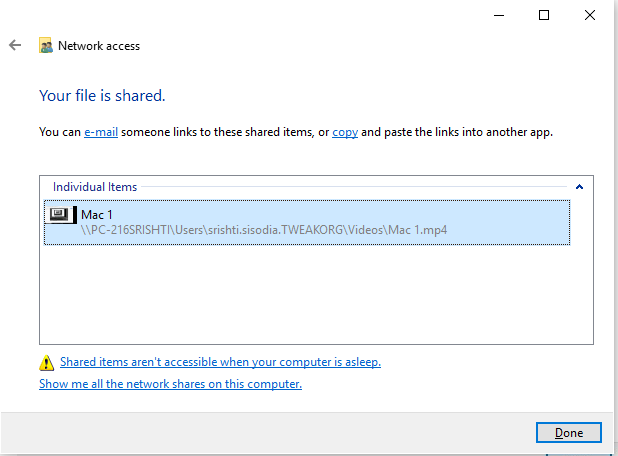
You will get to a new window, you can enter people’s names Under Choose People to share with and click Share to share a file or folder. You can change the Permission Level from drop down. You can select Read or Read/Write. You can click the file path to make it public or private.
 How to Recover Permanently Deleted Files in Windows...Do you want to recover permanently deleted files in windows 10? Well, you can restore your lost files, photos, videos...
Method 1: Use PowerShell To View Shared Windows 10 Files
Step 1: Press Windows and X key together to get Start context menu and click Powershell.
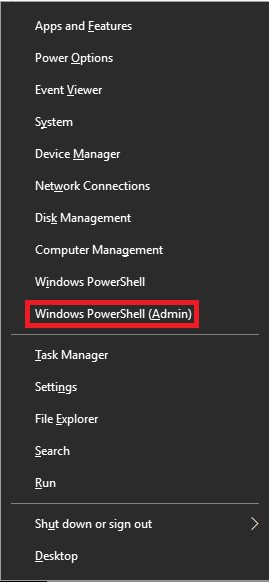
You can use both Windows PowerShell and Windows PowerShell Admin option to invoke Windows PowerShell in this case.
Step 2: Once launched, type: Get-WmiObject -class Win32_Share. Press Enter.
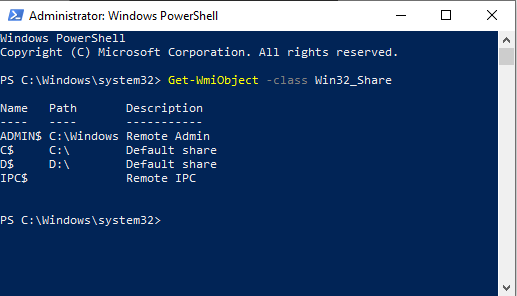
You will get to the list of all files that you have shared so far.
Method 2: Use Run Command To View Shared Files In Windows 10
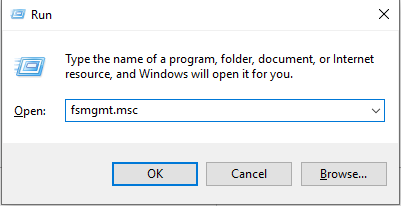
Step 1: To check which folders are shared, press Windows and R key to open the RUN box.
Step 2: Now type fsmgmt.msc and click OK.
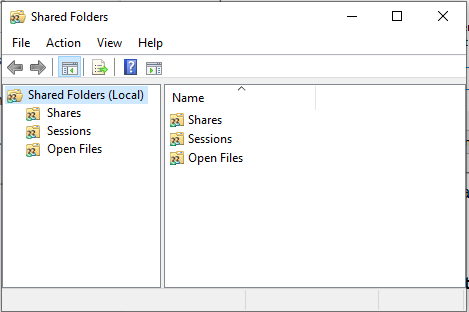
You will get a window that will contain a list of shared folder and files.
 Windows 10 Keyboard Shortcuts That You Could Use!In this blog post, we share a list of Windows 10 keyboard shortcuts with you. Using them will give the...
Method 3: Use Command Prompt To View Shared Windows 10 Files
Step 1: Press Windows and R to get the Run box and type cmd to launch Command Prompt.
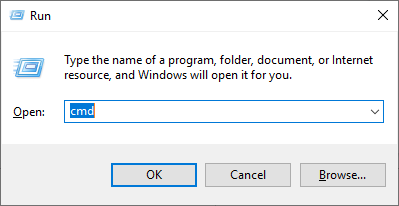
Step 2: You can view the shared files by typing the command:
net share
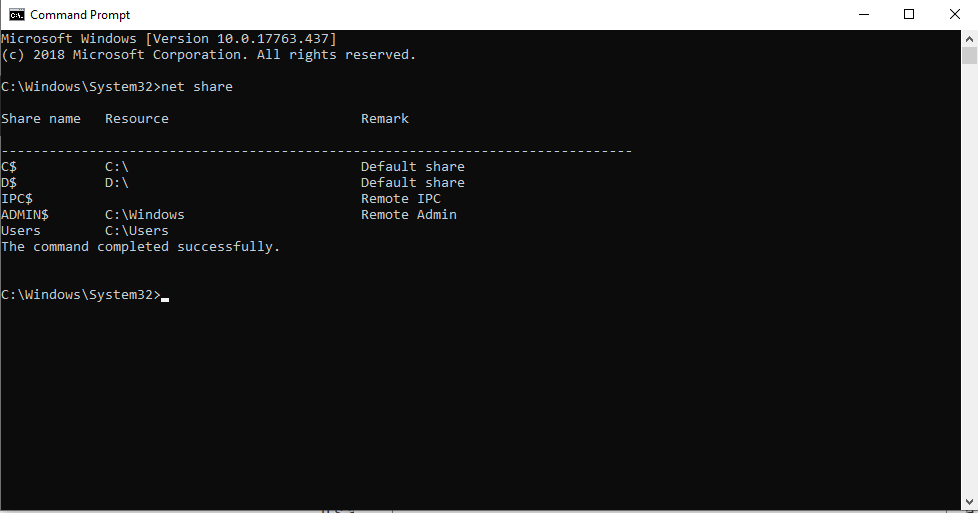
Step 3: Press Enter and you will get a list of files shared.
So, in this way, you can share the files and folders and view all folders that you shared so far without getting confused.
Which way are you going to use to view the shared folders? Please express your thoughts in the comments section below.