
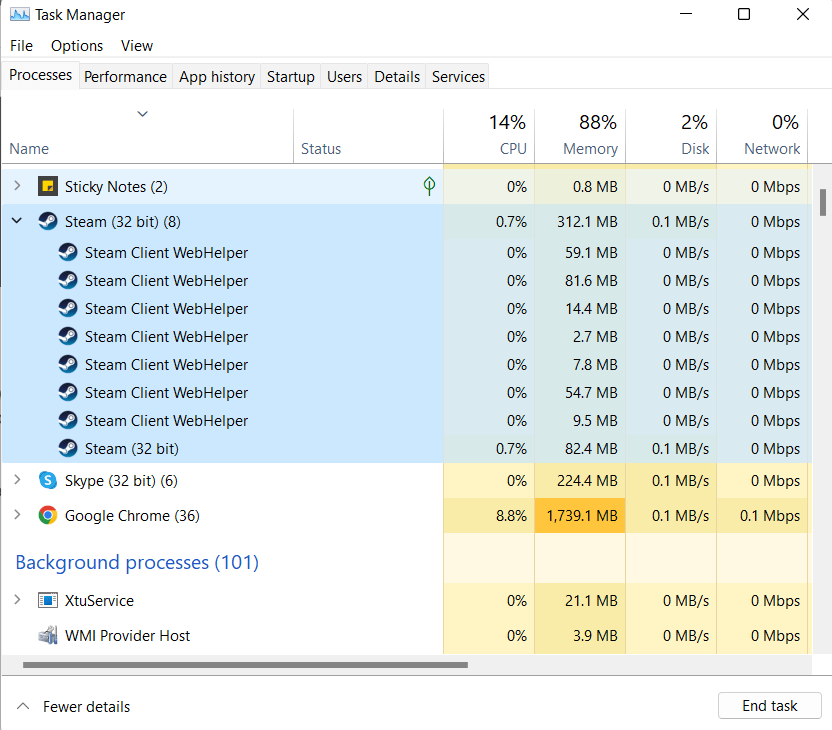
Many users had reported that their games and PC lagged when trying to play games on Steam. On diving further into the Task Manager, they saw that a background process under Steam called Steam Client WebHelper consumed a lot of CPU. If you are figuring out how to fix Steam Client WebHelper high CPU usage, you have come to the right place. But first –
What Is Steam Client WebHelper?
Like many other apps, Steam also has an inbuilt web browser called WebHelper. Whenever you open Steam Client, it further launches several Steam Client WebHelper processes whenever you open Steam Client. These processes display the community, the Steam Store, and your game library.
What Works With and Without Steam Client WebHelper Browser?
If you scroll down and jump to method no. 4, where we have discussed the steps to disable Steam Client WebHelper altogether, we have told you that once you disable it, Steam will open in Small mode. However, it has its benefits and repercussions –
Benefit: You might be able to fix the issue, plus you can view your games, install new ones and even launch them. You will also be able to access all standard settings alongside using Steam in offline mode.
Repercussion: You won’t be able to uninstall a game, won’t be able to access community features, or browse the store. You must open a standard browser to access community pages and Steam Store.
Methods To Fix Steam Client WebHelper High CPU Usage
Look at the background process – Steam Client WebHelper in the Task Manager. Does it consume a significant percentage of the total CPU usage? Try out these methods to fix the issue –
Method No.1. Turn off Animated Avatars
One of the things you can do to fix Steam Client WebHelper’s high CPU usage is to turn off animated avatars. For this, follow the steps mentioned below –
1. Launch Steam
2. Click on the Friends menu.
3. Click on View Friends List.
4. Click on Settings, signified by a gear icon at the top-right side of the screen.

5. Click on Friends List from the left-hand side.

6. Click on the toggle switch next to Enable Animated Avatars & Animated Avatar Frames in your Friends List and disable the option.
Method No.2. Use A Third-Party Tool To fix the Issue
High CPU usage can often be attributed to accumulated unwanted junk files, caches, programs, and other redundant data. The same could also be attributed to cookies, partially downloaded files, temporary data, and other common PC issues. A third-party tool like Advanced System Optimizer can fix common system issues along with all the unwanted junk that’s hampering your PC or causing High CPU Usage. We have already covered a separate post on what an Advanced System optimizer is and how it can help you with your PC’s cleaning and optimization tasks.
How To Quickly Get Down To the Issue Causing High CPU Usage?
1. Download, install and run Advanced System optimizer.

2. From the left-hand side, click on Home.

3. From the right-hand side, click on Smart PC Care. This module will help display all errors that could hamper the system’s performance.

4. After the process is complete, it will enlist all the issues. Once found, follow on-screen instructions to fix the issue.
Method No.3. Disable Steam Overlay
The Steam Overlay lets Steam remain active while you are playing the game. It enables you to use a web browser, friend list, chat, and in-game DLC purchasing. However, this feature can consume a significant amount of RAM. So, you should turn it off.
1. Click on the Steam menu.
2. Click on Settings.
3. Click on in-game from the left-hand side, and then from the right, uncheck Enable the Steam Overlay while in-game.

Method No.4. Disable Steam Client WebHelper Completely
Users have reported that by completely disabling the WebHelper browser, they were able to fix the Steam Client WebHelper usage. It is important to note that after you have used the steps mentioned below, Steam will open in Small Mode –
1. Open Task Manager by pressing Shift + Ctrl + Esc and close all Steam-related background processes.
2. Now, open File Explorer and head to the Steam installation directory, which is C:\Program Files (x86)\Steam
3. Find steam.exe. Copy the file location
4. Now open the Run dialog box by pressing Windows + R and type the location of steam.exe that you had copied above, followed by \\Steam\\steam.exe” -no-browser +open steam://open/minigameslist. For e.g. C:\\Program Files (x86)\\Steam\\steam.exe” -no-browser +open steam://open/minigameslist
Now, check your Task Manager if this has helped reduce CPU usage or not.
Method No.5. Uninstall Latest Windows Updates
If the Steam Client WebHelper’s high CPU and memory issue has surfaced soon after a recent Windows update, you can uninstall the latest updates. To do that –
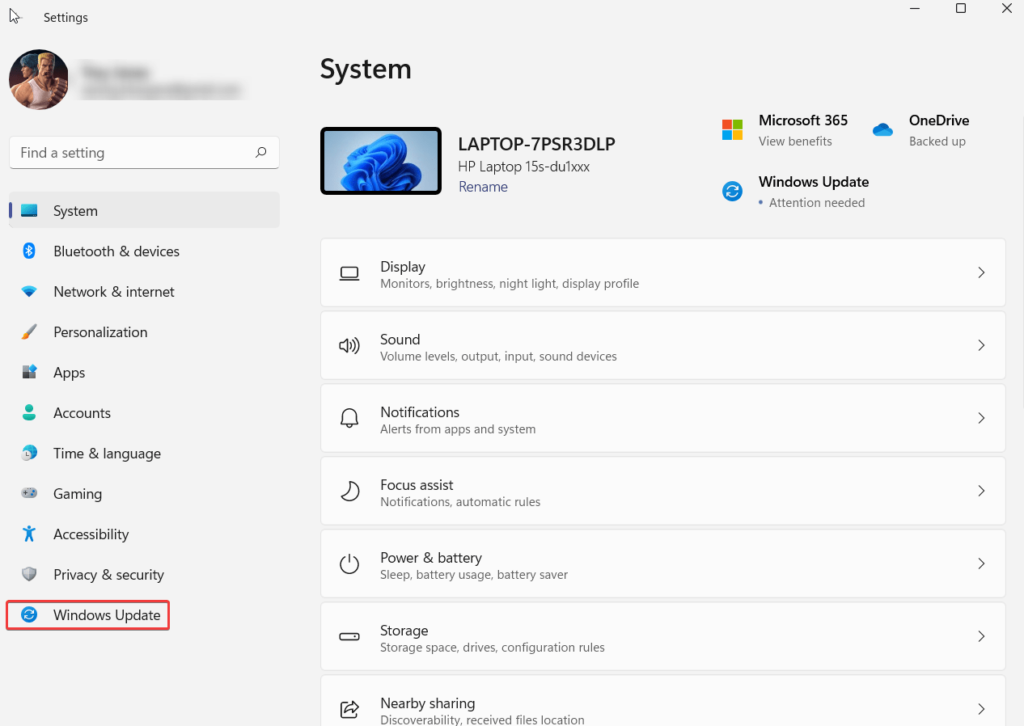
1. Open Settings by pressing Windows + I key combination.
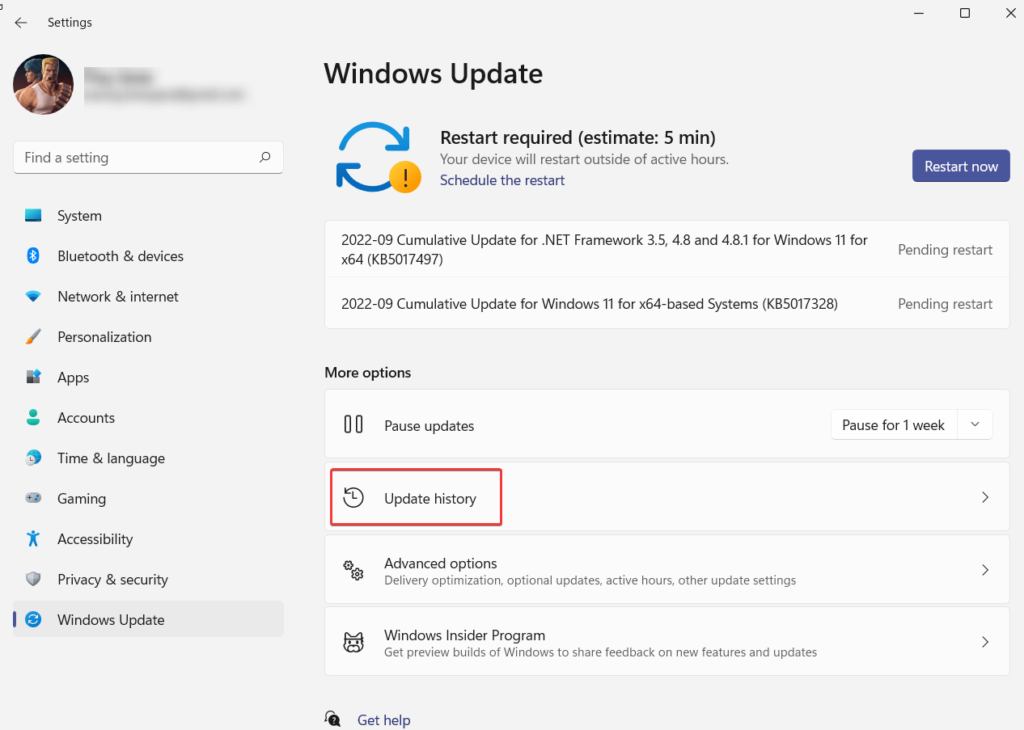
2. Click on Windows Update from the left-hand side.
3. From the right-hand side, click on Update history.

4. Click on Uninstall Updates from the bottom.
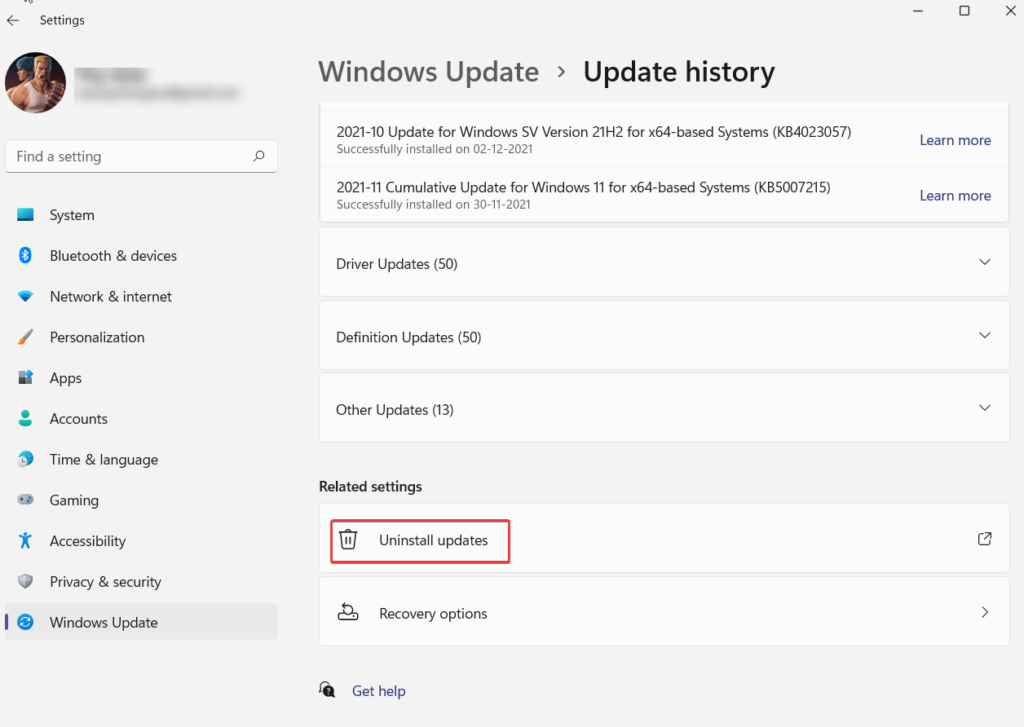
5. Select the recent update and click on Uninstall from the top.
Wrapping Up
Were you able to fix the Steam Client WebHelper High CPU usage issue with the help of the methods we have discussed? If yes, do let us know in the comments which of the above methods helped you fix the issue. For more such content, troubleshooting guides, app reviews, app listicles, and more, keep reading WeTheGeek. Follow us on social media Facebook, Instagram and YouTube.
FAQs –
What is Steam Client WebHelper in Windows 10?
Steam Client WebHelper is an inbuilt browser with Steam on your Windows 10. It displays Steam Store, the game library, and the community. It is an exe file whose complete name is steamwebhelper.exe, and the various background processes can be seen in the Task Manager.
Does steam WebHelper slow down your PC?
Although not a very common phenomenon, occasionally, during games, Steam Client WebHelper may start using the CPU profusely (CPU usage goes up to 70% in some games). Users have also reported game lags and slow PC performance as well.
How to fix Steam client WebHelper high CPU and memory issue?
To resolve Steam Client WebHelper High CPU usage, you can “Turn off Animated Avatars,” Use a third-party optimizer and cleaner, Disable “Steam Overlay” or “WebHelper” entirely or roll back a recent Windows update. We have discussed all these methods in this post.
How do I disable Steam client service?
Open the Task Manager. Click on the Services tab. Scroll down and locate the Steam Client Service. Right-click on it and then click on Stop.