Steam provides a portal into the world of gaming for gamers. However, there are times when Steam does not function properly or simply displays a blank screen. You might be worried if you don’t have access to your favorite games. But don’t worry; by following the steps outlined in this article, you can resolve the problem.
You should restart your computer before doing any of the troubleshooting methods suggested below. This procedure will refresh the operating system and delete any corrupt temporary data that may be causing the issue. Try these solutions.
How To Fix Steam Black Screen not Working
Method 1: Delete Browser Cache & App Cache
A built-in browser in the Steam desktop client can display your game details. As a result, it is often used by people. But there’s a catch: Steam’s web browser cache isn’t instantly cleared. As a result, Steam would fail to load properly. You should clear the cache to repair the problem. Here’s how to go about it:
Step 1: Launch the Steam client. Click Steam and then Settings from the menu bar.

Step 2: Select the Web Browser from the left panel.
Step 3: Then select DELETE WEB BROWSER CACHE from the drop-down menu.
Step 4: Click DELETE ALL BROWSER COOKIES once it’s finished. Simply click OK when it’s finished.
Step 5: Your Steam client should now be working normally. If the black screen problem persists, clear the app cache.
Your Steam directory’s app cache saves various data about your Steam apps and configuration. Essentially, it saves little details each time you open Steam, guaranteeing that things operate a little faster the following time you use Steam. However, it has a tendency to forget stuff, which could lead to Steam not loading properly. Try removing the appcache folder to resolve the issue. You won’t have to worry about it because it’ll be replicated the next time you enter Steam.
Step 1: To open File Explorer, hit the Windows logo key and E at the same time on your keyboard.
Step 2: Go to the Steam directory by going to Windows (C:) > Program Files (86) > Steam.
Step 3: Just in case something goes wrong, copy and paste the appcache folder to a safe location.
Step 4: Delete the appcache folder from your Steam directory now. Then try re-launching Steam. If everything goes properly, you can delete the old backup appcache folder and a new one will be generated in its stead.
Method 2: Add –no-cef-sandbox in your Steam shortcut
If Steam is not launching properly, the command line argument -no-cef-sandbox is exactly what you need. Adding the argument to the shortcut would most likely assist you in resolving the problem. Here’s how to go about it:
Step 1: Shut down Steam. Right-click the Steam shortcut on your desktop and select Properties.
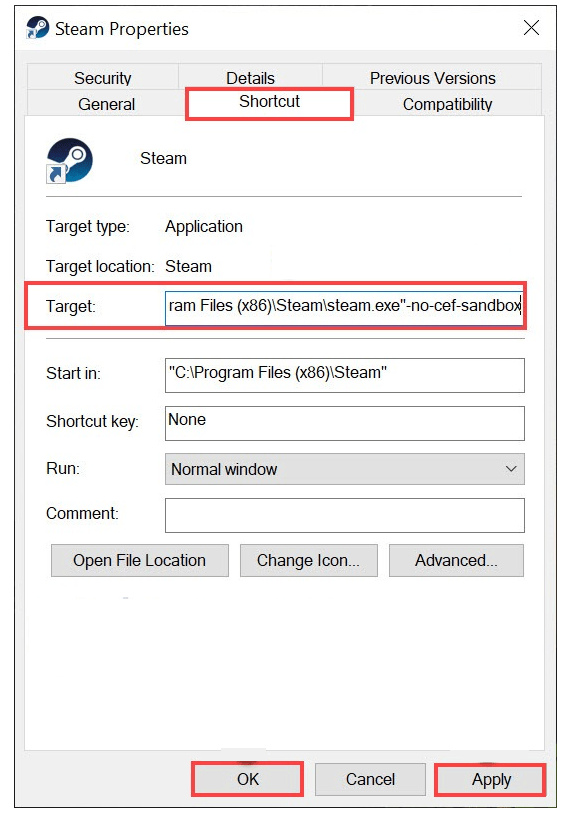
Step 2: Navigate to the Shortcuts tab. Add -no-cef-sandbox to the end of the Target section. Then click OK > Apply.
Step 3: Try launching the Steam client now to see if it works.
Method 3: Reinstall Steam
If nothing else works, you may reinstall it quickly while maintaining all of your settings and games. You can do so by following the instructions below:
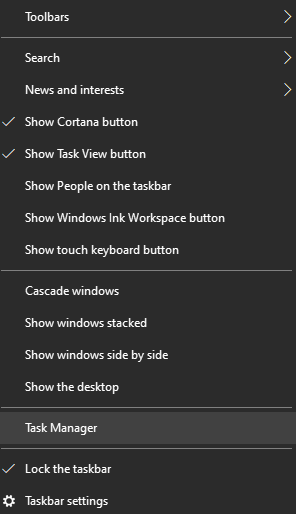
Step 1: Shut down Steam by opening the Task Manager and check for Steam Client Service and Steam Client WebHelper to ensure you’ve completely exited Steam. End the task by right-clicking on them.
Step 2: To open File Explorer, hit the Windows logo key and E at the same time on your keyboard.
Step 3: Go to the Steam directory by going to the C drive and then navigate to Program Files (86) and then to the Steam folder.
Step 4: Remove all files and folders except steamapps, userdata, and steam.exe
Step 5: Reinstall Steam.exe by double-clicking it.
Method 4: Update Drivers
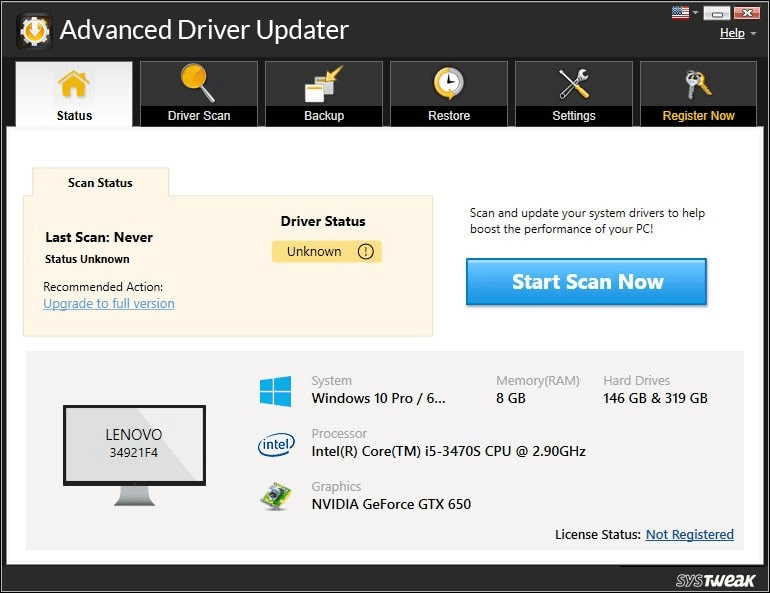
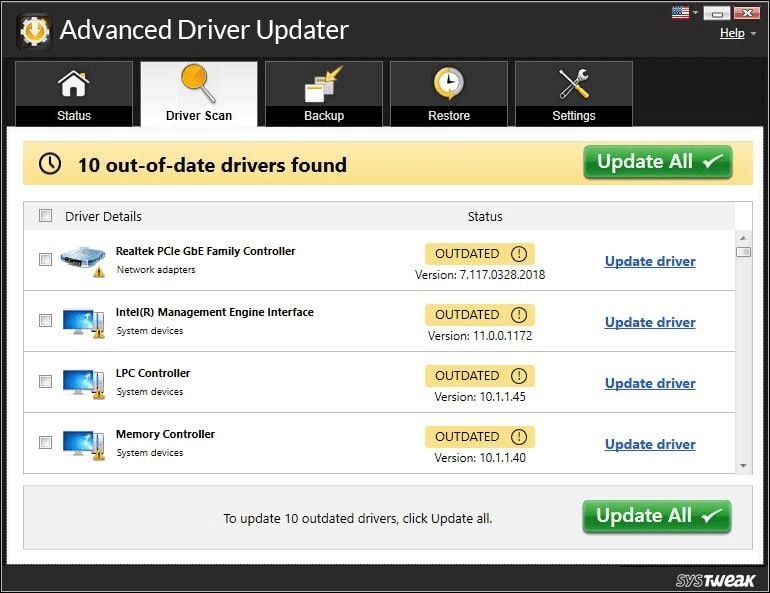
The easiest and quickest approach to update drivers on your PC is to use driver updater software. Advanced Driver Updater is one of the greatest tools in this category since it searches your PC for obsolete, corrupt, and missing drivers. It then searches its database for the most recent and suitable driver, which it then downloads and installs on your computer. The following are the procedures for installing Advanced Driver Updater on your computer.
Step 1: Click the Download button below to download and install Advanced Driver Updater on your PC.

Step 2: Open the app when it has been installed.
Step 3: In the center of the screen, click the Start Scan Now option.
Step 4: Within the app interface, a list of driver abnormalities will appear on your screen. Look for the USB drivers in the list.
Step 5: After you’ve identified the problem with the USB driver, click the Update button next to the driver you want to update.
Step 6: After you’ve done updating the drivers, you’ll need to restart the computer to verify that the changes take effect.
The Final Word On How to Fix Steam Black Screen not working – 2023
The Steam app has revolutionized gaming for enthusiasts gamers across the world. However, some users have complained about black screens and other issues. The above methods will help fix these issues and resolve Steam black screen problems. Updating drivers has been recommended by many experts as a definite way to fix things and Advanced Driver Updater takes this process one step further by automating it.
Follow us on social media – Facebook, Instagram, and YouTube. For any queries or suggestions, please let us know in the comments section below. We would love to get back to you with a solution. We regularly post tips and tricks, along with answers to common issues related to technology.