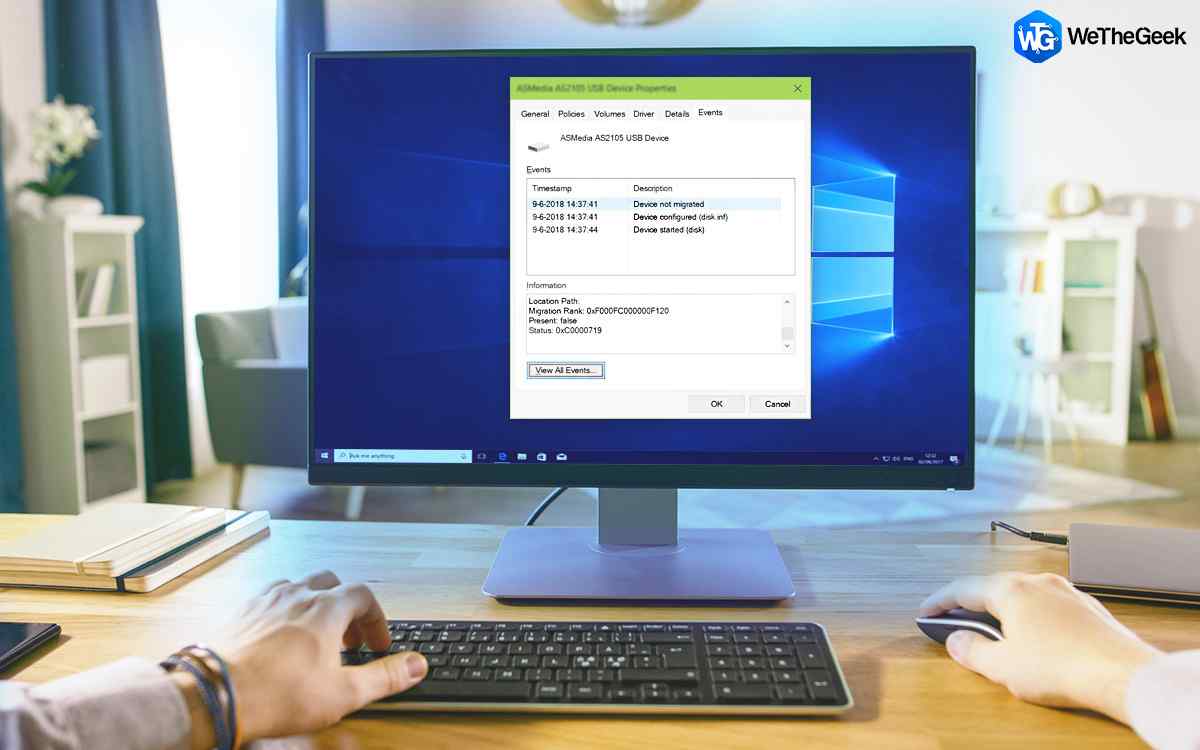
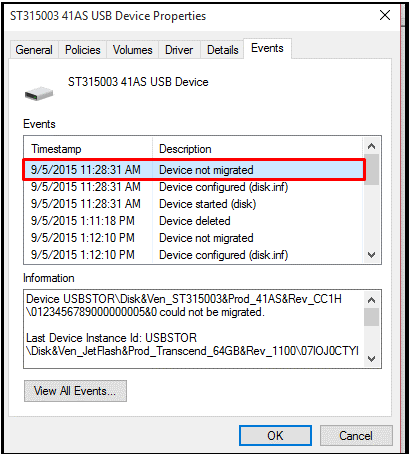
There is nothing more cringeworthy than the error saying, “Device not Migrated”. Especially, when you connect your hard drive or USB to your Windows machine. In fact, some of the systems may encounter the error after upgrading and installing Windows 10. There are many culprits that can bring the error to your screen such as incompatible device driver or corrupted drivers. Fortunately, there are ways that can help you fix the error message just by making a few changes in system settings.
In this guide, we are going to discuss multiple ways to fix ‘‘Device not Migrated”’ error.
Method 1: Check Damaged Windows System Files
At first, we must check whether the Windows system files are corrupted or not. It is possible to check for a damaged system file using Command Prompt.
Step 1: Launch Command Prompt. You can do it by using pressing Ctrl + R from your keyboard or accessing Run window. It is important to know that you need to login with administrator account to check the status.
Step 2: Once the Command Prompt is up, you need to enter “sfc/scannow” to start the check procedure.
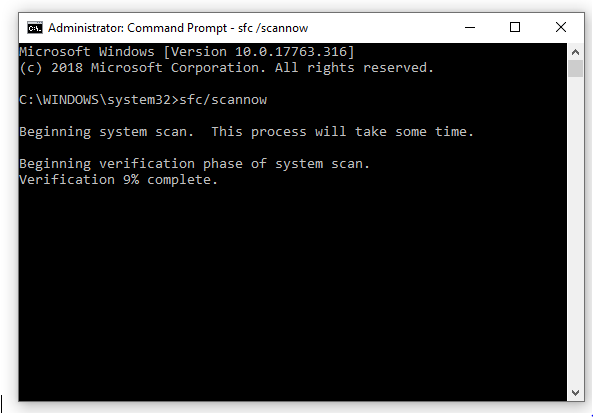
Step 3: Now your system starts checking your files. In case there is any corrupted file then the System will fix it.
Method 2: Check Connectivity of USB Devices
There is the high possibility that you get ‘Device not Migrated” error on your screen due to poor USB connectivity such as faulty ports. To be sure about the actual reason for this issue, you may try different ports to connect your USB flash drive.
Method 3: How to Uninstall and Reinstall Your Driver
There are many reasons because of that you might get ‘Device not Migrated” error such as non-compatible drivers or using damaged drivers. To fix the migrated error, first, you need to fix the drivers by uninstalling and then reinstalling them on your device.
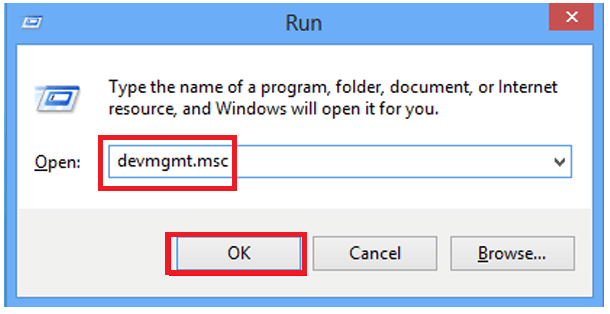
Step 1: Firstly, you need to access Run on your screen, you can simultaneously press Ctrl + R from your keyboard.
Step 2: You need to enter “devmgmt.msc” in the Run box and then hit Enter.
Step 3: Now, you need to locate the device that is creating issues and then right click on it.
Step 4: Choose ‘Uninstall’, you would notice that the process of uninstallation has begun. Once you have successful uninstalled it, you would be able to go ahead and reinstall the driver.
Step 5: You need to install the drive by using compatibility mode. You can do it by right-clicking on the driver file.

Step 6: Now, you need to choose the Compatibility option. You need to check the box beside “Run this program in compatibility mode for” from the Compatibility mode.

Step 7: You need to pick the Windows version from the available drop-down options.
Step 8: Now, choose Apply and then hit Ok.
Method 4: How to Update Chipset Drivers?
Using the outdated chipset driver may cause the ‘Device not Migrated” error. So, you need to update your outdated chipset drivers.
Step 1: Launch Start from the taskbar.
Step 2: Navigate Device Manager.
Step 3: From the Device Manager window, you need to find out the device that you want to update.

Step 4: Now, you need to right-click on your hardware device to continue the process.
Step 5: Now, you will get an update panel on your screen where you need to select all the drivers you want to update. You can also choose “Search automatically for updated driver software”.
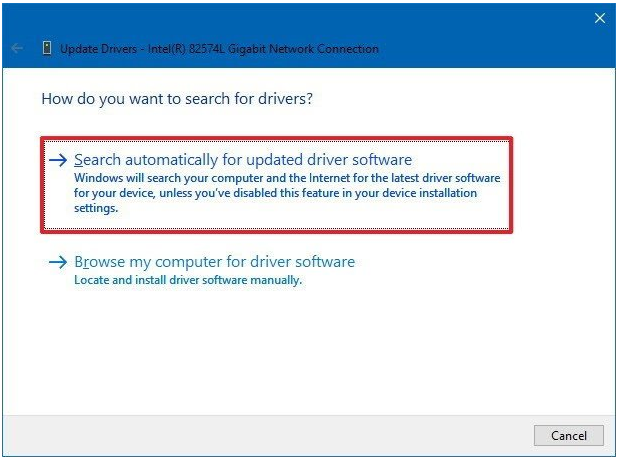
Step 6: It will search for the latest update and computer will automatically download and install them.
Method 5: Update & Rearrange BIOS Settings
When your machine is using the incorrect BIOS settings, then it averts the migration of PnP (Plug and Play) driver collector from recognizing the device. To fix the issue, you can either update the BIOS setting or rearrange settings that can easily locate the device.
So, multiple ways to fix “Device not Migrated” error is the smoothest way to fix the issue on Windows 10. Please keep in mind, after trying out all the above-mentioned fixes, you are not able to resolve the issue then you need to download the prior version of your Windows.