
A lot of things changed when Windows 10 came into being. Whether it is the interface or default browser, everything was beautified. However, there can be some of the features that you might not like. One of those features could be Automatic Updates in Windows 10. They get downloaded and installed on their own as Microsoft wants your computer to stay safe and updated. Well, it is a good thing but it is not ok if someone doesn’t like it. Not to worry, you can turn off automatic updates in Windows 10.
There can be two ways to Turn Off Automatic Updates in Windows 10. Either you can use Local Group Policy Editor or the Registry to take back the control.
In this post, we have shared a step by step guide to help you do the same.
Prevent Automatic Updates Using the Local Group Policy Editor
In Windows 10, you can use Local Group Policy Editor to make changes in the settings to stop automatic downloading and installing updates. To do so, follow these steps:
- Open Run Command by pressing Windows and R key together.

- Now type gpedit.msc and click OK.
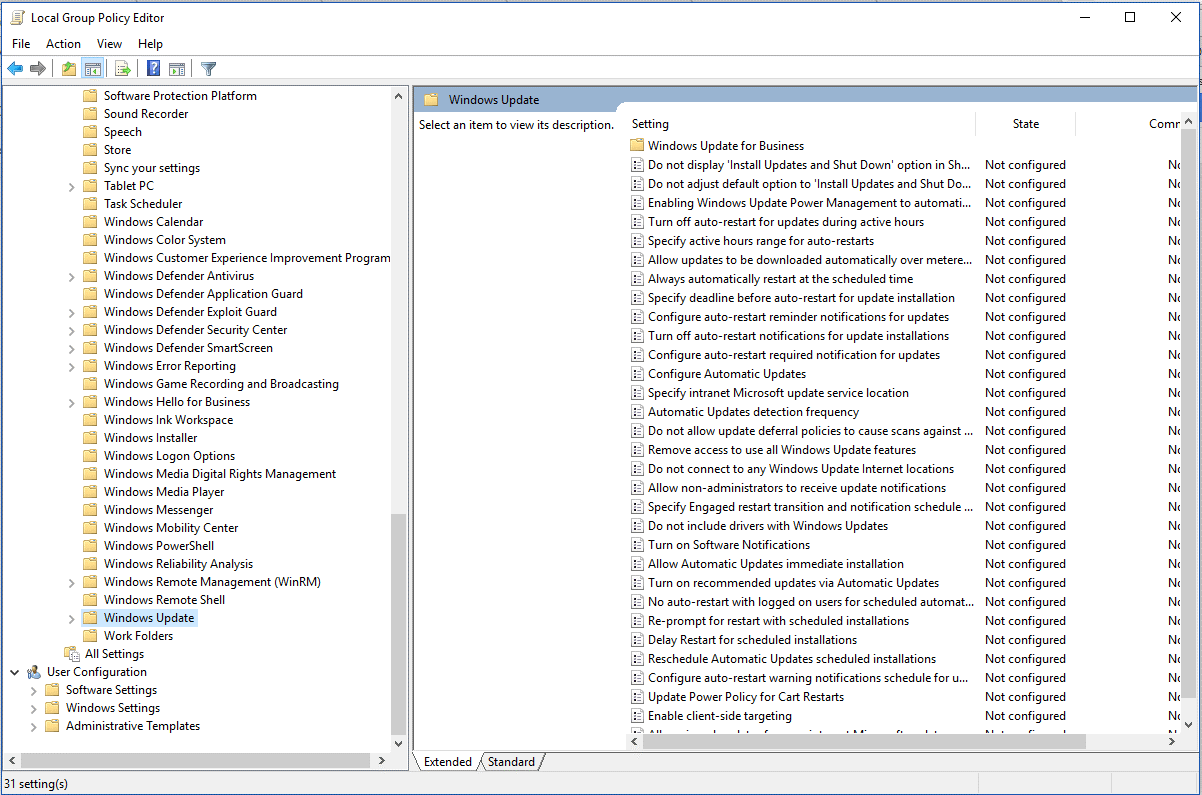
- You will get the Local Group Policy Editor.
- Now follow the path to reach Windows Update
Computer Configuration\Administrative Templates\Windows Components\Windows Update - Now on the right side of the pane, locate Configure Automatic Updates policy and double click on it.
- Configure Automatic Updates policy window will open. On the left-hand side pane, put a checkmark beside Enabled option to enable the policy.
- Under the options on the left side of the pane, you will get a number of ways in which you configure automatic updates, some of them are:
- 2 – “Notify for download and notify for install.”
- 3 – “Auto download and notify for install.”
- 4 – “Auto download and schedule the install.
- 5 – “Allow local admin to choose setting.”
- Select the option that suits you. If you select option 2, Windows will notify you when it will download and when it will install the update. When the new update will be released, it will notify you in the Action Center but it will not initiate the download until you do the following:
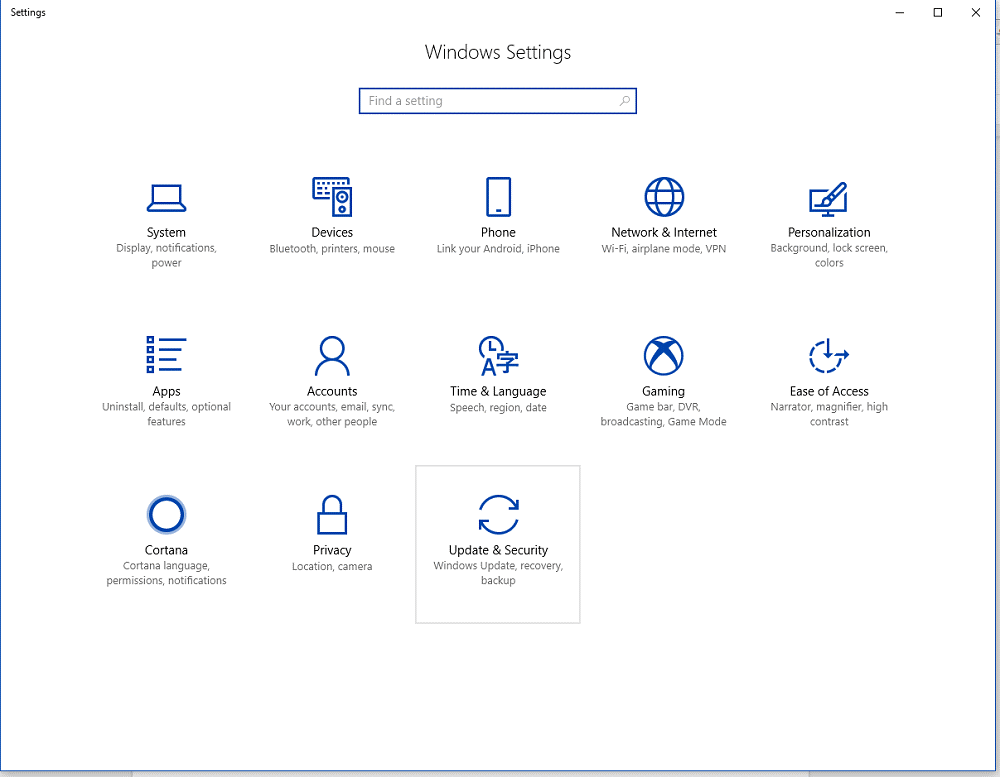
- Go to Start Button and select Settings.
- Locate and click Update & security.
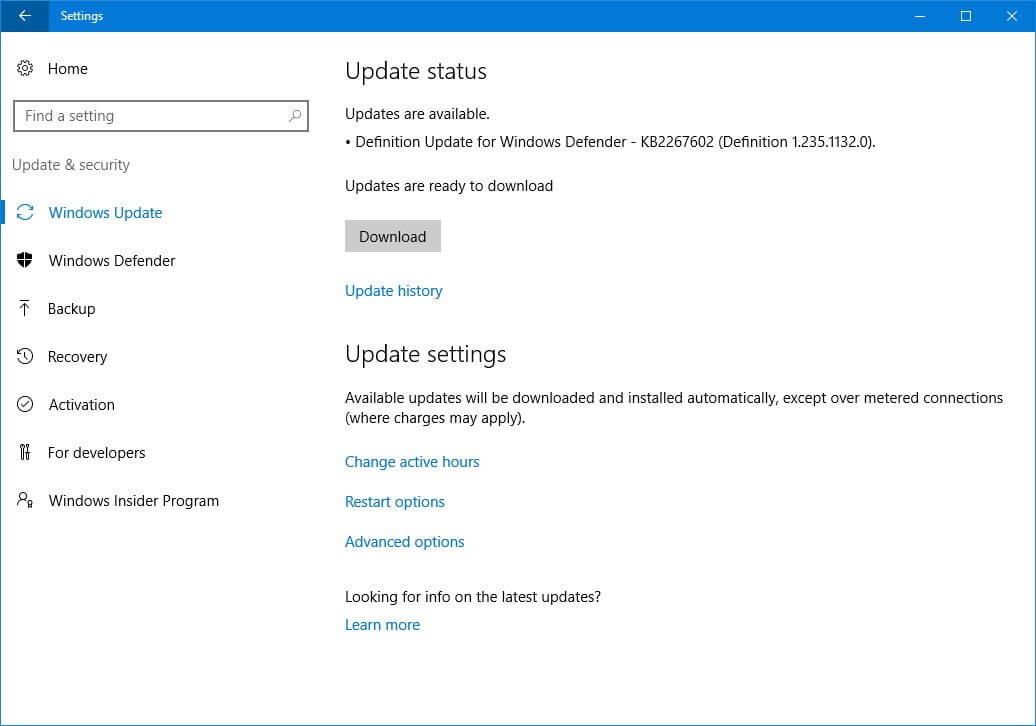
- Click Windows Update.
- Click the Download button.
- Click Restart to complete the process.
- Go to Start Button and select Settings.
- If you select option 4, you will get some options to customize the download and install of Windows update. You can schedule the update on a particular day and set timings. Moreover, you can checkmark the box if you only want to install updates for Microsoft products.


Stop Automatic Updates Using the Registry
You can also stop Automatic Updates Using the Registry Editor. To do so, follow these steps:
- Go to Search bar near the start button and type regedit to open Registry Editor.
Note: You can open Run Window (press Windows and R Key together) and type regedit. - You will get a prompt to open Registry Editor, click Yes to proceed.
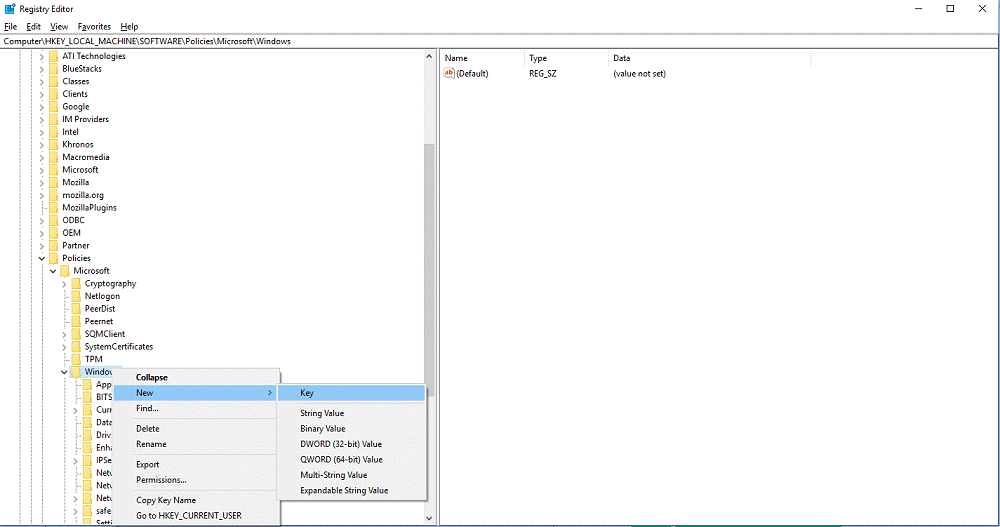
- Once the Registry Editor is open, browse to the below path:
HKEY_LOCAL_MACHINE\SOFTWARE\Policies\Microsoft\Windows
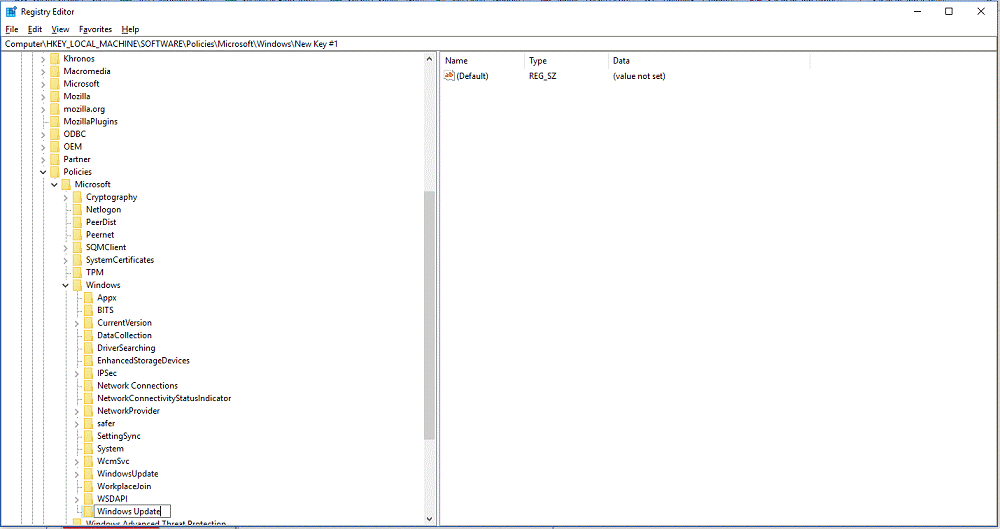
- When you locate Windows key, right click on it and select New and then Key from the context menu.
- Rename the Key as Windows Update and hit Enter.
- Now right click on the Windows Update key and select New and then Key.
- Now, name the now created key as AU and hit Enter
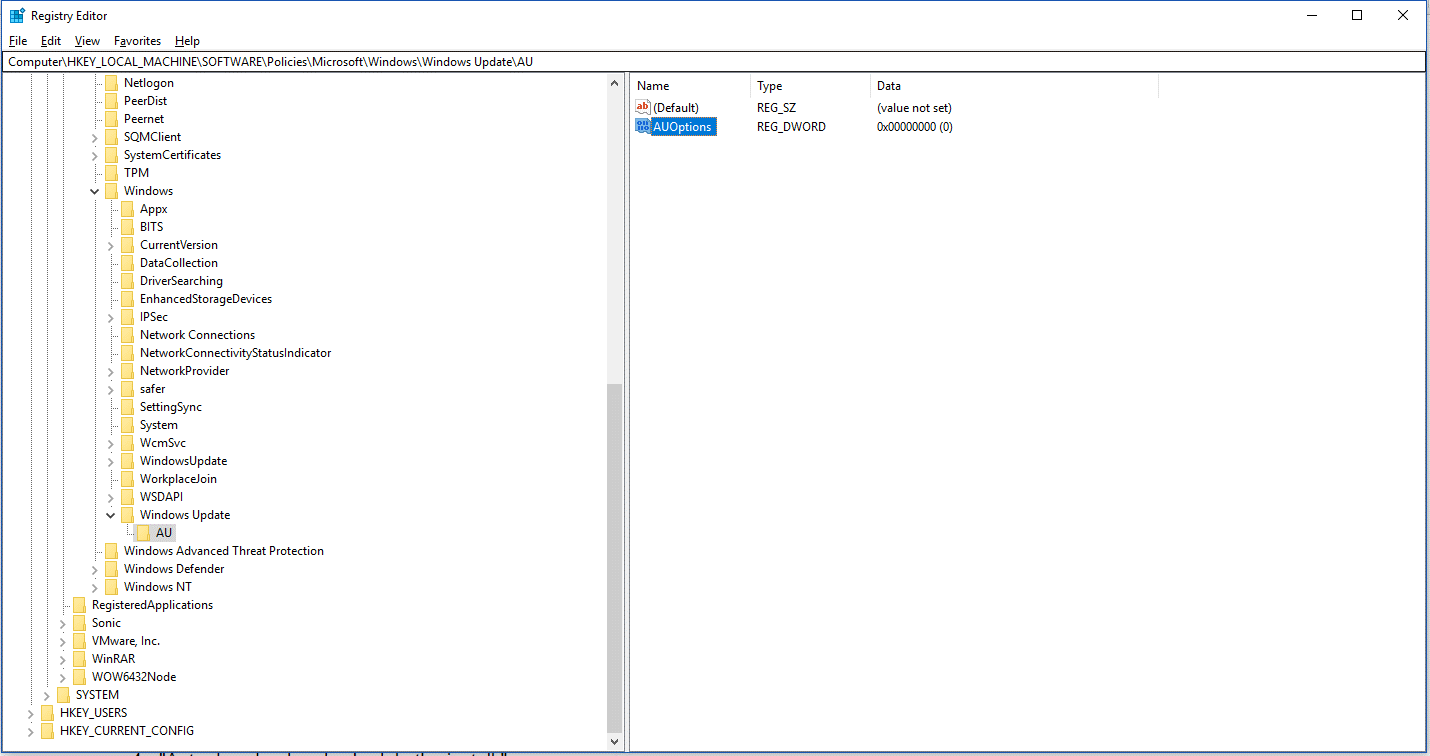
- Right click AU key and select New and then DWORD (32-bit) Value.
- Name the new key AUOptions and hit Enter.
- Click AUOptions and change the value from 0 to 5.
- 2 – “Notify for download and notify for install.”
- 3 – “Auto download and notify for install.”
- 4 – “Auto download and schedule the install.”
- 5 – “Allow local admin to choose settings.”
- Once you are done, click OK to confirm.
- Close Registry Editor.


So, these are ways by which you can prevent Automatic Updates to get downloaded and installed on your Windows 10. You can try it the methods to stop the Automatic updates. However, it is not recommended to do so, as regular updates are important as it patch security vulnerabilities and improve the overall performance of Windows 10.