
Upgraded your Windows PC to Windows 10 Operating System? Did you notice the login screen which displays your personal information? This includes both your full name and the email address of your Microsoft account that was used during the initial setup of your Windows 10 PC.
While personal information being displayed on the login screen may be normal for some users, others who concerned about their privacy may want to hide it.
So, is it possible to change the sign-in screen name? With Microsoft Account it isn’t. Windows 10 does not give users an option to remove or change the username. So, is there a way around through which you can change your login username. Well, yes there is. Windows 10 gives you an option to change the name associated with your Microsoft Account online. So, users can easily change their name to something that does not disclose their personal information.
How To Change Your Sign-in Screen Name On Windows 10:
Don’t know how to change your sign-in screen name on Windows 10 PC? This article aims at providing you the simplest steps that you can perform if you want to change your sign-in screen name and protect your privacy.
Please follow the steps mentioned below to see how you can do it:
- Open the Windows 10 Settings App by pressing Windows key + I simultaneously.
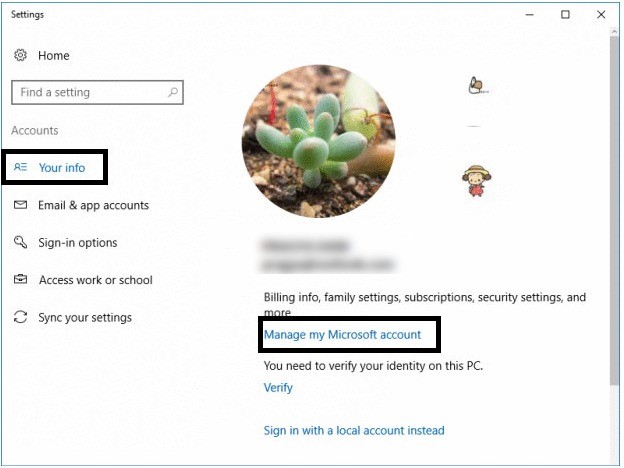
- From the Settings Window, locate and click on Your info from the left panel.
- Post this, click on Manage my Microsoft account. This will open your Microsoft Account on the web browser.

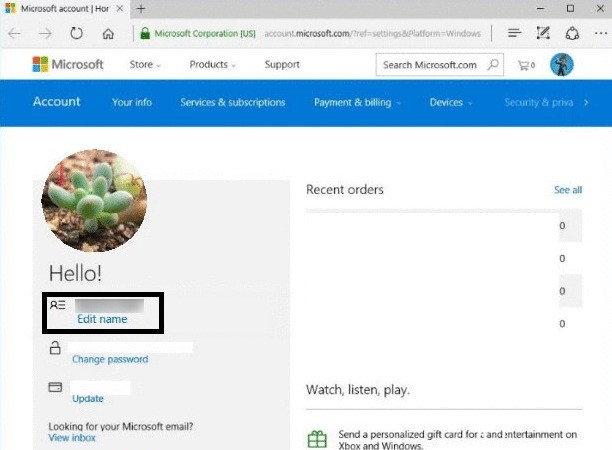
- On the Web browser, click on the Edit name from the left panel.
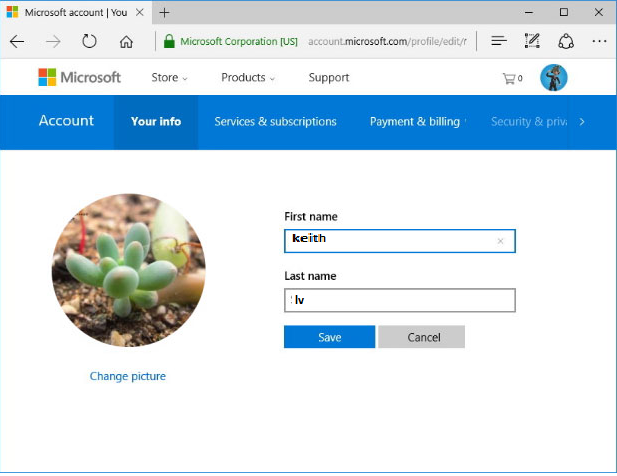
- Enter your desired name in the First Name and Last Name fields and then click on Save. Make sure you enter something that does not relate to your original identity.
- Finally, restart your Windows 10 PC for the changes to reflect.
Also Read: How to Recover Permanently Deleted Files in Windows 10
After you have rebooted your computer, you will find that the sign-in screen name on Windows 10 has been updated to the one you recently changed.
One thing that should be kept is mind it that when you are updating your Microsoft Account username, you will also be changing the username of all the accounts (like Outlook.com) that are related to your Microsoft Account.
This was all about changing your sign-in screen name when your using a Microsoft Account.
Change the Local Account Name on Windows 10 PC:
Users who use Local account on their Windows 10 PC can easily change the sign-in screen name, read further to know how:
- Open Control Panel by simply typing control panel in the search bar located on the Taskbar.
- Now click on Change account type.
- Here select the local account you are using.
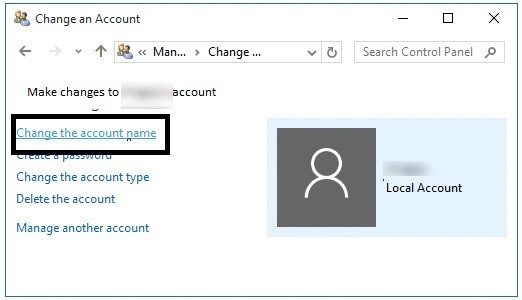
- Post this, click on Change the account name.
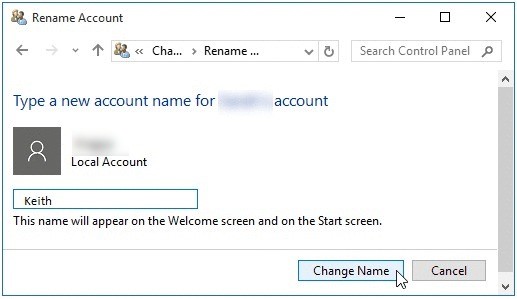
- You will now be asked to Change your local account name, enter the new name that does not reveal your identity.
- Finally click on Change Name to change your local account name.
Also Read: How To Fix Your “Computer Restarted Unexpectedly” Error In Windows 10
So, these were the simple steps using which can easily change the sign-in screen name on your Windows 10 PC. If you are a user who are concerned about privacy and want to protect it, changing the sign-in screen name should be the first thing you should do. Follow the complete article and don’t let anyone hamper your privacy.