When you think of Security on your PC, you often think about Antivirus software, an app to remove identity traces, a VPN to mask your IP address, and so on. There are many ways threat actors can get into your PC and steal your data. But do you know that the easiest way to access your information and infiltrate your privacy is just by physically handling your PC?
Sometimes, we forget the simple things in life in today’s complex world, and locking our PC is one of them. If you go out for a break or meeting, leaving your PC unlocked, then anyone can access your data. And until you get in the habit of pressing Win + L every time you move away from your PC, let us set a custom inactivity lock time on Windows PC.
Also Read: How to Disable the Lock Screen on Windows 11
Different Methods On How To Set A Custom Inactivity Lock Time On Windows
Also Read: 6 Ways To Open The Local Security Policy In Windows 11?
Method 1: Use The Local Security Policy
You can choose the precise amount of time in seconds after which your PC will automatically lock using the Local Security Policy. To have your PC automatically lock, make sure you are logged in as an administrator. Here are the steps:
Note: Only the Pro, Education, and Enterprise editions of Windows 10 and 11 have a local security policy. Use method two if you’re using the Home version or learn more to enable this feature on your PC.
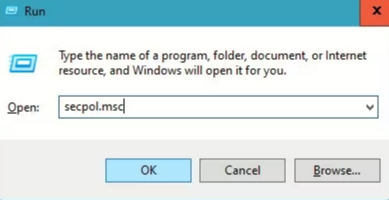
Step 1: To open the Run box, press the Win + R keys simultaneously.
Step 2: Type secpol.msc in the text box and press the OK button.
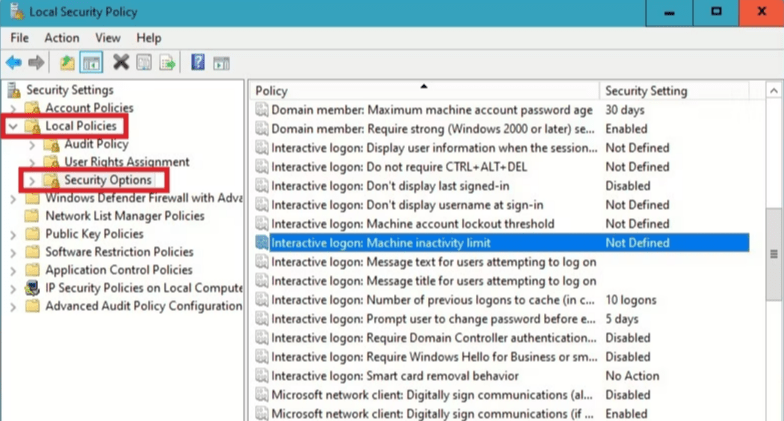
Step 3: A new window will open. Expand Local Policies on the left pane by clicking the down arrow next to it.
Step 4: Click Security Options to access further options.
Step 5: The right pane will then open and display the Security Options.
Step 6: Next, look and double-click the policy labeled “Interactive logon: Machine inactivity limit” to open its properties in a new window.
Step 7: Enter the time in seconds after which you want your computer to automatically lock under the section “Machine will be locked after”.
Note: This is the period of inactivity for your computer. The time range you can enter is 0 to 599940 seconds.
Step 8: Now click Apply, then OK.
Step 9: To make the change final, shut the Local Security Policy window and reboot your computer.
Now, whenever you use your computer, you’ll notice that it automatically locks once your custom timeframe ends. Additionally, your PC will prompt someone for their password if they attempt to access it while you are away, which should deter them.
Note: If you don’t like the idea of custom inactivity lock time then you can always disable it in the same way. Open the “Interactive logon: Machine inactivity limit” policy in Local Security Policy and set the time to 0 to prevent your PC from automatically locking.
Also Read: 8 Ways to Open the Local Group Policy Editor in Windows 11
Method 2: Use The Windows Registry Editor
Your computer can be configured to automatically lock after a predetermined amount of time by making changes to registry settings. This is also possible with Windows Home and all other Windows editions.
Note: You must exercise caution when making registry modifications and it would be a good idea to make a restore point in Windows.
Step 1: In Windows Search, enter “Registry Editor” and click “Best match” to choose Registry Editor.
Step 2: On the UAC prompt, select Yes.
Step 3: To access the System registry key, take the following route in the left pane:
HKEY_LOCAL_MACHINE\SOFTWARE\Microsoft\Windows\CurrentVersion\Policies\System
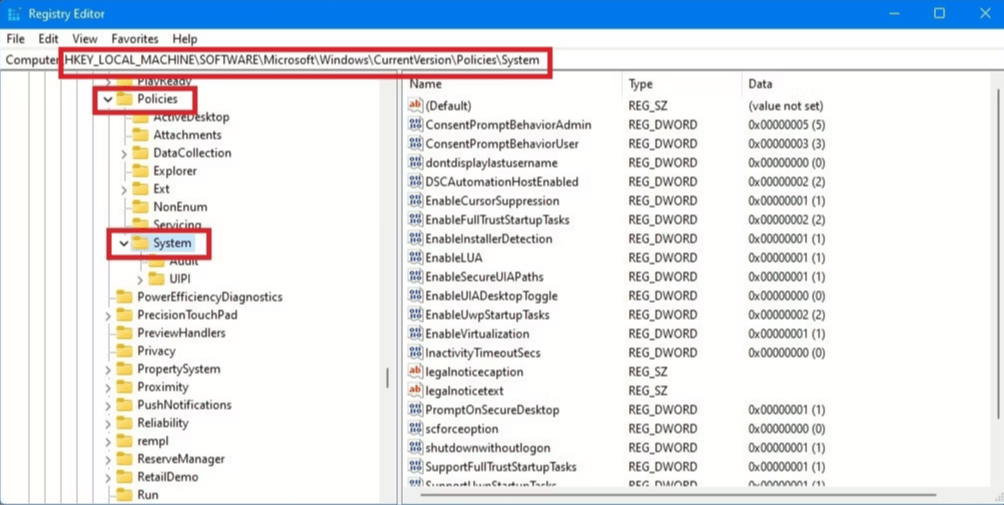
Note: You can copy and paste this path into the address bar of the Windows Registry under the toolbars.
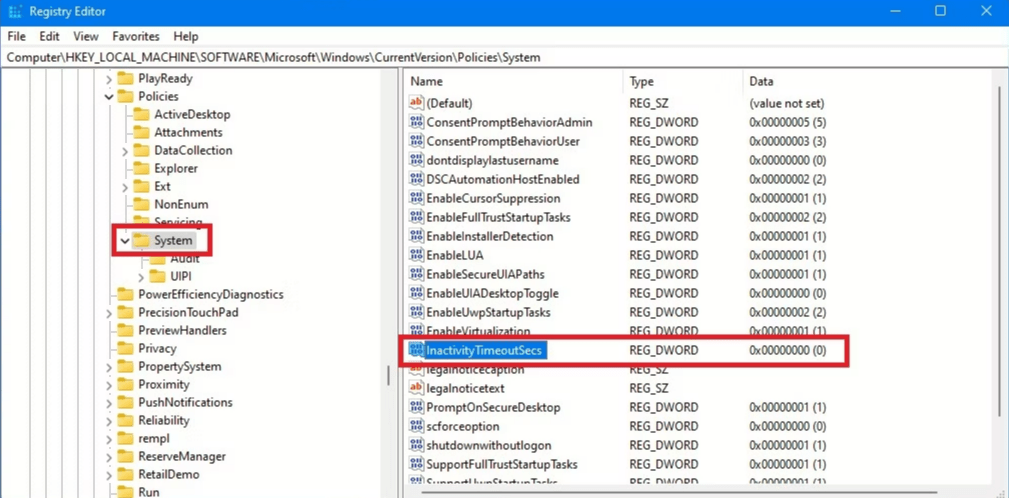
Step 4: The System key’s components will appear in the right pane when you click on it in the left pane. To access the “InactivityTimeoutSecs” DWORD, scroll down.

Step 5: To change the value of the InactivityTimeoutSecs DWORD, double-click on it.
Step 6: Choose Decimal under Base, and then enter a number between 0 and 599940 under Value data to specify the number of seconds after which your computer will automatically lock itself.
Step 7: Now click OK.
Step 8: If the InactivityTimeoutSecs DWORD is missing from your registry, you can create it.
Step 9: Right-click on a blank area in the right pane of the System key, or on the System key folder in the left pane. After choosing New, choose DWORD (32-bit) Value.
Step 10: Once the new value is created, rename it InactivityTimeoutSecs and double-click it to enter the time.
Step 10: Close the Windows Registry Editor and restart your PC.
Note: You can follow the same steps and set the time to 0 if you wish to remove the custom inactivity lock time on your Windows PC.
Also Read: How To Personalize Windows 10 Spotlight Lock Screen
The Final Word On How To Set A Custom Inactivity Lock Time On Windows
No longer worry about someone breaking into your PC or stealing your work while you’re away from it. To lock your PC after a predetermined period of time, use one of the methods mentioned above. Additionally, you can learn how to set up Dynamic Lock on your phone to lock your PC when you walk away from it.
Please let us know in the comments below if you have any questions or recommendations. We would be delighted to provide you with a resolution. We frequently publish advice, tricks, and solutions to common tech-related problems. You can also find us on Facebook, Twitter, YouTube, Instagram, Flipboard, and Pinterest.
Also Read: How To Change Windows 11 Lock Screen Image & Clock?