
Ever wished that you could share a recording of your Windows screen? We usually tend to share recordings with friends to boast how you crossed a difficult level of your favorite game. Screen Recordings are found fruitful when you want to share the steps of the problem you fixed for your computer to your colleagues. We download apps to record the screen but really it is not needed, as Windows has this feature inbuilt. Therefore, no need to install any software for recording your screen, just go through this blog to find out how.
There are simpler methods to record your screen on Windows 10 without installing any app. And we are going to discuss all of them in this blog. So when you feel like you have to record your Windows 10 Screen, do not think twice. Go ahead choose your preferred method from the ones given below:
Xbox Gaming Bar
Many people don’t know about this, but in Windows 10 we have Gaming options in the settings. This can be accessed by going to the Settings from the Start menu, which has a gaming section.
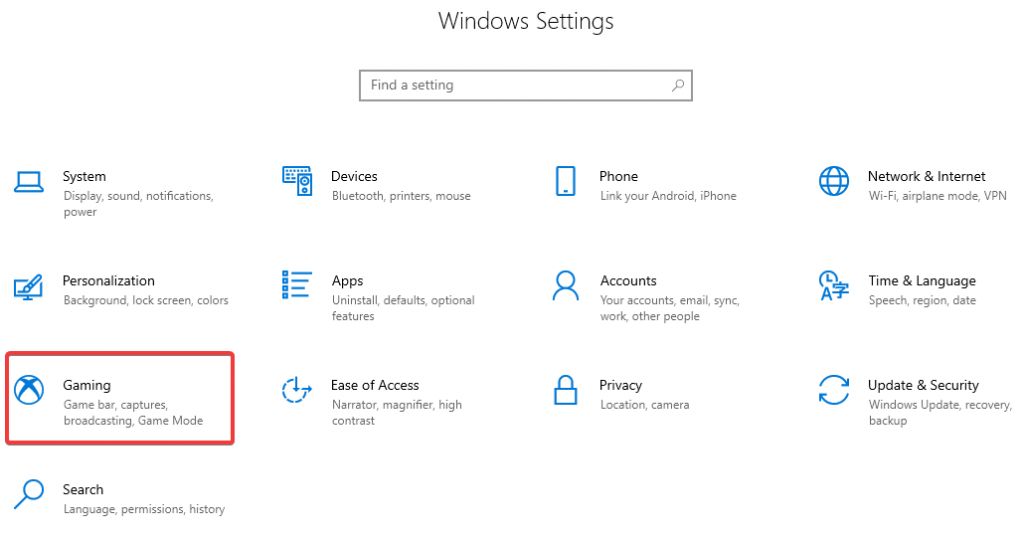
Head to it and you can see a Game bar opened up for you on default, which shows the control options.
Make sure to Toggle the switch ON for Record game clips, screenshots, and broadcast using a Game bar.

Also, you can see a lot of Keyboard Shortcuts, including opening game bar, recording, taking screenshots, recording the game & broadcasting. Along with the Microphone to turn on and off, camera to appear in the broadcast.
You can take a screenshot on clicking the camera icon and start a recording right away with the third option.
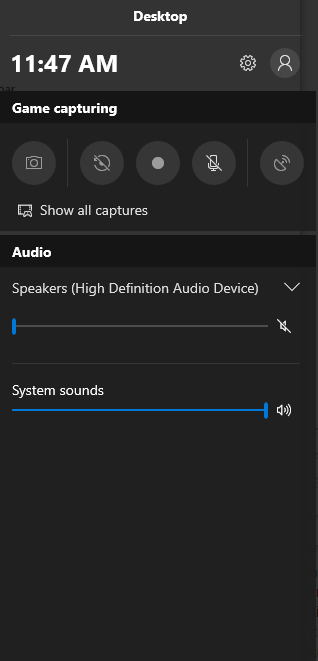
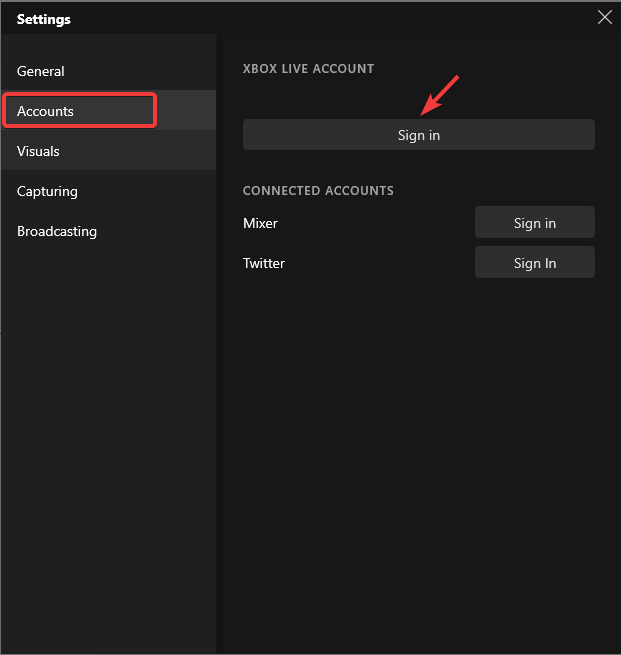
Such as when you press Windows Key + G this will show you a gaming bar with all the features on it. If you use it with no Game in use, then the window will appear with various options. You can see the settings and the volume of your speaker and Microphone can be adjusted here. More features are available in the settings, head to it for adding your Xbox account to it.
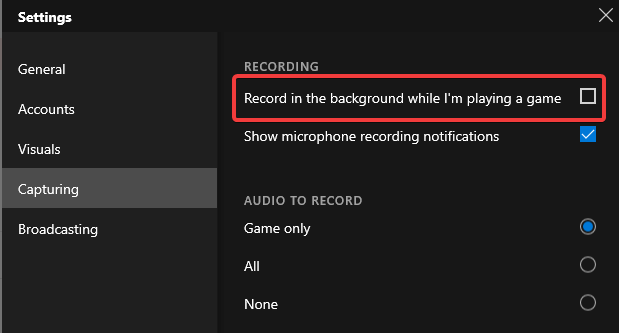
Another great feature is to go to Capturing and there you can turn ON the option of recording live. Which means the in-built app records the game on the screen while you are playing it.
General Settings have a number of features like allowing it to show you tips, keeping a log of your game recordings and to recognize a game. Similarly, the Visuals settings let you make changes to the way it appears to you, the screen mode to be Light, Dark or Windows theme. The Broadcasting options give us a chance to change the broadcasting language.
 Windows 10 Keyboard Shortcuts That You Could Use!In this blog post, we share a list of Windows 10 keyboard shortcuts with you. Using them will give the...
Steps Recorder
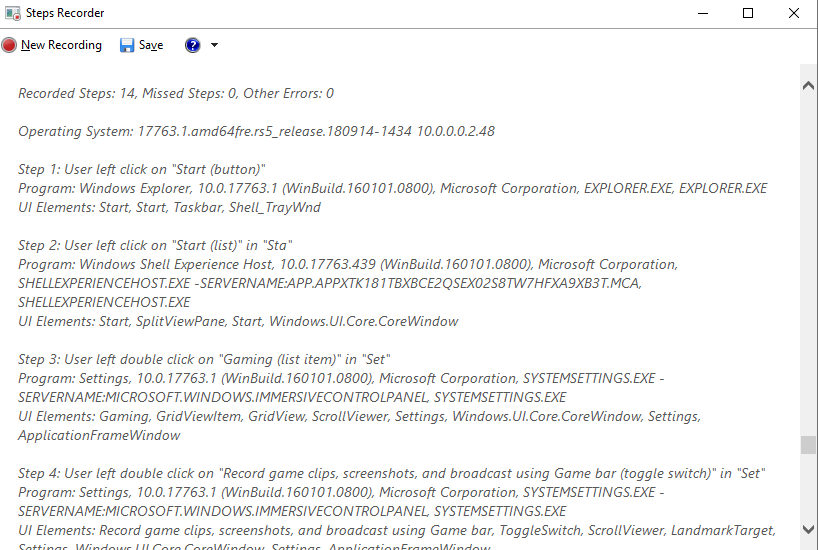
Earlier known as Problem Steps Recorder, this inbuilt app does not record a video whilst takes a series of screenshots. This is mostly used to explain a process and can be used in the tutorials. To launch it, go to Search in Start Menu and type Steps recorder and press Enter.

A small bar will appear in front of you which shows a simple layout of buttons namely Start record, Stop record, and add comments.

It does not start recording right away when it’s launched so you can take your time to start your process. Whatever steps you think are needed to complete the task, you start doing them after pressing Start Record. Now it has a Pause button if you want to stop for some reason and can continue later with Resume button.

This will capture all of the steps on full screen and once you are done and clicked on Stop Record.
It will show you all of the screenshots taken as a list, right below the images the steps are explained in a very informative way. This will help anyone who struggles with understanding the steps just with the images.
You can run a slideshow to have a quick view of the Steps recorded.
Now, you can click on the Save to keep a file for later use or click on New recording if not satisfied with this one.
 Top 15+ Best PC Software For New Windows...Looking for the best free PC software for your system? We’ve rounded up the greatest Windows 10 apps that are...
YouTube Live Streaming
When you are thinking about how to record screen on Windows 10 without any installation, the internet comes in mind. Yes, you are right, we can use the most basic features available online and we are going to go with the easiest to use. YouTube, which is known to everyone and is handy when comes to solving our purpose of screen recording.
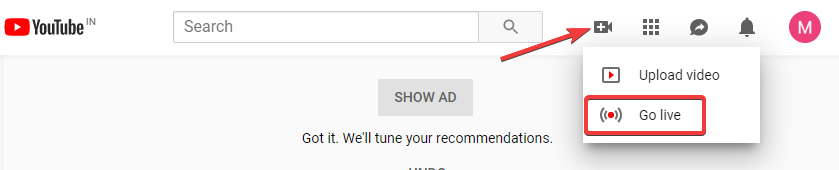
Easy steps to use, open YouTube on the web browser and log into your account. Now click on the upload button right next to the search bar, you see two options Upload video and Go Live. Press on Go live for live streaming and thus the recording of the screen. If you already have a YouTube channel, you will be directed to the page, otherwise, you need to go through the process of creating one.
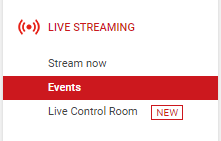
Once you are done with it, Go to Live Streaming> Events. Here, fill in the Basic Info which is Title, date and Place of recording along with a brief description. You can start the broadcast with the help of the Google Hangouts On Air option. It has a layout similar to that of a Google Hangouts Call, with a microphone and video buttons, here you can see the Screenshare button.
This will record the screen for you, and you can stop the live streaming when you completed the task. You have to save the video and thereafter in the sharing option put it on for Private mode or unlisted if you don’t want to share it with many people.
 How To Fix Start Menu Search Not Working...If you are not able to use Start menu search or cortana is not behaving properly, then you need to...
PowerPoint Record
This is worth the mention, as MS PowerPoint comes along pre-installed in most computers. So, let’s make use of PowerPoint for screen recording in Windows 10. You can find PowerPoint b searching in the Start Menu. Once you launch PowerPoint, Go to Insert and you can locate Screen Recording on the right side of the toolbar.

Click on it, and you can see a small bar at the Top center of the screen. Now, you have seen options as Record, timer, Select Area, Record Pointer and Audio.
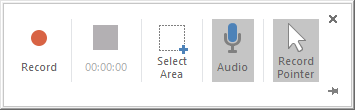
When you wish to record something, the first step is to click on the Select area button. As to choose which area to cover of the screen for recording you drag the marked area over the screen. You can now click on the record button to capture screen video and pause at any moment.
To stop the screen recording, you can use the shortcut Windows Key + Shift +Q. Once you are done you can save your work and use it directly on the PowerPoint presentation.
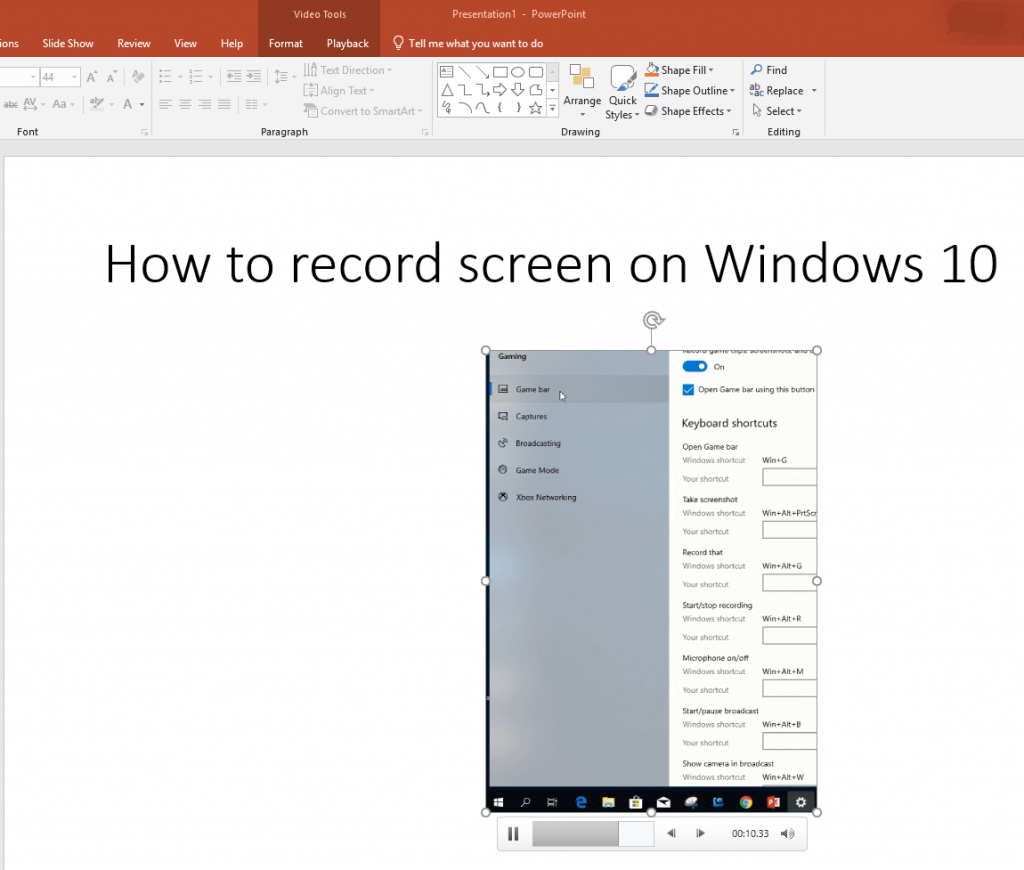
In this way, you can use videos to be played in the PowerPoint slides which are recorded on your screen.
 How To Rename Multiple Files at Once in...A number of files with confusing title names disorganize our folders, and renaming them all is a hefty task. Learn...
With Software installation-
Besides if you wish for advanced features to record your screen, we recommend you TweakShot Screen Capture by Tweaking Technologies. TweakShot is a great tool to capture screen for you in easiest steps. This works around fast and without any hassle of locating files. It automatically saves the captured videos in your computer. You can specify the area to be recorded, as in full screen, single window or a region. Helpful to all, from students to professionals this app covers all your screen capturing needs. It can be helpful in taking screenshots and then editing them in the in-built image editor. You can trim the videos once the screen recording is saved. Use it to capture the screen for web conference, to create tutorials, record short video clips and more.
Highlights-
- User-friendly interface
- Takes screenshots
- Captures screen in full display mode
- Choose from single window screen capture
- Images and video editing tools
- Record videos
- Add Subtitles.
- Records scrolling screens
Read more on TweakShot Screen capture to learn how to use it.
Download Now on your computer.

Conclusion: You may need to record your screen for many reasons and now you can do it without downloading or installing any software on windows 10. We learned how to use the in-built apps on Windows 10 to capture the screen. This can be very helpful as and when we do not have internet connectivity.
Please share in comments which procedure did you use for screen recording on Windows 10.