
Consider this: As a firm’s legal advisor, you have to draft multiple client contracts, NDAs, strategic legal opinions, and whatnot. Not just that, you are also required to encrypt or password-protect each of these documents so that only classified personnel can access them. Here comes the plight, amidst juggling with these documents, you have to be wary of the names and passwords for various purposes.
If that’s you or you have to face a similar situation on a day-to-day basis, you have stumbled on the right information. In this post, we’ll tell you how you can password-protect your Word documents and what you can do to create strong passwords and remember them.
How Do I Password Protect A Word Document
First, let’s see how to lock a Word document on a Windows 11 PC using a password. The steps belong to Microsoft Word 2019. The steps to add a password in the latest versions of Word are similar to the ones mentioned below –
Step 1 – Open the Word document that you want to lock with a password.
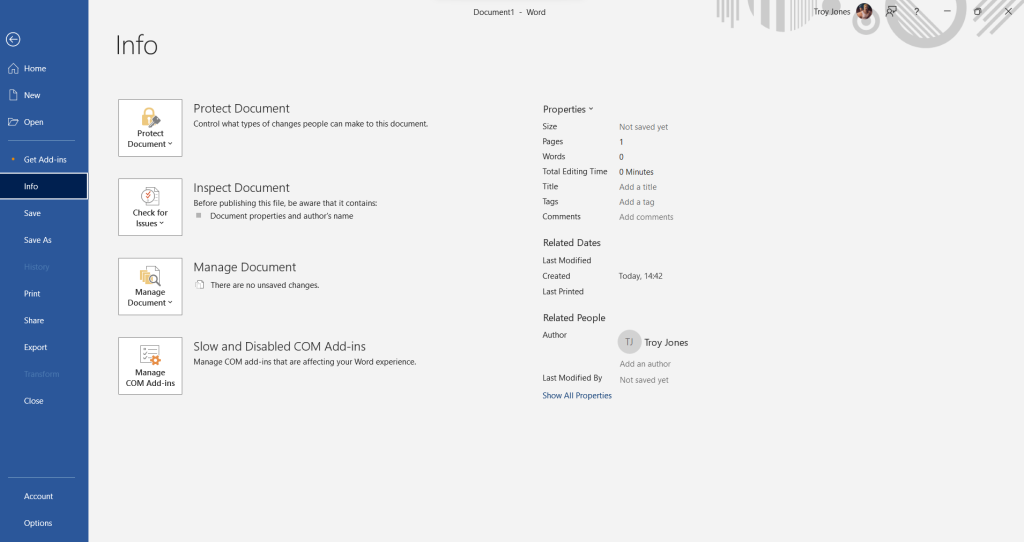
Step 2 – Click on the File menu.
Step 3 – Click on Info.
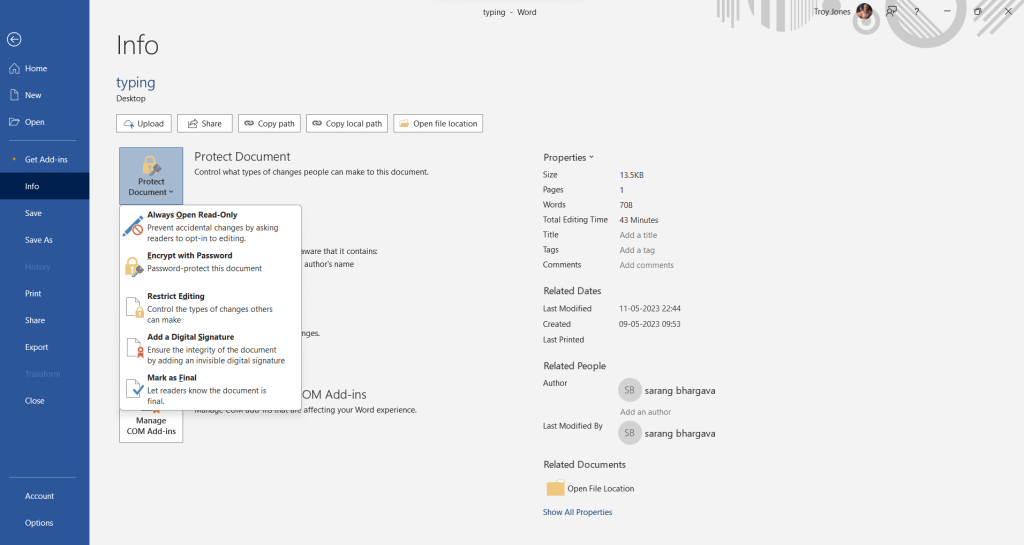
Step 4 – Click on Protect Document dropdown as shown in the screenshot below.
Step 5 – Choose from one of the options on how you want to protect the document. In our case, we’ll click on Encrypt with Password to password-protect the document. However, you can also choose from other options in order to restrict the changes users make to the document.
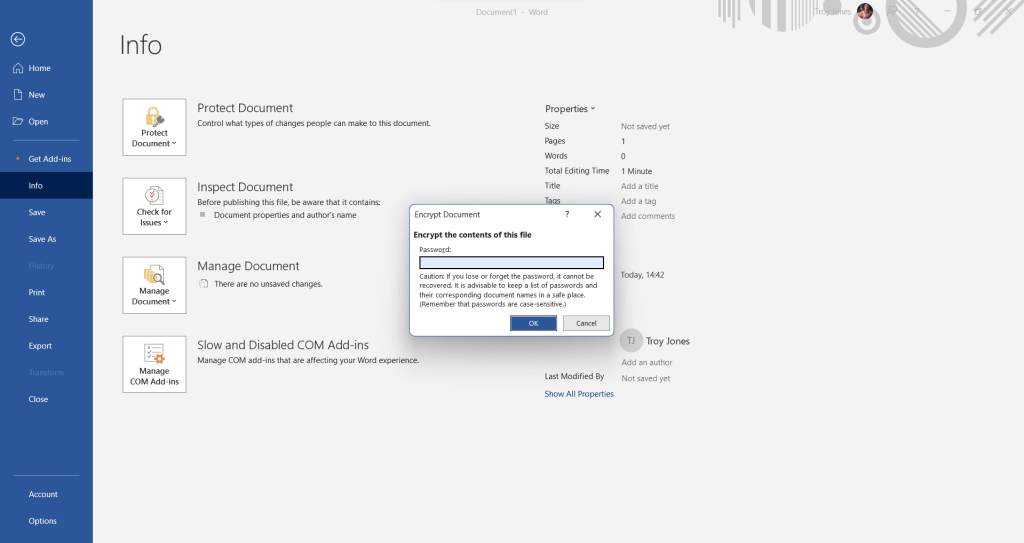
Step 6 – Enter a password with which you wish to lock the document. Before you type a password, head to the section on how you can generate randomly strong passwords that are impossible to crack.
How Can A Password Manager Help Me Remember Passwords
Now, as is quite evident from the screenshot above, it is likely that you may lose or forget a password, especially when you are juggling several Word documents. And, when dealing with multiple important documents, you can’t afford to forget such credentials. That said, you also can’t afford to password-protect your Word documents using a weak password.
In such a scenario, a password manager can come in really handy. Let’s demonstrate how a password manager can help you with –
- Generating random and strong passwords – This is the password that you’ll be copying and pasting in the Password field of Encrypt the contents of this file when password-protecting your Word document.
- How it can help you remember passwords – Once all your credentials are safely noted in a password manager, all you have to do is copy-paste credentials and access documents.
MUST READ: How To Generate Unique and Strong Passwords Using TweakPass
Generate A Random and Secure Password
Before you add a password to your Word document, generate a strong password using a Password Manager as shown below. Here we’ll take an example of TweakPass, which is one of the best password managers available today –
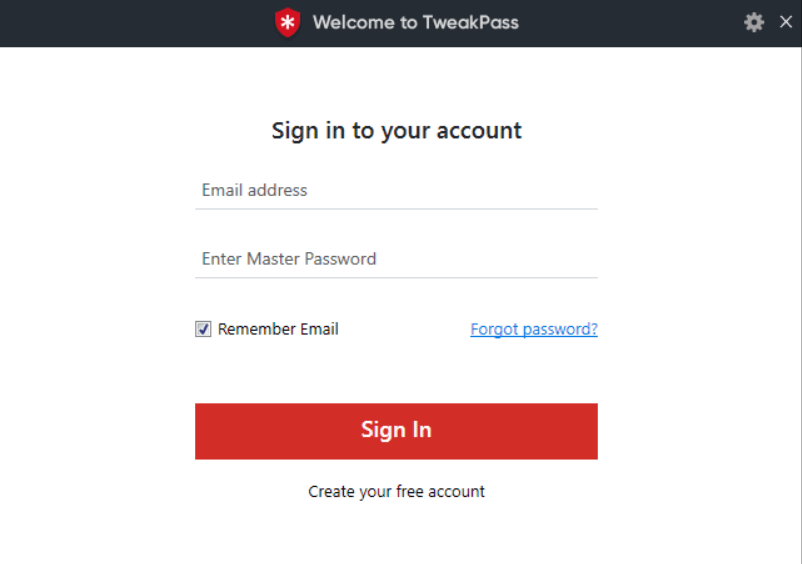
Step 1 – First sign up using your credentials.
Step 2 – Install the web extension of TweakPass Password Manager. Extensions are available for Google Chrome, Microsoft Edge, Opera, and Firefox. Here we have downloaded TweakPass’s Google Chrome extension and logged in our credentials.
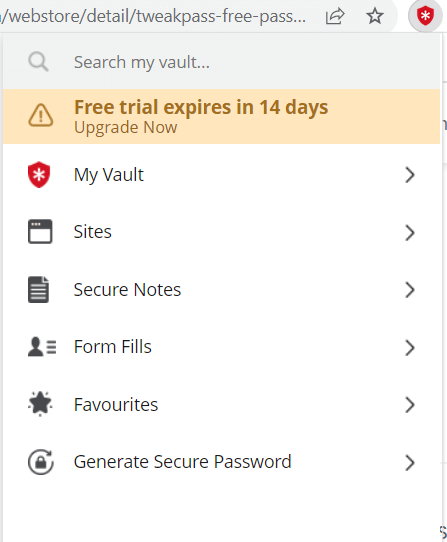
Step 3 – Click on Generate Secure Passwords.
Step 4 – Generate a random and stringent password. You can even configure the settings as shown in the screenshot below –
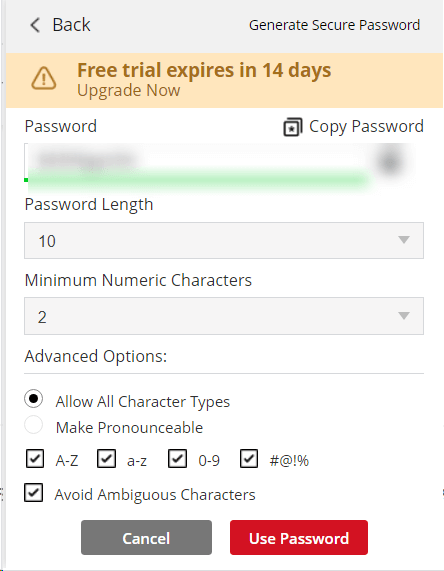
Step 5 – Copy the password and paste it in the Password section of your Word file.
How To Use TweakPass on Windows To Remember Strong Passwords
Step 1 – First sign up using your credentials. You’ll be using these credentials to log in to TweakPass Password Manager.

Step 2 – Install TweakPass. You can Install TweakPass Password Manager on Windows, Android, iOS, and as extensions on Google Chrome, Firefox, Microsoft Edge, and Opera. For the purpose of this post, let’s install TweakPass on Windows.

Step 3 – Run the installation file. After the installation, when TweakPass pops up, sign in with your credentials.
Step 4 – From the left-hand pane click on Secure Notes. From the right, click on Add New + and then click on Add Secure Notes.
Step 5 – Under Note Type, click on the dropdown and select Add Custom Template.
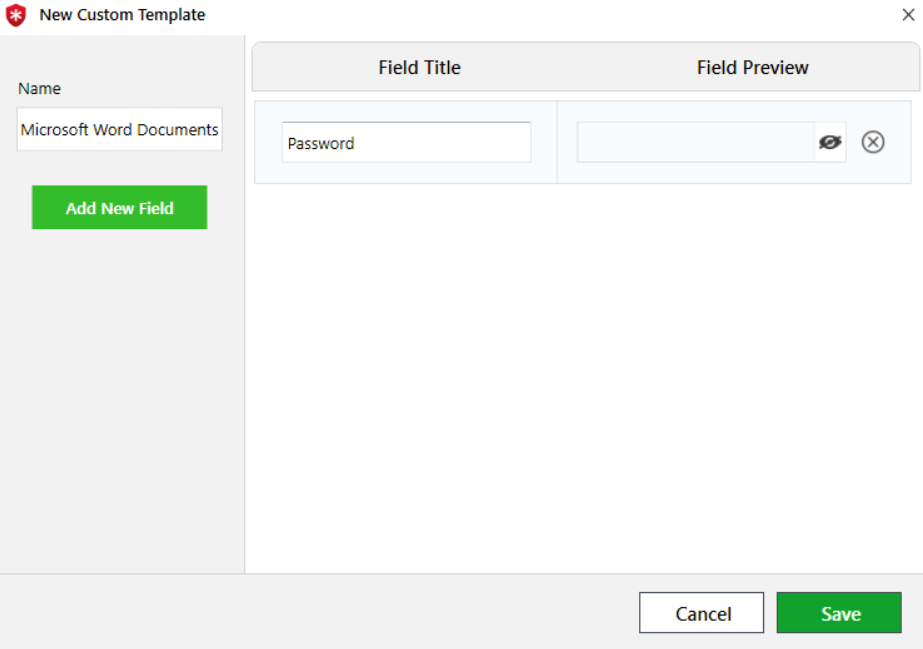
Step 6 – Click on Add New Field and select Passwords. In the name section, write Microsoft Word Documents. You can choose your own name. In the Field Title write Password and click on the Save button.
Step 7 – Head back, and select Microsoft Word Document as shown below.
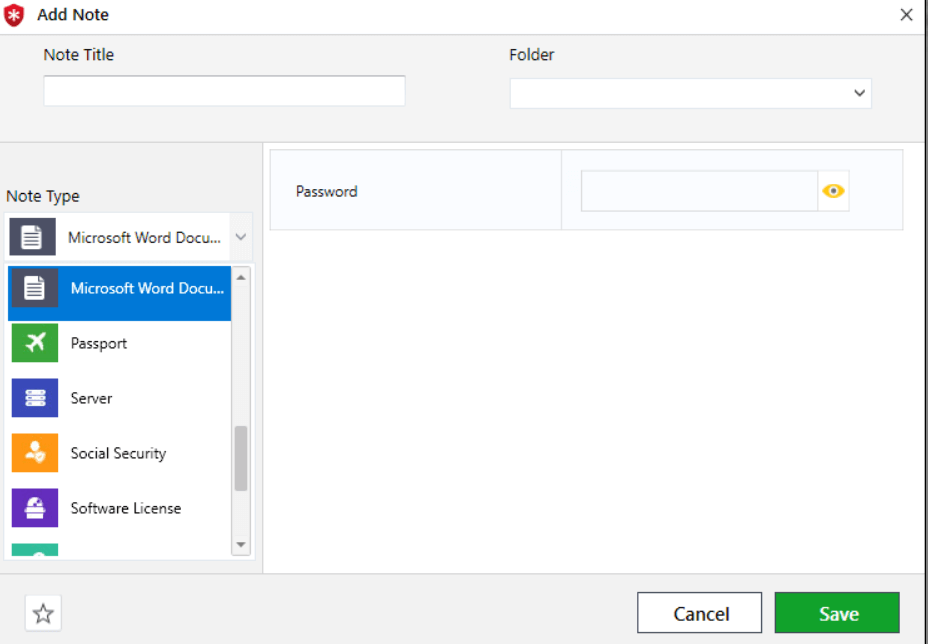
Step 8 – In the Note Title section, copy and paste the name of your Word file. In the Password section, enter the password with which you have encrypted your Word file. Here you can use the random strong password that we generated with the Google Chrome extension.
Step 9 – Click on the Save button.
Note – This is what worked for us, you might have a different approach. You can be as creative as you want and create a template of your choice. But, this way, all the passwords of your confidential Word documents will be behind a secure vault that’s further protected with a master password.
Pricing – You get to use TweakPass Password Manager for free for 14 days where you can use all its features for free. After the trial period is over, you can purchase TweakPass Password Manager for $39.95.
Password-Protect Word Files In A Hassle-Free Manner
The above steps might look as if they are too much, but trust us, once you incorporate this workflow into your daily work; once you start generating random passwords and saving all your Word file names and passwords in one place, you will be able to juggle with any number of word documents and even uphold their security. If you found the information in this post useful, do give us a shoutout in the comments section below and share this post with someone who regularly adds passwords to Word documents.
Follow us on social media – Facebook, Instagram and YouTube.