
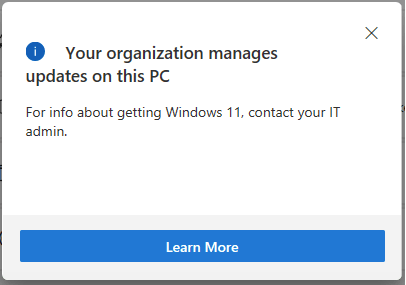
Did the “Your organization manages updates on this PC” notification appear on the screen while you were trying to change your device’s settings? Or while upgrading your PC to Windows 11? Well, it’s not actually an error but yes it may hinder you from making any changes to your system. Wondering how to get rid of this annoying notification? We’ve got you covered.
The “Some settings are managed by your PC” alert on your Windows 11/10 PC can be encountered at any instance. Here are a few reasons that may trigger this alert on your device:
- Restricted admin rights.
- Misconfigured Registry settings.
- Interference of Windows Defender where it may block certain apps or services to function.
- Issues with “Windows Hello” when you’re trying to add a fingerprint.
- Incorrect date and time settings.
In this post, we have listed a few solutions that you can try to get rid of the “Your organization manages updates on this PC” alert and restore your device to a normal functioning state. Also, if your PC is connected to an organization, school, or college’s network where the admin rights are controlled by the IT, you can still use the below-mentioned resolutions to remove the notification and get past this issue.
Also read: FIX: Your Virus And Threat Protection Is Managed By Your Organization Error
How To Fix Your Organization Manages Updates on This PC
Let’s get started.
1. Remove Work or School Accounts
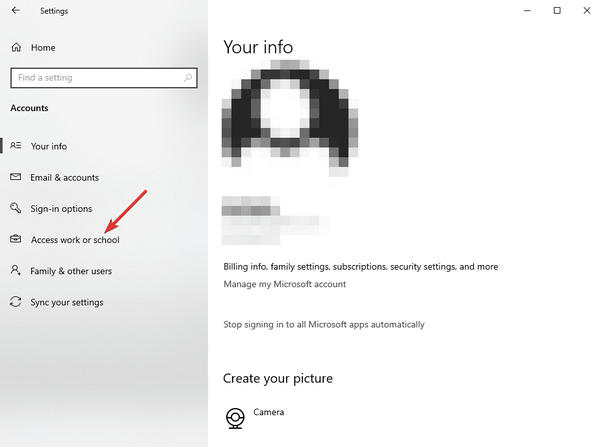
Open Windows settings and then tap on “Accounts”. Switch to the “Access work or school” option from the left menu pane.
Now tap on the connected account and remove your profile from the work or school network.
Reboot your device and check if you’re still experiencing any issues.
Also read: How To Remove Your Browser Is Managed By Your Organization Message
2. Create a New user Account
Switching to a different user profile can also help you to get rid of the “Your organization manages updates on this PC” alert. Here’s what you need to do.
Open Windows Settings, select Accounts. Switch to the “Family and other users” section from the left menu pane.
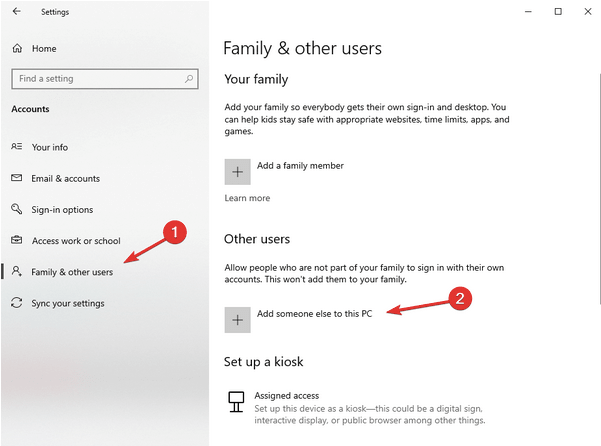
Hit on the “Add someone else to this PC”.
Enter the account details and log in as a different user. Also, make sure you choose “Administrator” as the account type.
Also read: Cannot Add a New User Account on Windows 10? Here’s the Fix!
3. Change Diagnostic Data and feedback Settings
Open Windows Settings, select “Privacy”.
In the Privacy settings, switch to the “Diagnostics and Feedback” section from the left menu pane.

Now tap on the “Optional Diagnostic data” option.
Selecting this option will allow you to regulate which apps, websites, and services can access the diagnostic data about your device’s health, activity, error reporting, and more.
Also read: How to Disable Telemetry and Data Collection in Windows 10
4. Turn off Toast Notifications
The next workaround to fix the “Your organization manages updates on this PC” issue is by turning off the toast notifications by using the Local Group Policy Editor. By making a few quick changes in the Group Policy Editor, you can easily get rid of this alert. Here’s what you need to do.
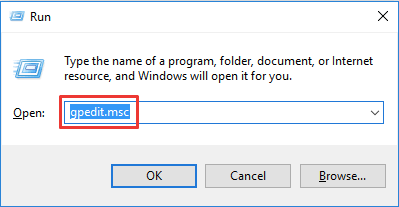
Press the Windows + R key combination to open the Run dialog box, type “gpedit.msc” in the textbox, and hit Enter.
In the Group Policy Editor window, navigate to the following folder location.
User Configuration/Administrative Templates/Start Menu and Taskbar/Notifications
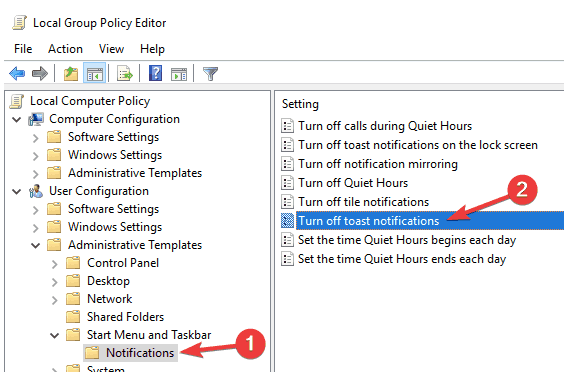
Once you’re in the Notifications folder, locate the “Turn off Toast Notifications” file on the right side of the window. Double-tap on this file to open Properties. Now try enabling and disabling this file a few times until the issue is resolved.
5. Enable the Telemetry Service
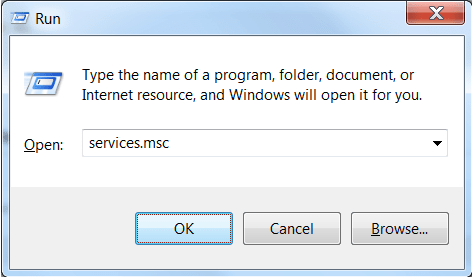
Press the Windows + R key combination, type “services.msc” and hit Enter.
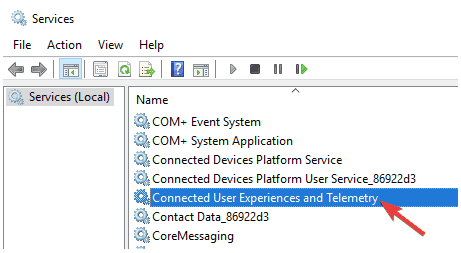
In the Services window, look for the “Connected user experience and telemetry” service. Double-tap on it.
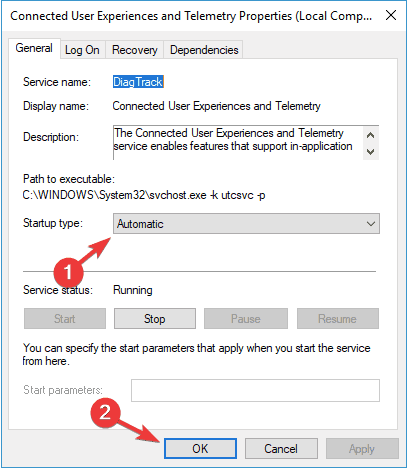
Select the “Startup type” value as “Automatic” to manually enable this service on your device. Hit on the OK and Apply buttons to save the recent changes.
Now head back to the Services window and locate the “dmwappushsvc” service. Double-tap on it to open Properties.
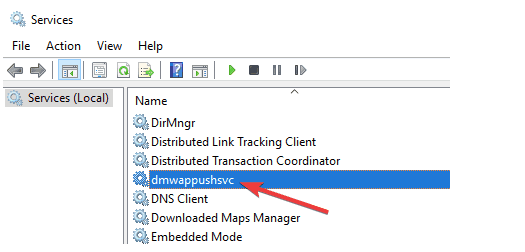
Enable this service manually by selecting the Startup type value as “Automatic”.
After enabling both these services, close all the windows, and reboot your device.
Conclusion
Here were a few resolutions you can try to get rid of the “Your organization manages updates on this PC” notification. This alert is usually displayed when you’re trying to upgrade your device or when you’re making some changes in your PC’s settings. Use any of the above-listed hacks and say goodbye to this annoying notification message.
Good luck!