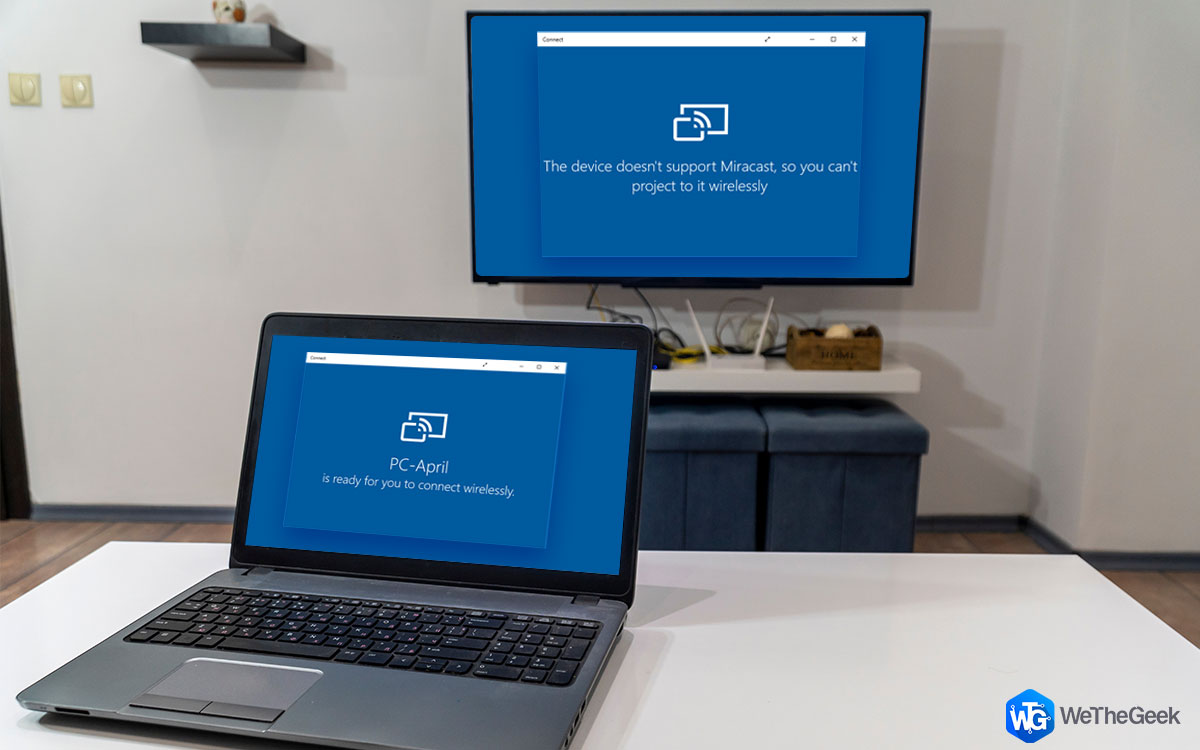
Miracast is a wireless technology that shares or mirrors your screen to a larger screen. For example, if you want to display your laptop’s screen on a large projector, then you can do that without using a USB or HDMI cable. It is easy to set up Miracast on Windows 10 PC and it can be done using the Connect app which is present as a default app in Windows 10. This guide will explain various steps to fix Miracast in Windows 10 if you are not able to share your screen.
How To Fix Miracast In Windows 10
Method 1: Check The Compatibility Of PC With Miracast
The first troubleshooting step to fix Miracast in Windows 10 is to check its compatibility of the device with your PC. Here is how you can do that:
Step 1: Press Windows + R to invoke the RUN box.
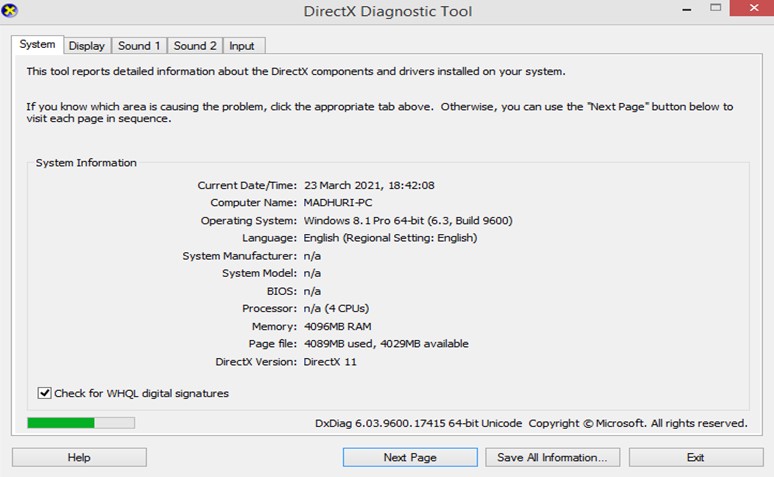
Step 2: In the text space available, type dxdiag followed by the Enter Key.

Step 3: A new window will open labeled as DirectX Diagnostic Tool.
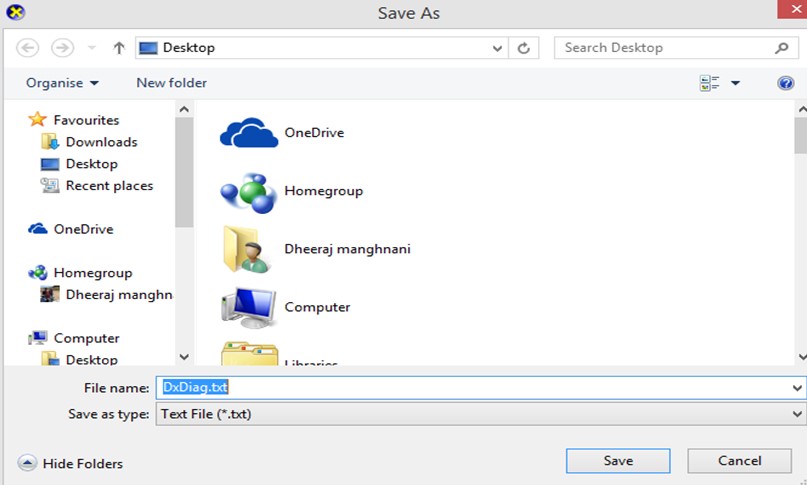
Step 4: Click Save All Information and then choose the location where you want to save it, probably desktop.
Step 5: Open the DxDiag file by making a double click on it.
Step 6: Once the file opens in the notepad, press CTRL + F to invoke the sear box and type Miracast followed by Enter key.
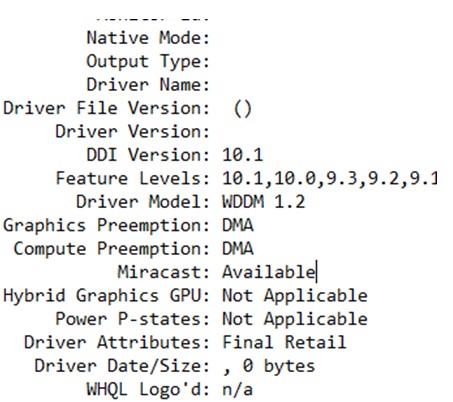
The column next to Miracast must state available. If not, then you cannot connect your device with this PC else move to step 2 if it is supported.
Method 2: Check the status of Wi-Fi
Miracast requires a stable internet connection with Wi-Fi feature enabled on both devices. Also, make sure that the sender and the receiver are connected to the same network through wireless networks.
To check Wi-Fi connection on Windows 10, follow these steps:
Step 1: Press the Windows + R keys together to make the RUN box appear.
Step 2: Type the following command in the Run box followed by the Enter Key.
ms-settings:network-wifi
Step 3: Now you can check the Wi-Fi connection status on your computer and turn it on if not already switch on
Step 4: Now type “Projection Settings” in the search box located on the left bottom corner of your taskbar.
Step 5: Click on Projection Settings from the search results. It would be on the top under Best Match.
Step 6: Check the settings and ensure they are correct.
Now the problem should have been resolved for you. If not, there is one more method left.
Method 3: Update Drivers
The final method to resolve Miracast in Windows 10 is to update your drivers. In case of a particular driver, you install the updated driver from the official support website provided you know the exact model name and number of your hardware. But in a situation like this, you need to update all your PC drivers which would not only resolve this issue but also ensure that your computer delivers optimal and enhanced performance. There are two ways to update your PC drivers:
Option 1: Use the Device Manager
The Device Manager is an amazing utility that is built in your Windows operating system and has been provided for free by Microsoft. Here are the steps to use device manager to fix Miracast in Windows 10.
Step 1: Press Windows + R to invoke the RUN box and type “Devmgmt.msc” followed by Enter Key.
Step 2: Once the device manager opens, click on device categories to reveal the hardware connected to your computer.
Step 3: Make a right-click on each hardware listed and select Update Driver from the context menu.
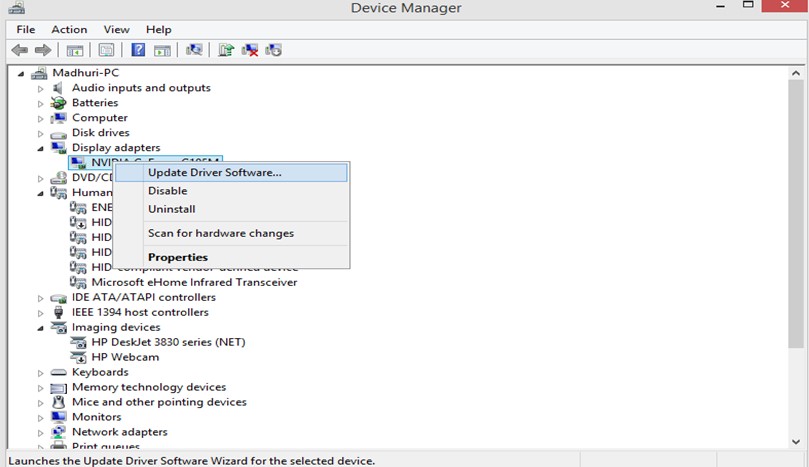
Step 4: Follow the onscreen instructions and update the drivers.
Note: This process is a time and effort-consuming process as you have to follow the steps for each hardware in your system.
Option 2: Use Smart Driver Care
The first option is a difficult task to perform and hence certain developers have come up with the perfect solution to this issue. And that is a driver updater software that will automatically scan your computer, identify the outdated or corrupt drivers and replace them with the latest and most compatible ones. Here are the steps that you need to follow:
Step 1: Download Smart Driver Care from the official link provided here.

Step 2: Once downloaded, install the software and open it.
Step 3: Now, click on the Start Scan Now button and let the app begin the scanning process.
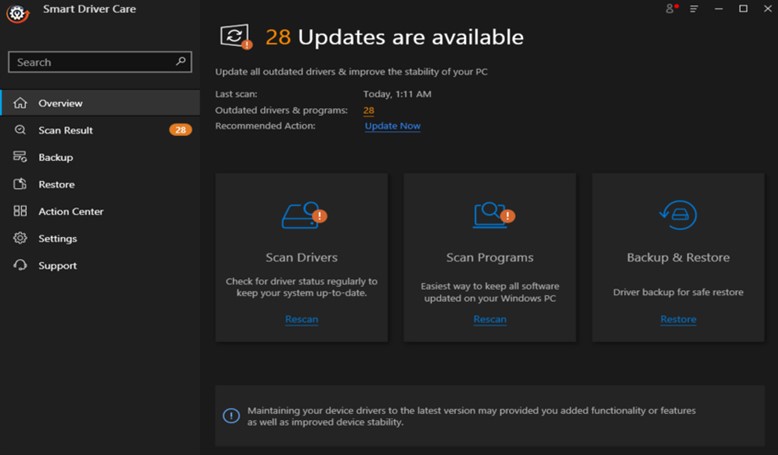
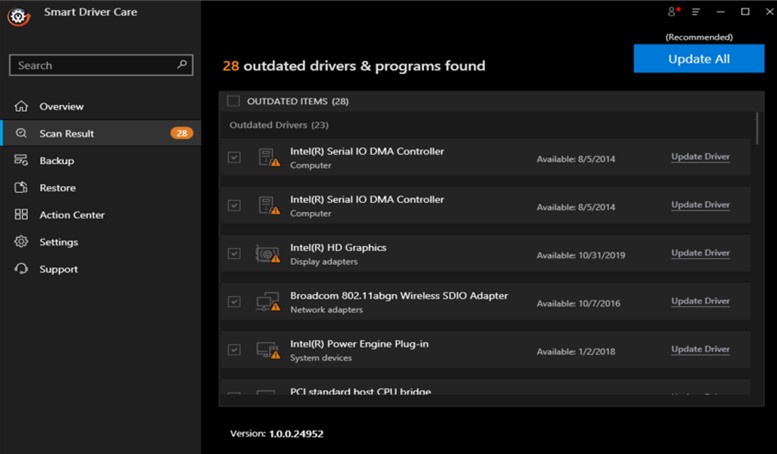
Step 4: After the scan completes, a list of driver issues will be highlighted on the screen.
Step 5: Click on the Update Drivers link beside each driver and it will automatically be updated to the latest version.
Step 6: Restart your computer after you have completed the process.
The Final Word On How To Fix Miracast In Windows 10?
Those were the troubleshooting methods to fix Miracast in Windows 10. You can try these methods and for updating drivers, we strongly recommend using Smart Driver Care to get the job done quickly and with ease. Updating your drivers also fixes many other issues and ensures that your system is running smoothly and flawlessly.
For any queries or suggestions, please let us know in the comments section below. We would love to get back to you with a solution. We regularly post tips and tricks, along with answers to common issues related to technology.