
If you have a shutterbug inside you then you must’ve definitely used your Android device for photography. You also might’ve downloaded many third-party applications to click amazing photographs or editing.
But in some pictures, you might have noticed distortion or grain over the image. It happens due to low light conditions or some other factors. In this article, you will find some tips and tricks to fix the grain or noise in your photographs and make them look sharp and clear.
Also Read: How To Fix Grainy Photos On iPhone
How to Fix Grainy Photos on Android with some Camera Tips.
This is before you click a photograph when you can see the grains as soon as you turn on camera. To capture sharp and clear non-granny pictures you should learn about some basic tips and tricks of photography and here are they.
1. Use lower ISO:
Depending on the device you are using. Some of the devices allows you to change ISO settings. If no, then you can download a third-party camera application to change ISO settings. To take less grainy pictures you should lower the ISO level.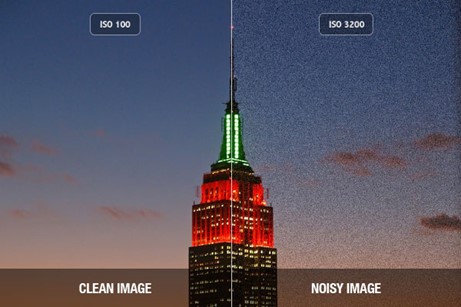
2. Keep the camera stable:
Sometimes because of minor movements in your camera you get grainy images this is because when you tap on the shutter button there is a slight movement on your device. This do not blur the image completely but ends up with a grainy shot. To reduce this, you can use a tripod and set a time while clicking a photograph which is the best way to keep your camera stable while clicking sharp and clear photos.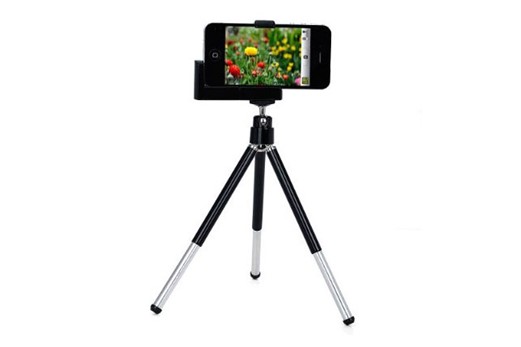
3. Lighting conditions:
Low lighting is the most common reason for grains in the pictures. To get better results either place the object in front of light source or place the light source in front of object. If it is not possible to change the position of light source or object, then you should experiment with the shooting angles.
4. Avoid Digital zoom:
Digital zoom is another reason you get grains in the images. If you are in a situation when you have to click an image with zoom, then first click an image normally and then crop the area you want to zoom.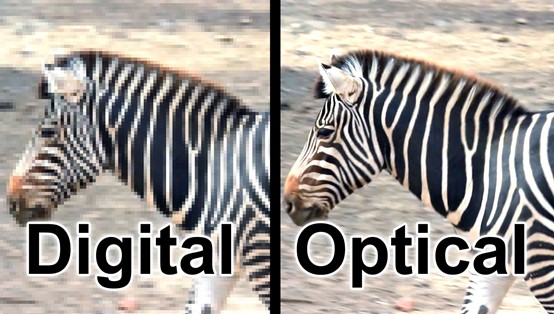
Also Read: Now Share your iCloud Photos with Android Users as Well!
How to fix grainy photos on Android using an application:
If you want to fix your photos which are already on your device, then you should go for a third-party application to do this. For this purpose Adobe Lightroom – Photo Editor & Pro Camera is perfect.
Here are some highlights about this application.
- The application gives you the feature in the Details section to remove any noise in the pictures.
- Application is very user friendly and you can just remove noise from your photos in just one tap.
- Noise reduction and Color noise reduction can be done with a simple slider button.
- The application is having a smooth slider which allows you to easily adjust smoothness on the photos. This feature of the application makes reducing noise from the images handy and easy.
Get it from here.
Also Read: 6 Best Duplicate Photo Cleaner Apps For Android 2022
So, this was how you can fix grainy photos on Android. Get ready to click some amazing shots with your Android device and make your pictures sharp and clear using the aforementioned tips.