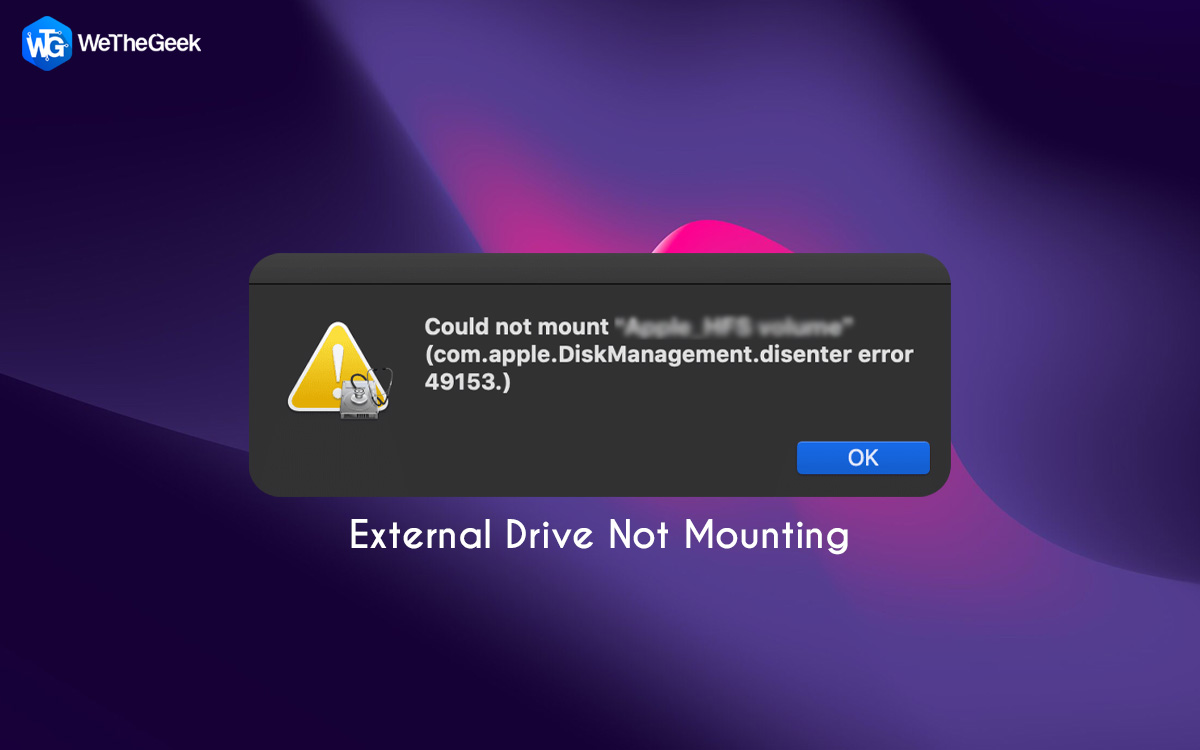
In an era dominated by digital content, external drives have become indispensable companions for Mac users. Isn’t it? Whether it’s for storing important documents, cherished memories, or massive media libraries, these trusty devices provide us with the extra space we often need. However, there’s nothing more frustrating than plugging in your external drive, only to find that it refuses to mount on your Mac.
If you’ve ever encountered this issue, you’re not alone. Many users have experienced a perplexing “external hard drive not mounting Mac” issue that leaves them concerned for their valuable data. Fear not, though, for this guide is here to walk you through the steps to resolve this common hiccup.
In this blog post, we’ll explore the potential reasons why your external drive might not be mounted on your Mac, and equip you with a toolbox of troubleshooting techniques to get it up and running again.
Let’s get started and learn how to resolve the macOS external drive not mounting issue.
Also Read: How To Recover Data From Corrupted External Drive?
Why is the External Drive Not Mounting on Mac? Top Reasons!
Here are some of the top reasons why an external drive may not be mounting on your Mac:
- Faulty Connection or Cable Issues: Sometimes, it’s the simplest things that cause the biggest headaches. A loose or damaged USB cable can prevent your Mac from recognizing the external drive.
- Corrupted File System: If the file system on the external drive is corrupted, your Mac may struggle to read or mount it. This can happen due to improper ejections, power outages, or other unforeseen events.
- Outdated or Incompatible File System: Different operating systems use different file systems (e.g., NTFS for Windows, HFS+ for older Macs). If the external drive was formatted for a different OS, your Mac may not be able to read it.
- Drive Not Initialized or Partitioned: If the external drive is brand new or has been recently formatted, it might need to be initialized or partitioned before it can be used.
- Hardware Issues with the Drive: Physical damage, a failing disk, or issues with the drive’s internal components can lead to mounting problems.
- Software Conflicts or Driver Issues: Sometimes, conflicting software or outdated drivers can prevent the Mac from recognizing the external drive.
In the upcoming sections, we’ll provide step-by-step solutions to get your external drive up and running on your Mac.
Also Read: How To Convert Your Old Hard Drive To An External Drive
External Drive Not Mounting On Mac? Try These Fixes!
Solution 1: Change The Drive Display Settings
One often overlooked but crucial aspect in troubleshooting an external drive not mounting on a Mac is adjusting the drive display settings. Here’s how you can do it:
Step 1: Plug in the external drive to your Mac using a reliable USB cable.
Step 2: Navigate to your Mac’s desktop and open the Finder application. You can also click on the Finder icon in the Dock.
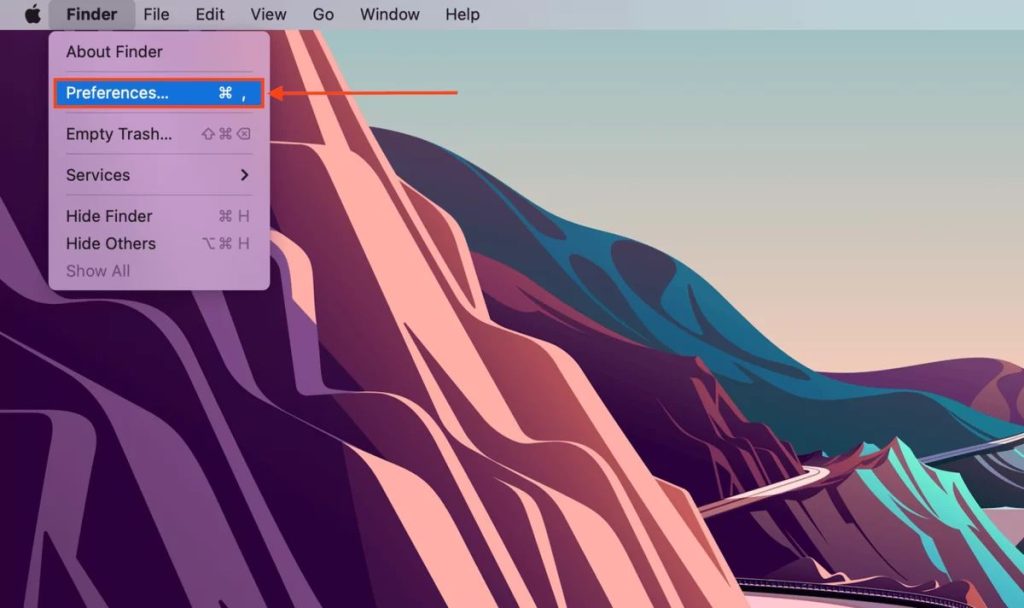
Step 3: In the menu bar at the top of your screen, click on “Finder” and then select “Preferences.”
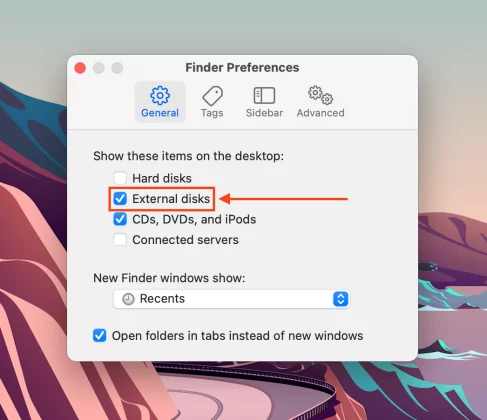
Step 4: In the Finder Preferences window, select the “General” tab. Here, ensure that the box next to “External disks” is checked. This ensures that external drives will appear on your desktop and in the Finder sidebar.
Step 5: Close the Finder Preferences window and look for the external drive icon on your desktop. It should also be listed in the Finder sidebar under “Devices.”
If changing the drive display settings didn’t resolve the external hard drive not mounting Mac issue, let’s move on to the next solution.
Solution 2: Reconnect The External Drive
Encountering the Seagate external hard drive not mounting on Mac issue is quite common. So, if your external drive isn’t mounting on your Mac, a simple reconnection might be all it takes to resolve the issue. Follow these straightforward steps to ensure a secure connection and potentially restore access to your valuable files.
Step 1: Safely eject the external drive and check the USB cable and ports for damage or debris.
Step 2: Plug the USB cable firmly into both the Mac and the drive. Give your Mac a moment to recognize the drive. Look for the icon on the desktop or in Finder.
If needed, test with an alternate cable or USB port. A simple restart can sometimes resolve minor connectivity issues.
Also Read: How to Fix Seagate External Hard Drive Not Working Issue
Solution 3: Force Mount Your Drive With Disk Utility
If your external drive still refuses to mount, using Disk Utility to force-mount it can be a powerful solution. Here’s how you can do it:
Step 1: Launch “Disk Utility” on your Mac. You can find it in the “Utilities” folder within the “Applications” folder.
Step 2: In Disk Utility, look for the external drive on the left-hand side under the list of available drives and volumes. Click on the external drive you’re having trouble with.

Step 3: Click on the “Mount” button in the toolbar at the top. Disk Utility will attempt to mount the drive. If the drive mounts successfully, you should see it appear on your desktop and in Finder.
Step 4: Open the drive and access your files. If the drive mounts, you can now work with your data.
If this solution doesn’t work, don’t worry. We have more troubleshooting steps lined up to resolve the external hard drive not mounting Mac issue.
Solution 4: Use Disk Utility’s First Aid Tool
Disk Utility’s First Aid tool is a powerful built-in feature that can help diagnose and repair issues with your external drive. Here’s how you can use it:
Step 1: Launch “Disk Utility” from the “Utilities” folder within the “Applications” folder on your Mac.
Step 2 Locate and select the external drive from the list on the left-hand side of Disk Utility. Click on the “First Aid” button in the toolbar at the top of the Disk Utility window.
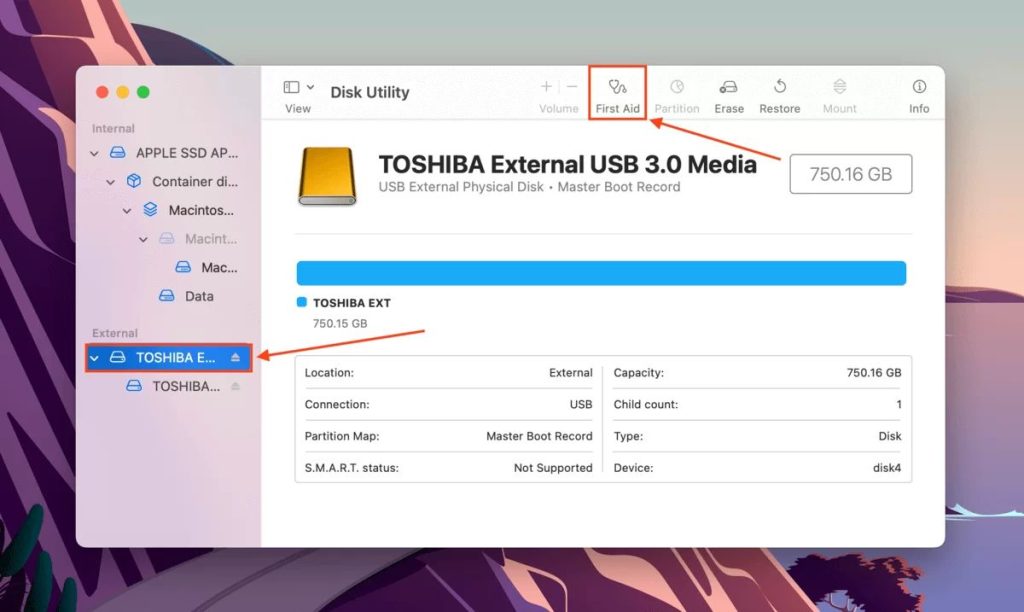
Step 3: Click “Run” in the dialog box that appears. Disk Utility will now check and attempt to repair any errors on the drive.
Step 4: Depending on the size of the drive and the extent of any issues, this process may take some time. Once the process is complete, check if the drive now mounts on your Mac. If the drive mounts successfully, you can now access your files.
Using Disk Utility’s First Aid tool can often resolve file system-related issues, making it a valuable step in troubleshooting the Mac external hard drive not mounting issue.
Also Read: How to Recover Deleted Photos from External Hard Drive
Solution 5: Reformat the External Drive
If all else fails, reformatting the external drive might be the solution. Please note that this step will erase all data on the drive, so proceed with caution and ensure you have a backup of your important files before proceeding.
Step 1: Launch “Disk Utility” from the “Utilities” folder within the “Applications” folder on your Mac.
Step 2: Locate and select the external drive from the list on the left-hand side of Disk Utility. Click on the “Erase” button in the toolbar at the top of the Disk Utility window.
Step 3: In the dialog box that appears, choose a suitable format (e.g., ExFAT, MacOS Extended) and partition scheme.
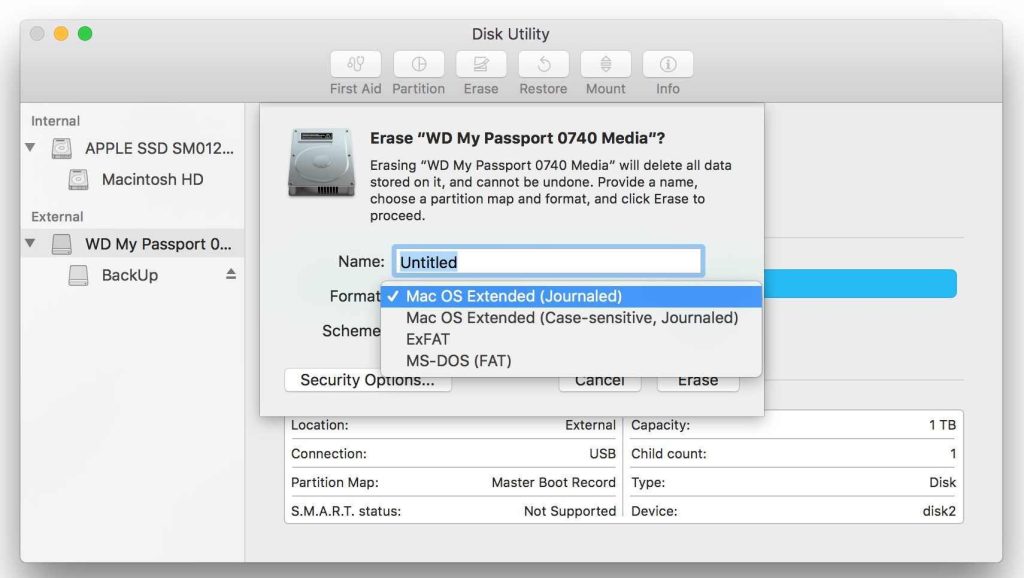
Step 4: Give your drive a new name if desired. Click “Erase” to confirm and proceed with the reformatting process.
Step 5: The reformatting process may take some time, depending on the size of the drive. After reformatting, check if the drive now mounts on your Mac. If successful, restore your backed-up data to the newly formatted drive.
Reformatting should be a last resort, but it can often resolve stubborn mounting issues. Remember to back up your data before proceeding. If the drive still doesn’t mount, it might be a hardware issue and you may need professional assistance.
Conclusion
In troubleshooting external hard drive not mounting Mac issues, we’ve explored various solutions, from adjusting display settings to using Disk Utility’s powerful tools. While these steps can often resolve common issues, it’s important to approach reformatting with caution due to potential data loss. If all else fails, seeking professional help for potential hardware issues is advisable.
Remember to always back up your data to prevent future complications. Follow us on social media – Facebook, Instagram and YouTube.