
Background Intelligent Transfer Service (BITS) on Windows 10 is a vital component. It is responsible for facilitating asynchronous, arranged, and controlled transmission of files between machines without affecting the network. It does this by logically handling throttling and prioritization.
In addition to this, BITS also help download Windows update files from Microsoft servers. Yet this intelligent service has some glitches, it stops working, pauses Windows Update, and other services.
Hence, if you face problems while installing Windows 10, the reason could be that service host background intelligent transfer service might have stopped working.
To resolve this, we will explain three ways.
3 Ways to Resolve Background Intelligent Transfer Service
Here are the three ways to resolve Background Intelligent Transfer Service not working on Windows 10.
Short on Time? Fastest Solution to Fix BITS on Windows 10
Here it is. We recommend using a system optimization utility that automatically runs a scan of the disk and runs DISM, SFC. Not only that, it should be capable of fixing common Windows 10 errors. And that tool is called Advanced System Optimizer.
Priced at $39.95, this Windows optimization tool is best in what it does. Using it, you can update drivers, fix invalid registry entries, clean system junk, recover deleted files, and do a lot more. To use it, follow the steps below:
1. Download and install Advanced System Optimizer

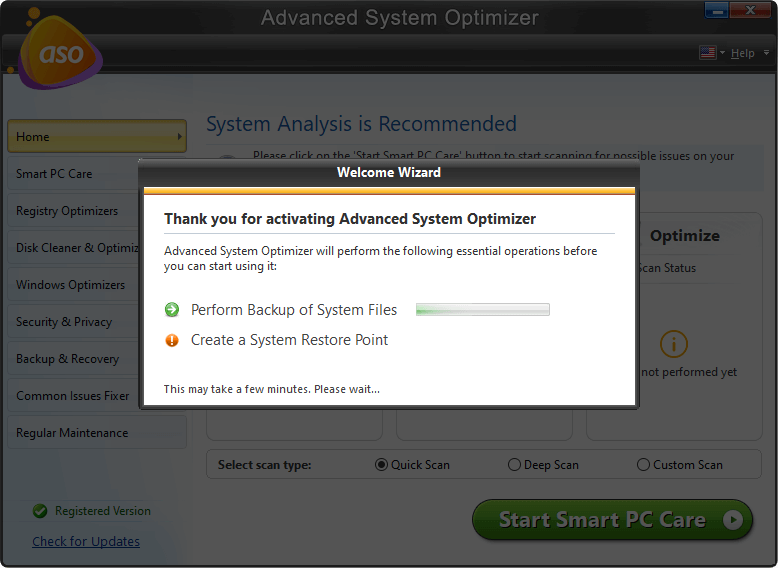
2. Launch it.
3. Click Start Scan, wait for the scan to finish.
4. Hit Optimize. This will clean Windows-related errors that were not allowing Background Intelligent Transfer Service to run.
In addition to this, click Disk Cleaners & Optimizer from the left pane. Now click Disk Tools.
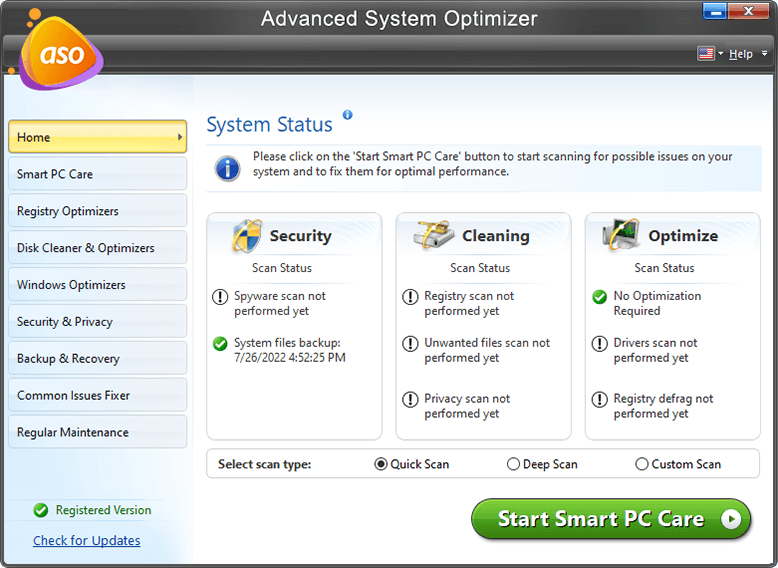
To run the scan, click Start Scan. Now, wait for the scan to finish. This will automatically run the SFC command and will fix errors stopping BITS from running.
However, if you want to give manual steps a try follow the troubleshooting steps provided below.
Manual Steps to Fix Background Intelligent Transfer Service
Method 1 – Fixing BITS via Background Intelligent Transfer ServiceTroubleshooter
To fix issues related to Background Intelligent Transfer Service, follow the steps below:
1. Type Control Panel in the Windows search bar
2. Make sure the View by is selected to Large icons
3. Here, look for the Troubleshooting option and click it

4. Next, click Hardware and Sound.
5. Here, select and click the Background Intelligent Transfer Service.

 Additional Tip
A quick tip: If you are unable to locate the option, it seems you have not changed the view by category to Large. In addition to this, for your convenience click here & download the troubleshooter for Windows 10.
6. Click Advanced.

7. Checkmark Apply repairs automatically.

8. Now, click the Next button > View detailed information

9. Evaluate the details > Next > Close.
The troubleshooter will detect and fix the problem that might be stopping the Background Intelligent Transfer Service to function correctly.
Method 2 – Fixing BITS Background Intelligent Transfer Service via SFC and DISM
Even after running the troubleshooter, if you are still facing the Background Intelligent Transfer Service problem, you need to run SFC and DISM command.
To run DISM and SFC, follow the steps below:
1. Type Command Prompt; when the search result comes up, click Run as administrator option from the right pane.
Now type the following command dism /Online /Cleanup-Image /RestoreHealth and press Enter.
This will scan and repair system file corruption.

Afterward, type SFC /scannow and press Enter.

Wait for the scan to complete. Once DISM completes the scan it will repair system files while the SFC tool will fix Windows 10 installation issues.
Method 3 – Fixing BITS problems via Windows Update
If the above methods didn’t work for you, try updating Windows 10. To do so, follow the steps below:
Before you download updates manually, you need to know whether you are using a 32- or 64-bit machine.
To do so, follow the steps below:
1. Launch Windows Settings > System > About.
2. Here check the System Type information under the Device specifications.
3. This will tell whether you need 32-bit or 64-bit updates.
Steps to download the latest update
To download the Windows update manually, follow the steps below:
1. Head to Microsoft Update Catalog
2. Look for the Windows update, click the Download button based on the bit you are using.
3. Click the .msu link.
Once done, follow the steps to install updates.
1. Type Command Prompt in Windows search bar > Run as administrator option.
2. Enter wusa C:\FOLDER-PATH\UPDATE-NAME.msu /quiet /norestart command and press Enter.

Note: Change the path with the location where you saved the update file. Once done, press Enter to run the command.
After the command is run, restart your system. The BITS problem should now be fixed.
This is all. Using this guide, we hope you can fix the BITS on Windows. We recommend using Advanced System Optimizer and automatic Windows cleaning and optimization tool that knows how to fix all common Windows errors.
Mansi Vijay
Running SFC and DISM command helped me to fix this annoying Windows 10 error. Thanks for the solutions!