
All computers require Windows to load drivers to establish communication between software and hardware. However, even after a successful boot, some users may encounter the “A driver can’t load on this device” issue. This error may occur while installing an unsigned driver or due to an intrusive program. In this article, we’ll go over possible solutions to the problem and how to get your PC drivers back to boot and load normally.
Also, take a look at our guide: How To Fix I2C HID Device Driver Not Working On Windows 11, which can help you tackle driver-related problems on your Windows 11/10 PC.
Ways To Fix “A Driver Can’t Load On This Device” On Windows 11 (2023)
Wave goodbye to potential startup problems, compatibility errors, and common application glitches by resolving the ‘A driver can’t load on this device’ error.
Fix 1: Look For Any Available Windows Updates
Driver upgrades may be included in optional updates. You must check the Windows Update Settings for any available driver updates. Follow these actions:
Step 1: Press Win + I to open the Windows Settings app.
Step 2: Click on the Windows Update tab in the left section.
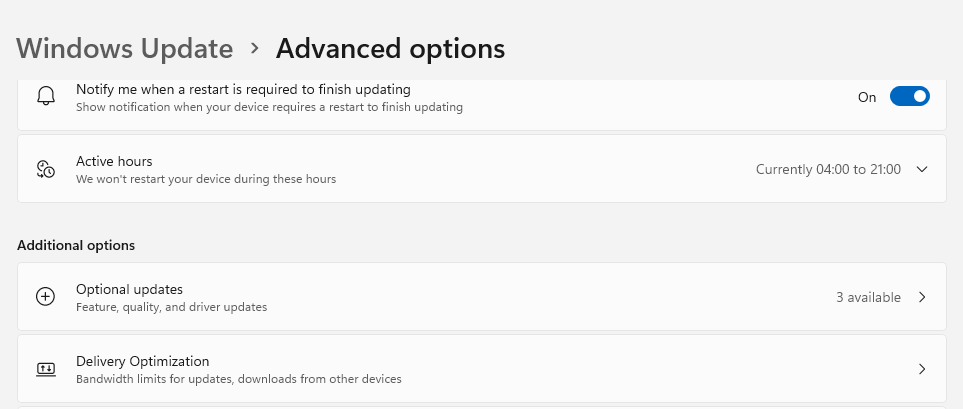
Step 3: In the right panel, select the Advanced options now.
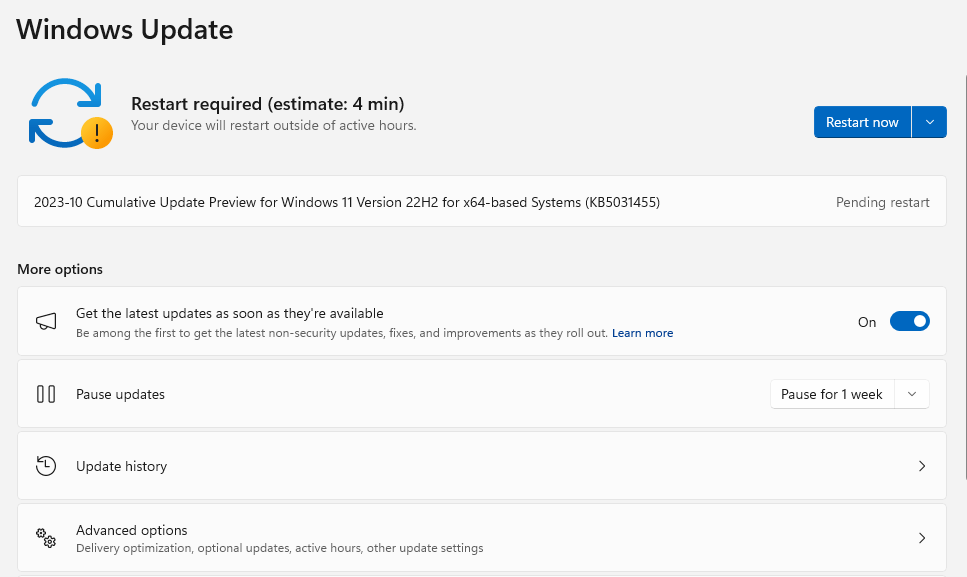
Step 4: Select the option labeled “Optional Updates.”
Step 5: Look for any available optional updates for the device you are having problems with. Click on the Download & Install button underneath it.
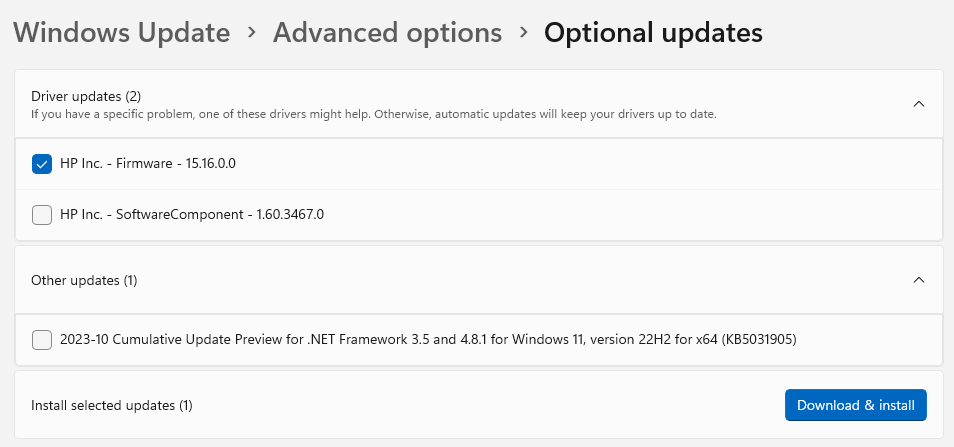
Note: The most recent drivers, which will be digitally signed, can also be downloaded from the website of the device manufacturer. There shouldn’t be any problems installing them.
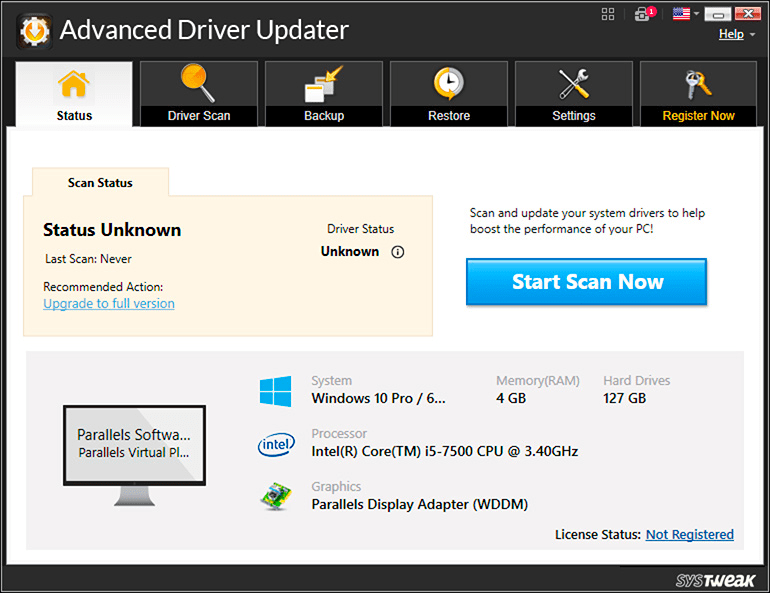
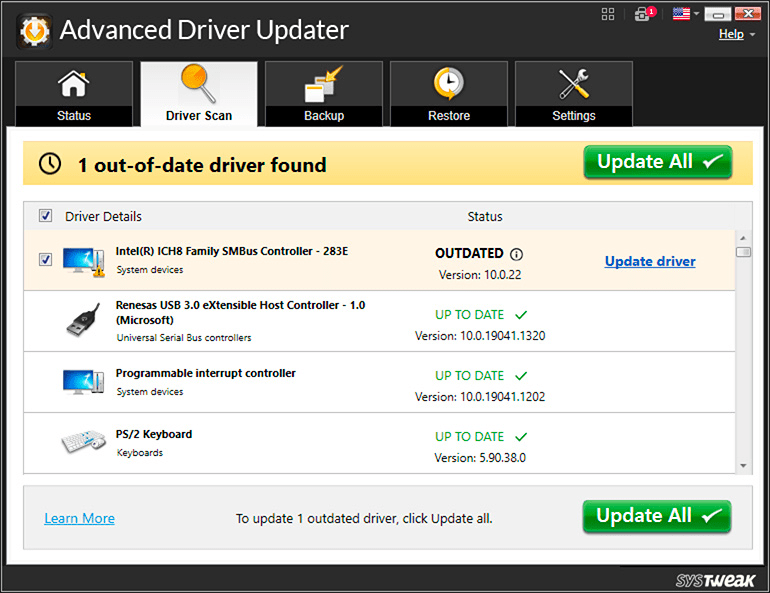
Bonus Tip: Use Advanced Driver Updater To Update All DriversIn just a few mouse clicks, Advanced Driver Updater, a fantastic third-party program, can scan, download, and install the latest driver version on your computer. This application finds and replaces any outdated, corrupted, or missing drivers on your computer with the most up-to-date version. Here are the steps to use this app: Step 1: Install the Advanced Driver Updater program after downloading it. Step 2: Open the application and select “Start Scan Now.”
Step 3: Select the mouse driver and click the Update link to allow the program to update it from the list of driver problems that appears on your screen.
Step 4: After you reboot your computer, the problem should be fixed. |
Also Read: How To Recover Uninstalled Drivers In Windows 11/10
Fix 2: Turn Off The Memory Integrity Function
A security feature called Memory Integrity uses virtualization to stop unwanted programs from altering crucial security procedures. However, this security option may stop outdated or unregistered drivers from loading and operating on your computer.
Thus, you have to turn off Memory Integrity. Replicate these actions:
Step 1: To access the Settings app, press Win + I.
Step 2: Select the Privacy & Security option from the menu on the left.
Step 3: Select the Windows Security option now.
Step 4: Click the Device Security option.
Step 5: Go to the section on Core Isolation. Select the option for Core isolation details.
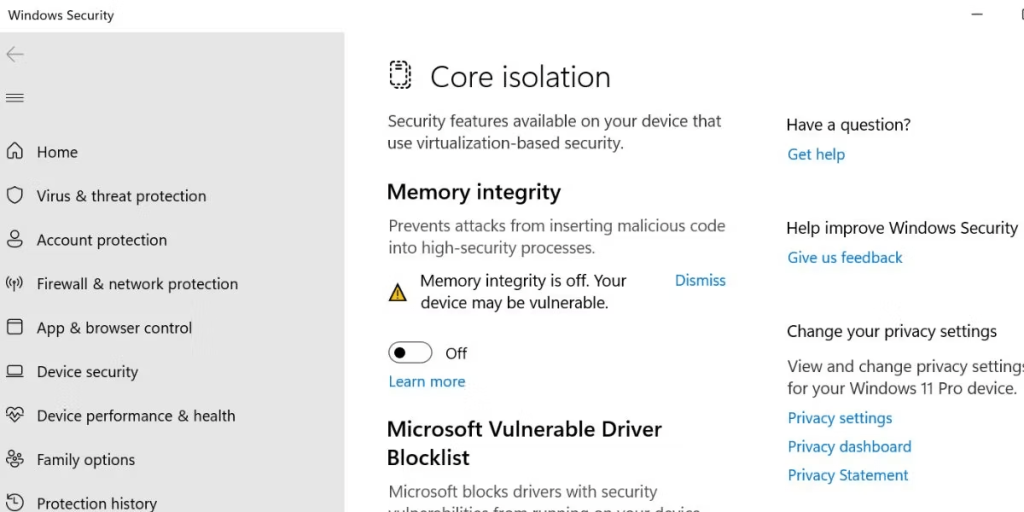
Step 6: Turn off the toggle that is located beneath the Memory Integrity selection.
Step 7: Reboot Your PC.
Also Read: How To Find The Hardware ID Of A Driver In Windows (2023)
Fix 3: Disable Any Recent Updates Installed On Your PC
If a recent Windows update is causing a driver-related problem for you, you might want to uninstall it from your computer. Your data will not be deleted if you roll back the upgrade. Here is what you need to do:
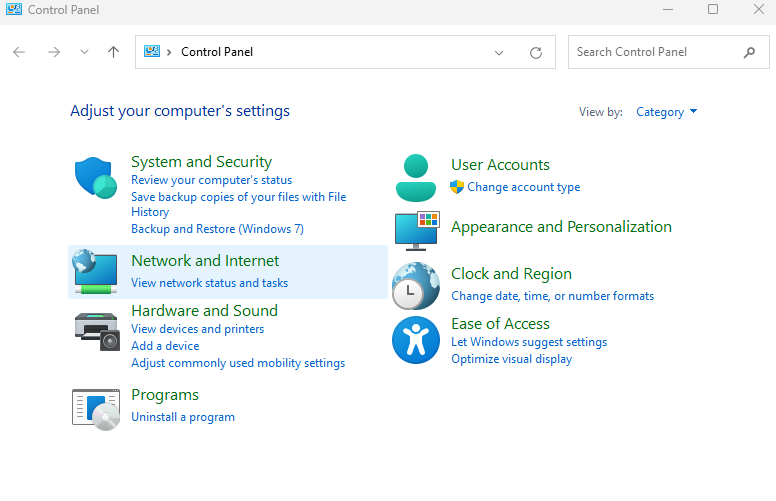
Step 1: Press Win + S and type Control Panel and click on the Best Match option.
Step 2: Click the Programs category and choose Uninstall an application.
Step 3: The option to View installed updates will be located on the left side of the subsequent screen. Click on it to access it.
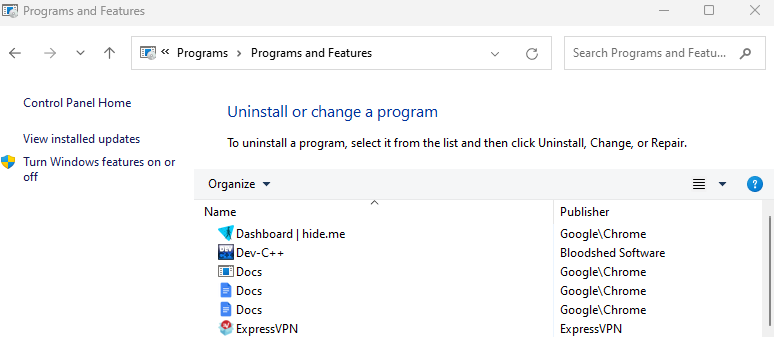
Step 4: You’ll reach the Installed Updates screen as a result. Here you have to select the update you want to remove and click Uninstall next to it.
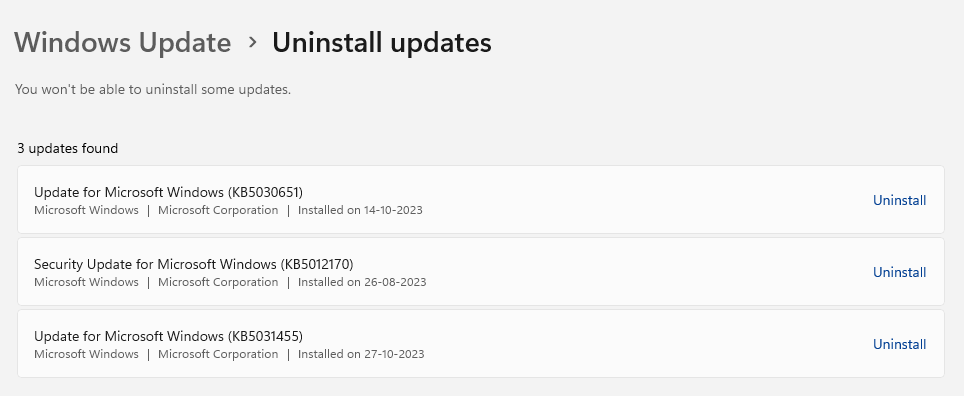
Step 5: A pop-up requesting your consent to remove the update will appear. The update will uninstall if you choose Yes.
Also Read: How To Fix Windows Could Not Find a Driver for Network Adapter
Fix 4: Make System Registry Changes
The hardware device might encounter driver issues due to corrupt registry entries for the device. Thus, you need to change the device’s system registry and get rid of such corrupt entries. To ensure that you can revert to the previous working configuration, make sure you create a manual backup of your PC’s registry on an external device. Follow these steps to learn what changes need to be made:
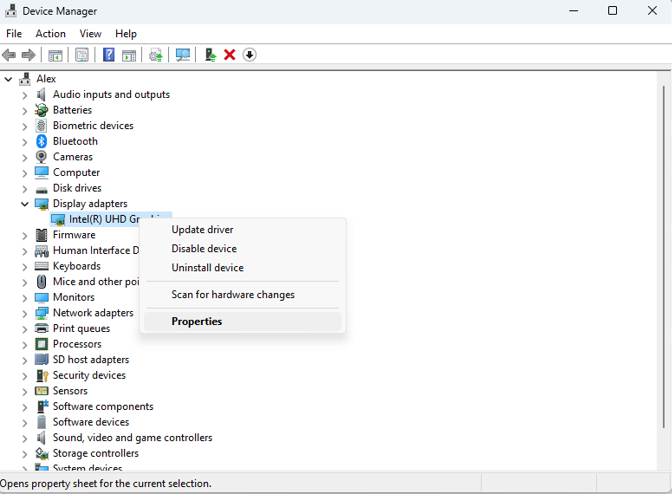
Step 1: Click the Start button with a right-click to access the Power User menu. Select the Device Manager menu item.
Step 2: Find the device in the list of the Device Manager that is having driver problems, then double-click it to view its Properties.
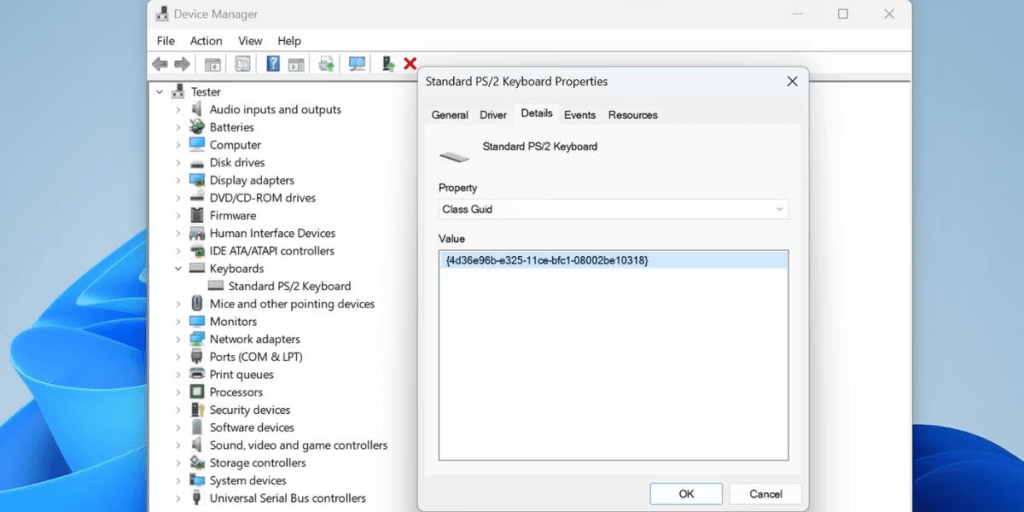
Step 3: Navigate to the Details tab section.
Step 4: Select the Class GUID option by clicking on the drop-down menu. It’ll show you the GUID. Do not close this window.
Step 5: Next, launch the Run dialog box, by pressing Win + R. Also, to launch the Registry Editor, type regedit and hit Ctrl + Shift + Enter.
Step 6: Copy and paste the path below into the address box, then hit Enter:
Computer\HKEY_LOCAL_MACHINE\SYSTEM\CurrentControlSet\Control\Class\
Step 7: Open the Find window by pressing Ctrl + F. Go back to the GUID window and copy the value. After copying the GUID, paste it and select Find Next.
Step 8: Navigate to the GUID key’s right-hand pane. Look up the value of UpperFilters.
Step 9: Select this value and press the Delete button on your keyboard.
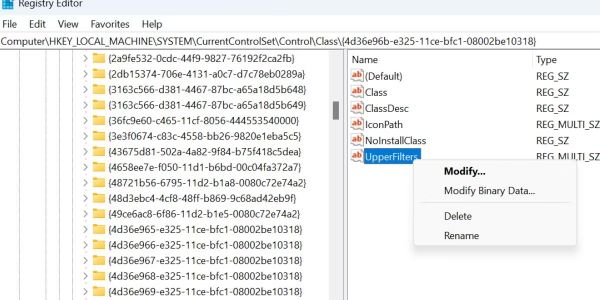
Step 10: In the same manner, locate and remove the LowerFilters value.
Step 11: Reboot your PC and check if the issue persists.
Also Read: How to Install Unsigned Drivers in Windows PC
Fix 5: Reinstall The Problematic Application
Reinstalling the recent version will guarantee that the program has signed drivers and resolve any driver problems on Windows 11 computers. This is how you do it:
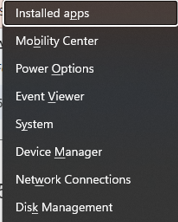
Step 1: Press Win + X to access the Power User menu.
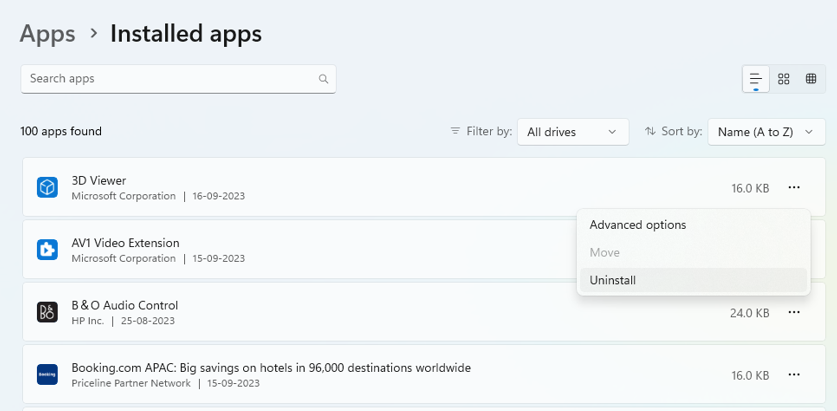
Step 2: Select the Installed Applications option from the menu.
Step 3: Locate the app creating the problem and click on the three dots next to it.
Step 4: Select the “Uninstall” option.
Step 5: Reboot your PC and reinstall the app from the original website.
Also Read: How To Remove Old And Useless Drivers In Windows PC
Windows 11 Troubleshooting: A Comprehensive Guide to Fixing the ‘A Driver Can’t Load On This Device’ Error
The “A driver can’t load on this device” problem on your Windows 11 PC can be resolved using these techniques. We hope the issue has been resolved without having to reinstall Windows PC which seems to be the last resort for resolving for all issues. In our case, resolving the issue was as simple as updating all the drivers. Fortunately, I didn’t have to handle each driver update individually, thanks to the convenience of Advanced Driver Updater, an automatic driver updating software.
If you know any other tactics that can help to resolve the driver-related issue, please share it with us in the comments section below. You can also find us on Facebook, Twitter, YouTube, Instagram, Flipboard, and Pinterest.