We all have to upgrade PCs or format our old ones, sometime or the other. And although upgrading or formatting PCs is good, most people tend to feel upset because they would lose the comfort of their data and apps installed. While data can be easily backed up on a cloud server or external drive, the installed apps make us reluctant to change or upgrade our PCs.
But did you know that Microsoft has designed a Windows Package Manager to help us export and import apps to a different PC or the same PC after format? This means you do not have to download and install each app again which would save a lot of time and effort. Let us explore all about how to install apps with Winget on Windows 11, and what are its limitations.
What Is Winget?
The term “Winget” stands for Windows Package Manager. Because it is a command-line tool, you must use CMD or PowerShell to launch it. The utility does not have a GUI interface. It is simple to use and helps manage application packages. Users can use Winget from the command line to look for any software listed in the repository rather than browsing the web or the Microsoft Store. Let us explore more on how to install apps with Winget on Windows 11.
Also Read: How To Use Windows Package Manager On Windows 11
What Are The Limitations Of Using The Winget Tool?
The list of installed apps on your PC can be exported by Winget as a JSON file. The package name, identifier, source information, and a few more data are contained in the file. There are certain restrictions on this export procedure as mentioned below-
- Only the installed programs list that is present in the Winget repository is exported using this method.
- It does not include apps from the Microsoft Store or other parties that are not yet available in the Winget Repository.
- It does not make any backup copies of the actual app files; it merely exports the list of apps.
- All of these apps must be downloaded with a working internet connection.
Also Read: How to Install Apps from Command Prompt or PowerShell
How To Export Apps With Winget On Your Windows 11 PC?
Let us begin the process of batch-installing your apps on a new PC or formatted PC. For that, we need to export apps with Winget by using the following steps:
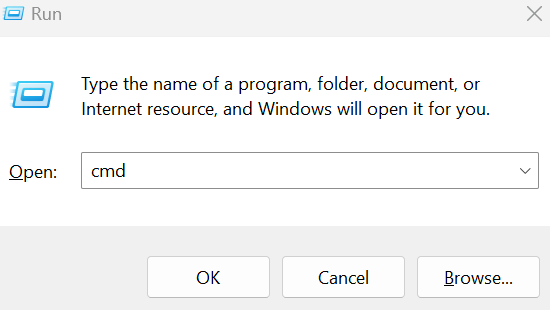
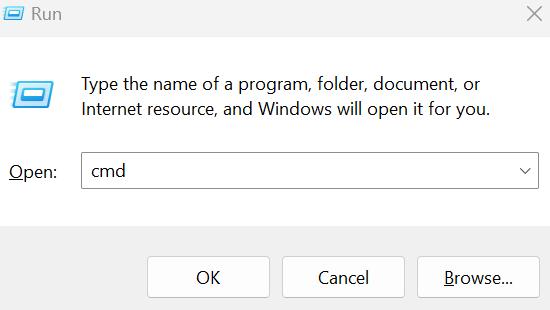
Step 1: Press Win + R to open the RUN box.
Step 2: Type cmd in the RUN box and then press Ctrl + Shift + Enter to open the Command Prompt app in Administrator mode.
Step 3: To export apps with Winget on your PC type the following command:
winget export -o C:\apps.json
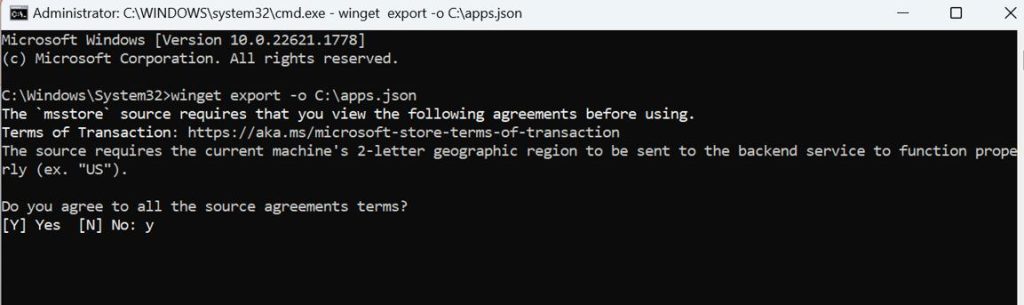
Step 4: Press the Enter key and a list of apps in JSON format will be created on your C drive.
Step 5: To export the apps list in a text file, use the following command:
winget export -o C:\apps.txt
Note: Some apps will have to be manually installed again. These apps can be identified with the warning message displayed before them – “Installed package is not available from any source.”

Step 6: Exit the Command Prompt and copy the files created using the above steps before formatting your PC, on an external drive or uploading to a cloud backup.
Also Read: How To Install Multiple Apps At Once On Windows PC
Bonus: How To Edit The Exported JSON File?
You might not require every app on the list on your new PC or after format on your old PC. Consequently, you can remove all the unwanted app packages from the JSON file. This is how you do it:
Step 1: Navigate to the folder where the exported JSON file is stored.
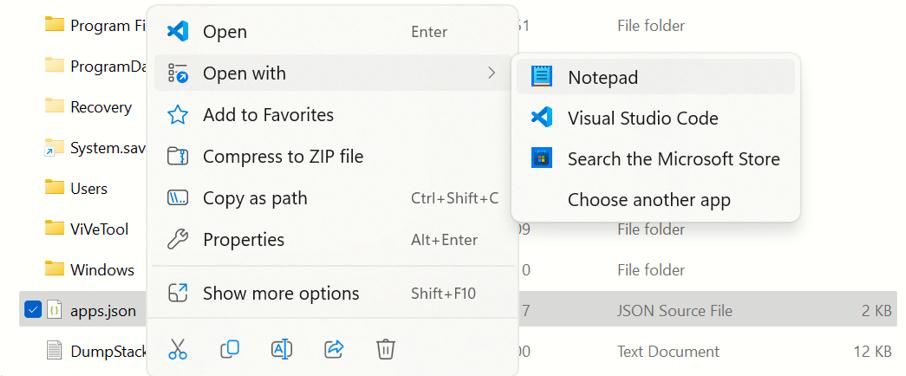
Step 2: Click the file with your right mouse button and choose “Open With“.
Step 3: Select “Notepad” from the context menu. A new Notepad window will pop up with the file.
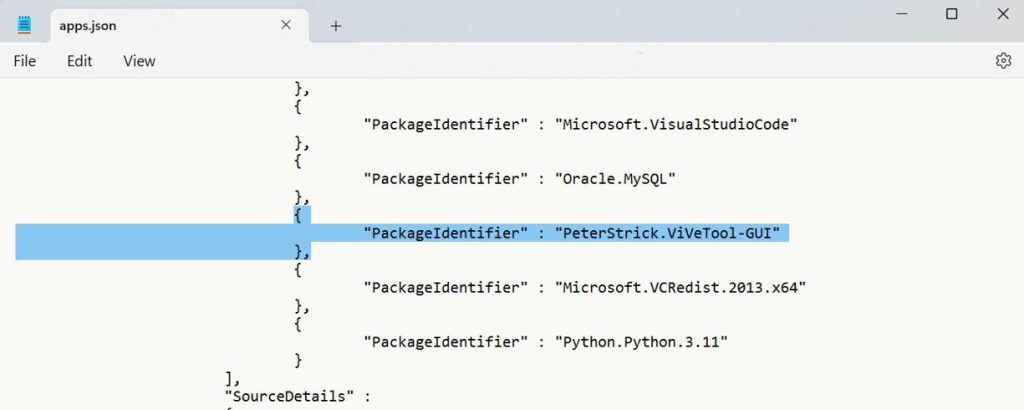
Step 4: Go to the “Packages” section in the file.
Step 5: Look for the app name you want to remove. For example, I want to remove ViVeTool from this list.
Step 6: To delete the package from the JSON file we need to eliminate the entire block of text from “ { “ to “ }, ” of the app that we don’t want.
Step 7: Close the Notepad and save the file.
Note: There is no limit on the number of apps you want to delete. Be careful not to make changes in other sections of the JSON file or it would pose a problem to import this file.
Also Read: What To Do If Apps Keep Crashing On Windows 11/10
How To Import Apps With Winget On Your Windows 11 PC?
Now that we have a list of apps, we can import apps with Winget on the new PC or formatted PC.
Step 1: Press Win + R to open the RUN box.
Step 2: Type cmd in the RUN box and then press Ctrl + Shift + Enter to open the Command Prompt app in Administrator mode.
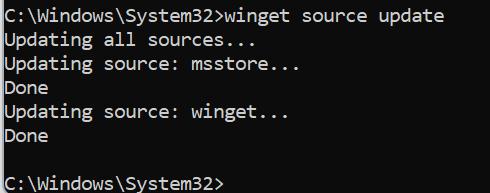
Step 3: Now before importing your apps, you need to update the Winget sources for that type the following command and press the Enter command:
winget source update
Step 4: Ensure that you have copied the export JSON or TXT file in the C drive of your new or formatted PC.
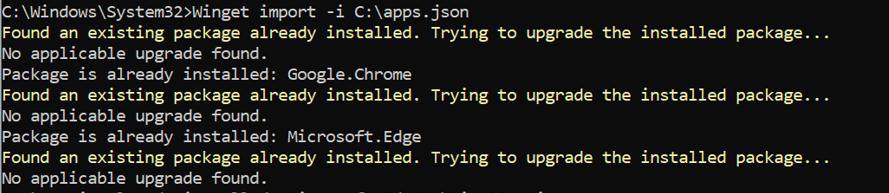
Step 5: To import apps with Winget on your PC using the JSON file, type the following command:
Winget import -i C:\apps.json
Step 6: If you prefer the TXT file then use the following command:
Winget import -i C:\apps.txt
Note: The process is simple but some users have claimed that they face issues while importing the file. This is due to certain permissions where you have to accept source and package agreements. If you get an error then carry on with the following command.
Winget import -i C:\apps.json --accept-source-agreements --accept-package-agreements
Step 7: Now the process will begin where the download and install process will initiate. You have to wait for some time depending on the number of apps and your internet connection.
Note: This helps users to batch install apps with Winget on Windows 11 PC and reduces the burden of searching, downloading, and installing each and every app manually.
Also Read: How To Put Apps To Sleep In Windows 11/10?
What About the Apps That Weren’t Exported in the File?
There are several apps that Winget does not include since they are not in its repository. Additionally, the Microsoft Store programs are not included because they can be downloaded with a single click after signing in with the same account on another PC. However, if you perform a clean install on your computer and remove everything from it, you won’t be able to see the full list of third-party programs that were previously set up there. Here is how to create a list of excluded apps:
winget export -o C:\apps.json > C:\e.txt
The aforementioned command will generate a file called apps.json for Winget export. Additionally, a text file with the whole output shown in the Command Prompt will be created. The excluded apps can be manually downloaded and installed at a later time using a backup copy of this file that you can make.
Also Read: How To Uninstall Programs Not Listed In the Control Panel
The Final Word On How To Export Or Import Apps Using Winget In Windows 11/10
Winget somewhat resolves the difficulty of installing several apps on an entirely new Windows 11 computer. Using the exported file, it will assist you in downloading all the applications found in its official repository. You will be missing your games and certain third-party programs, but you can use the text file to find the ones you need and manually install them. We hope you can now install apps with Winget on Windows 11 PC.
Please let us know in the comments below if you have any questions or recommendations. We would be delighted to provide you with a resolution. We frequently publish advice, tricks, and solutions to common tech-related problems. You can also find us on Facebook, Twitter, YouTube, Instagram, Flipboard, and Pinterest.