Utilizing an SSD drive can instill concerns about potential data loss and retrieval challenges. Nevertheless, Windows offers a solution to optimize performance through the execution of a TRIM command, which selectively writes essential data while efficiently managing outdated data blocks. To leverage this functionality, it is crucial to confirm that your SSD is TRIM-compatible and that the feature is enabled within your operating system.
Also Read: Avoid These to Improve Your SSD Life and Performance
What Is The TRIM Command For SSDs?
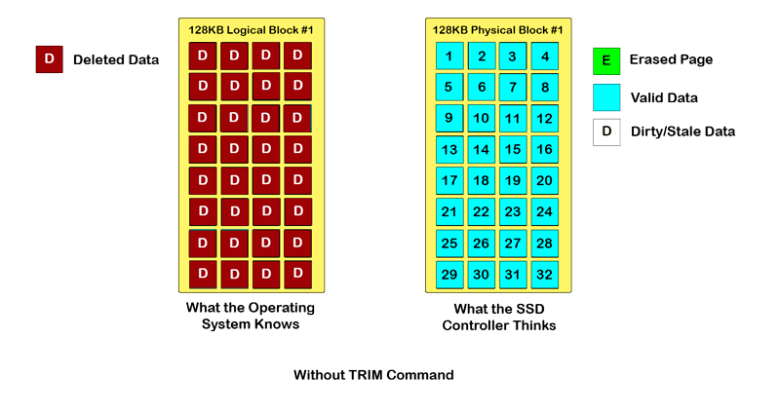
The Trim feature is a command used in Solid State Drives (SSDs) to improve their performance and lifespan. When data is deleted from an SSD, the Trim command informs the drive which data blocks are no longer in use. This allows the SSD’s controller to proactively erase these blocks, making them available for new data to be written. By clearing unused data blocks in advance, the Trim feature helps maintain consistent performance and prevents performance degradation over time, often associated with SSDs. This feature is essential for optimizing the efficiency and longevity of SSDs, ensuring they continue to operate at their peak performance levels throughout their lifespan.
Also Read: How To Fix Hard Disk Issues with Disk Speedup?
How To Verify If The TRIM Feature Is Enabled?
To verify if TRIM is enabled on your system, follow these steps:
Step 1: Open an elevated Command Prompt by right-clicking on the Start menu and selecting “Command Prompt (Admin)” or “Windows Terminal (Admin).”
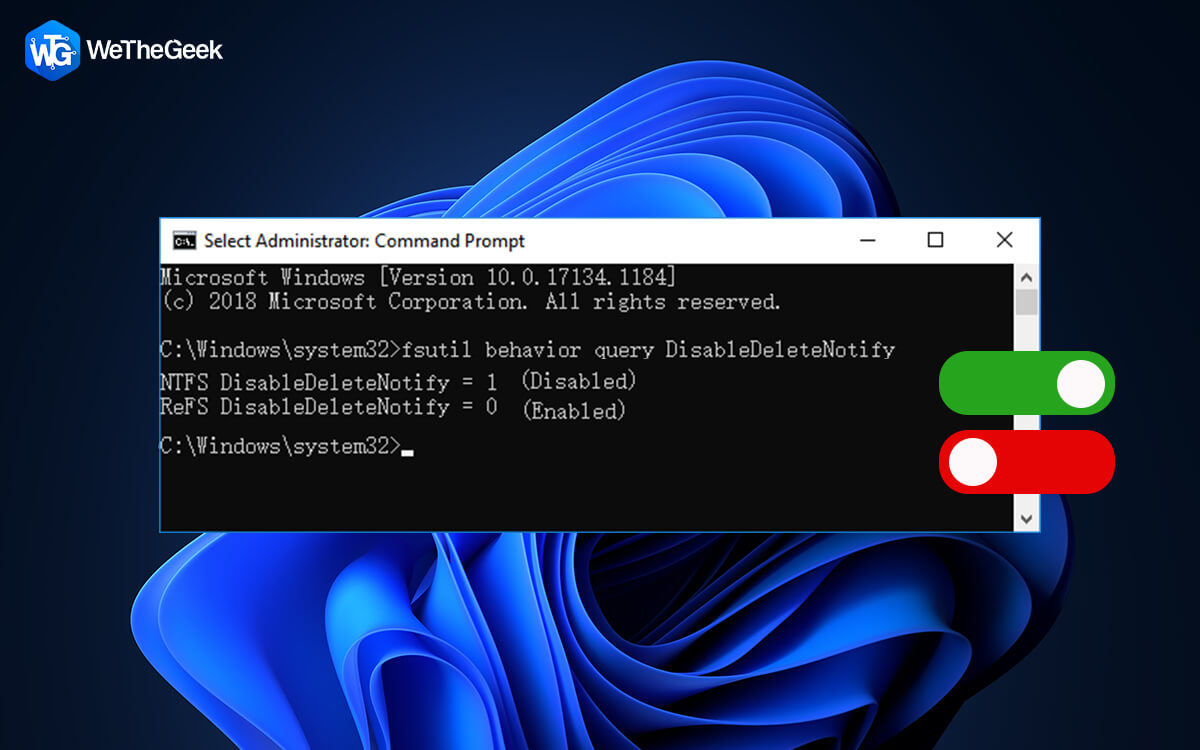
Step 2: In the Command Prompt window, type the command below followed by the Enter key.
fsutil behavior query DisableDeleteNotify
Step 3: You’ll see a list of your SSDs, with either a value of 0 or 1 next to them. A value of 0 indicates that TRIM is enabled, while a value of 1 indicates it’s disabled.
By running this command, you can quickly determine the status of TRIM on your SSDs, ensuring they’re optimized for peak performance and longevity.
Also Read: How To Fix Xvdd SCSI Miniport Issues In Windows 10/11?
Steps To Enable TRIM On Windows 11 PC
Step 1: Press Win + R to open the Run box.
Step 2: Type “cmd” and press Ctrl + Shift + Enter to open the Command Prompt in admin mode.
Step 3: Next copy and paste the following command:
fsutil behavior set DisableDeleteNotify 0
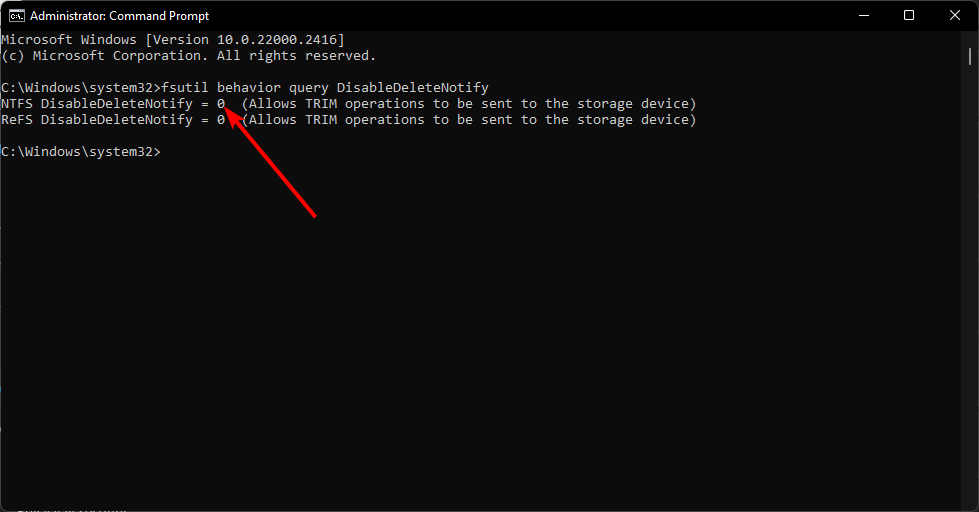
Step 4: Press the Enter key.
Step 5: Reboot Your PC.
Also Read: How To Fix The “Cannot Read From The Source File Or Disk” Error In Windows 11/10
Steps To Disable TRIM On Windows 11 PC
Enabling TRIM is known to prolong the lifespan of your SSD; however, in certain instances, older hardware may encounter slower boot times due to this feature. In such scenarios, it’s advisable to disable TRIM to potentially improve boot performance.
Step 1: Press Win + R to open the Run box.
Step 2: Type “cmd” and press Ctrl + Shift + Enter to open the Command Prompt in admin mode.
Step 3: Next copy and paste the following command:
fsutil behavior set DisableDeleteNotify 1
Step 4: Press the Enter key.
Step 5: Reboot Your PC.
Also Read: How To Use The DiskUsage Command To Analyze Drive Space On Windows
Bonus Tip: Use Advanced System Optimizer To Optimize Your Hard Disk
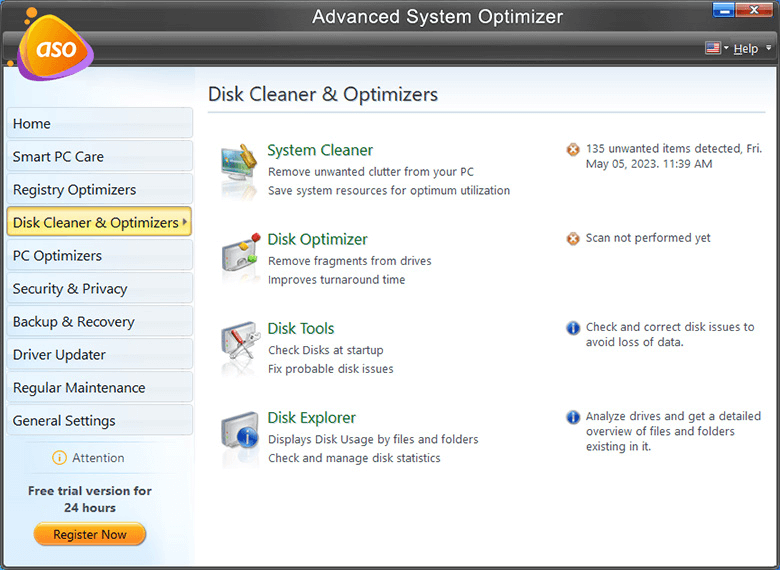
Advanced System Optimizer is a complete PC optimization tool that facilitates many modules to enhance your PC’s performance. This app allows users to maintain their Registry, protect their PC from malware, remove browser history, and improve gaming experience. There are many more features to this app including a special disk cleaner and optimizer module. Here are a few key features:
System Cleaner: Enhance the performance of your PC by eliminating unnecessary, temporary, and junk files that clog up your system.
Disk Optimizer: Improve data retrieval efficiency and reduce file system fragmentation to optimize your disk’s performance.
Disk Tools: Ensure the health and stability of your hard disk by performing startup checks to identify and address any potential issues, preventing unexpected crashes and slowdowns.
Disk Explorer: Gain insights into your stored data and disk usage by exploring various files and formats occupying disk space.
Download Advanced System Optimizer

Also Read: Why Your PC Needs Advanced System Optimizer
The Final Word On How To Enable Or Disable TRIM On Windows 11?
In conclusion, enabling or disabling TRIM on Windows 11 is a straightforward process that can significantly impact the performance and longevity of your Solid State Drive (SSD). By following the steps outlined in this guide, you can ensure that your SSD operates efficiently and maintains optimal performance levels over time. You can also find us on Facebook, Instagram, Twitter, YouTube, and Pinterest.