Selling your laptop? Donating it to charity? Or simply starting fresh with a clean slate? Whatever your reason, knowing how to delete everything on your laptop is crucial. But where do you even begin? Fear not, my friend! This step-by-step guide will equip you with the knowledge and confidence to delete everything on your laptop, ensuring a smooth transition and ultimate data security.
So, without further ado, let’s get started.
Why Delete Everything?
Before we dive in, let’s understand the “why” behind this digital decluttering. Deleting everything protects your privacy, especially if sensitive information like passwords or financial details reside on your laptop. It also ensures the new owner (or you, with a fresh start!) doesn’t inherit any unwanted software or personal data.
Understand The Importance Of Secure Data Deletion
In today’s interconnected world, data privacy and security are non-negotiable. Simply deleting files or formatting your laptop’s drive isn’t enough to protect your sensitive information from falling into the wrong hands. Hackers and identity thieves are becoming increasingly sophisticated, capable of retrieving supposedly “deleted” data using specialized software. Therefore, it’s crucial to follow a comprehensive approach to securely erase everything on your laptop.
How Do You Erase Everything On A Laptop?
Here’s where things get exciting. We’ll delve into the step-by-step process for wiping your laptop clean and tailoring it to your specific operating system (Windows or macOS). But first, a crucial disclaimer: Back up your important data! This process is irreversible, so ensure you have copies of any files you need before proceeding.
Before diving into the deletion process, it’s essential to take a few preparatory steps to safeguard your data and ensure a smooth transition. Here’s what you need to do:
1. Back-Up Your Data: Prioritize backing up any important files, documents, photos, or videos stored on your laptop. This ensures you won’t lose any valuable information during the deletion process.
2. Sign Out of Accounts: Disconnect from all online accounts, including email, social media, and cloud storage services. This prevents any potential syncing issues and ensures your accounts remain secure.
3. Gather Necessary Tools: Depending on your laptop’s operating system, you may need specific tools or software to complete the data deletion process effectively. Research and download any required applications beforehand.
Now that you’ve prepared your laptop for the data deletion process let’s delve into the step-by-step guide:
Step-by-Step Guide: How To Delete Everything On A Laptop
Step 1: Perform A Full Backup
As mentioned earlier, backing up your data is paramount before initiating the deletion process. Use an external hard drive, cloud storage service, or a combination of both to create a comprehensive backup of all your files.
Step 2: Deauthorize Applications And Services
Before wiping your laptop, ensure you’ve deauthorized any applications or services tied to your device. This includes software licenses, streaming services, and productivity tools. Failure to deauthorize these services could lead to complications when reinstalling them on a new device.
Step 3: Format Your Hard Drive
Next, you’ll need to format your laptop’s hard drive to erase all existing data. Depending on your operating system (Windows, macOS, or Linux), the process may vary slightly. Follow these general steps:
Read Also: How to Format a Hard Drive in Windows 11
The process varies depending on your operating system. Here’s a breakdown of the most popular ones:
1. Wiping A Windows Laptop
Step 1: Navigate to Settings: Click the gear icon. Press the Windows key with the key I to open Settings.
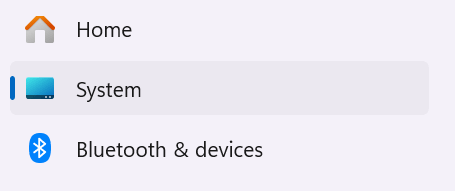
Step 2: Find Update & Security: Click on the System option from the left side of the page.
Step 3: Choose Recovery: Select the “Recovery” option on the right-hand side.

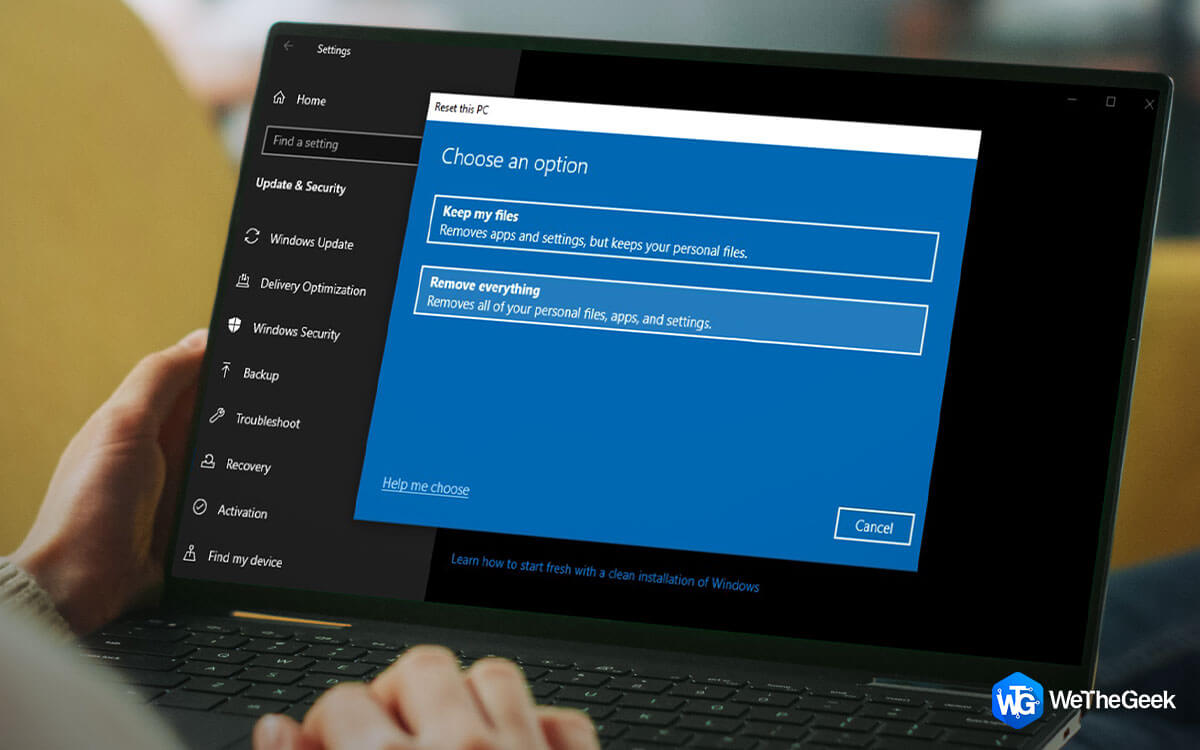
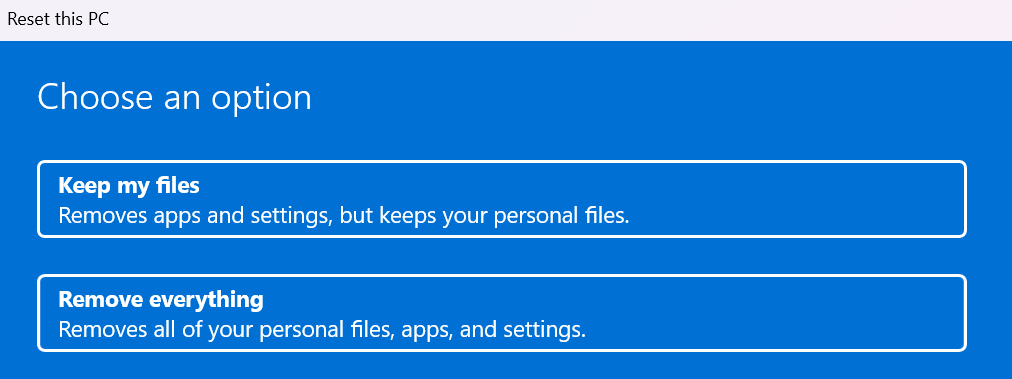
Step 4: Reset This PC: Click on “Reset this PC” under the “Recovery options” section.

Step 5: Choose Your Path: Decide whether you want to “Keep my files” (removes apps and settings) or “Remove everything” (wipes everything).
Step 6: Select a Reset Option: Choose “Local reinstall” or “Cloud download” depending on your preference.
Step 7: Follow the On-Screen Instructions: The process will take some time, so be patient. Your laptop will restart and guide you through the setup process like new.
2. Wiping A macOS Laptop
Step 1: Open Apple Menu: Click the Apple logo in the top left corner of your screen.
Select System Preferences: Choose “System Preferences” from the dropdown menu.
Step 2: Go to Erase All Content and Settings: Click on “Erase All Content and Settings” under the “General” section.
Step 3: Click Continue: Confirm your choice by clicking “Continue.“
Step 4: Enter Your Apple ID Password: When prompted, enter your Apple ID password.
Step 5: Choose Erasure Option: Select “Erase Now” to begin the process.
Step 6: Wait and Relax: The process will take a while, similar to the Windows method. Your Mac will restart as a blank slate, ready for setup.
Read Also: How To Recover Data From A Mac After Factory Reset?
The Ultimate Guide On How To Delete Everything On A Laptop
Through this thorough guide, we’ve addressed the pressing question of “how to delete everything on a laptop” and provided actionable steps to achieve a secure and comprehensive data deletion process. Whether you’re upgrading to a new laptop or preparing to sell your current one, following these guidelines will ensure your data remains safe and your device is ready for its next user. Follow us on social media – Facebook, Instagram and YouTube.
By implementing these best practices, you can rest assured that your sensitive information won’t fall into the wrong hands, preserving your privacy and security in an increasingly interconnected world.
For more such troubleshooting guides, listicles, and tips & tricks related to Windows, Android, iOS, and macOS, follow us on Facebook, Instagram, Twitter, YouTube, and Pinterest.
Next Read: Data Recovery Tips: Do’s & Don’ts While Performing Data Recovery