
Have you become weary of consistently using the same username? When you first registered your account, your username was chosen at random; however, you now wish to add something unique. Windows makes it simple for you to change your username if you want to for any reason. Below, we’ve provided a list of some of the methods to do so.
Different Ways to Change your Username in Windows 11
Method 1: Use The Control Panel
The Control Panel gives users complete control over the OS, allowing them to customize everything from the operating system’s appearance to the associated hardware. Users can efficiently manage their user accounts and change their usernames among other customizations. Follow these steps to modify your username through the Control Panel:
Step 1: Open the Control Panel app by typing “Control Panel” into Windows Search.
Step 2: Choose Large icons from the View by dropdown option.
Step 3: Click on User Accounts.
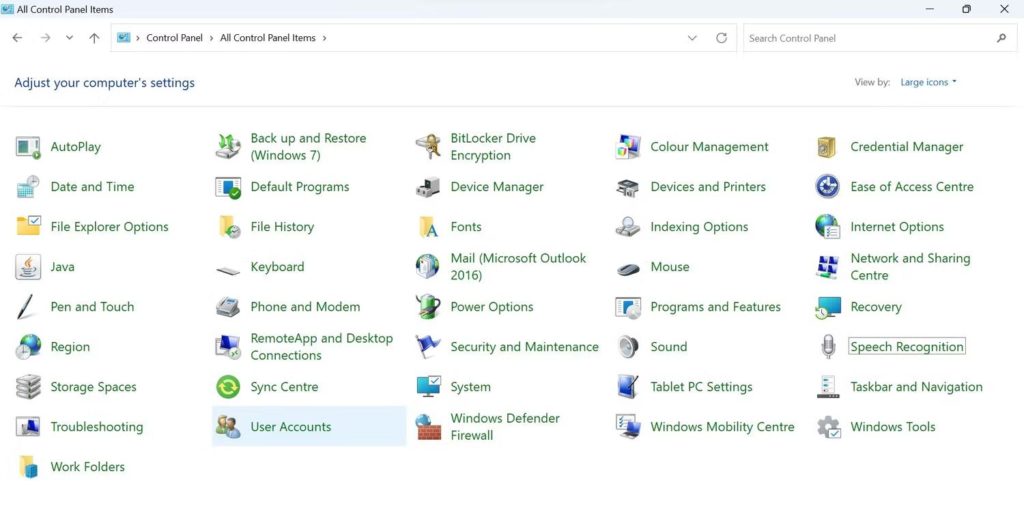 Step 4: Locate Change your account name and click on it.
Step 5: In the User Account Control window, select Yes.
Step 6: Enter your new username in the section marked “New account name.”
Step 7: Click on Change Name after that.
You must sign out of your account and sign back in for this change to take effect.
Also Read: How To Remove User Account Control In Windows 11?
Method 2: Use The Run Command
Windows users can access any location on a computer whose path is known by using the Run command. Follow these steps to modify your username using the Run command:
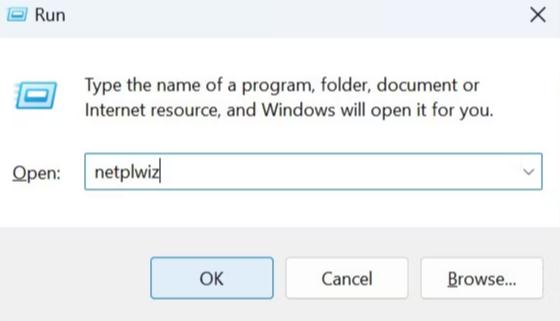
Step 1: In order to run the Run command, press Win + R.
Step 2: In the text box, type “netplwiz” and hit Enter.
Step 3: In the User Account Control window, select Yes.
Step 4: Select the user account for whom the username has to be updated in the User Accounts pane.
Step 5: Select Properties.
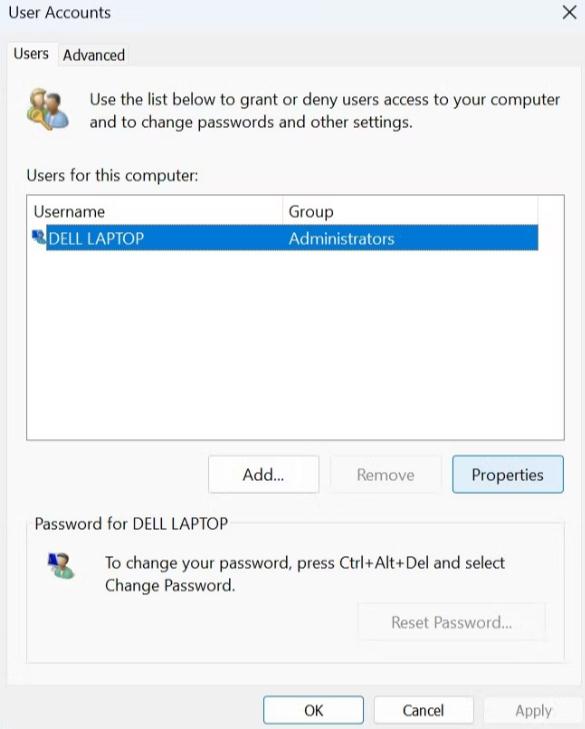
Step 6: You can see the username you currently have in the General tab. After deleting it, give it a new name that suits you.
Step 7: After adding the new username, select Apply and then click OK.
After that, log out of your account so that when you sign back in, the sign-in screen will display your new username.
Also Read: How To Rename Your Windows 11 PC?
Method 3: Use The Group Management Tool
This is the simplest method for changing your Windows username because it enables you to rename your username just like you would a folder. To modify the username using the local user and group management tool, follow these steps:
Step 1: To access the Run command, press Win + R.
Step 2: Press Enter after typing “lusrmgr.msc“.

Step 3: In the User Account Control window, select “Yes“.
Step 4: In the left sidebar, choose the Users tab.
Step 5: In the right pane, locate your account.
Step 6: Right-click the username and select Rename.
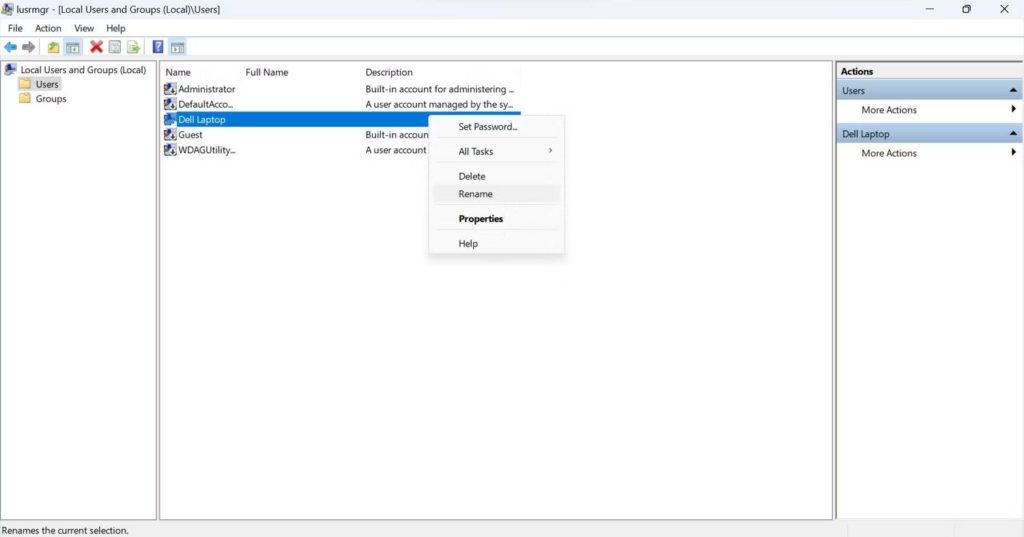
Step 7: Type your desired new username.
When you sign out of your account once and then exit the local user and group administration tool, your new username will appear on the sign-in screen.
Method 4: Use Windows PowerShell
You can make any adjustments to your Windows device that you typically make using GUI-based applications and settings using its built-in cmdlets or by building your custom scripts. Follow these procedures to modify your username using Windows PowerShell:
Step 1: Open PowerShell by typing “Windows PowerShell” into Windows Search.
Step 2: To find your current username, use the command below and hit Enter.
Get-LocalUser
Step 3: After inputting your current username and the one you wish to change to, add the following command:
Rename-LocalUser -Name “Enter your current username” -NewName “Enter the new username”
Step 4: After inserting the aforementioned command, press Enter.
Step 5: After logging out, log back into your account.
Also Read: How To Rename Multiple Files at Once in Windows
The Final Word On How To Change Your Username In Windows 11?
You do not need to use the same username in Windows for the remainder of your life. If you choose to do so, you can utilize the techniques mentioned above to switch your local user account’s existing username to one you like. No matter what option you choose, make sure to sign out of your account once. The modification won’t take effect till then.
Please let us know in the comments below if you have any questions or recommendations. We would be delighted to provide you with a resolution. We frequently publish advice, tricks, and solutions to common tech-related problems. You can also find us on Facebook, Twitter, YouTube, Instagram, Flipboard, and Pinterest.
Suggested Reading.