
When installing Windows, you are asked to select the default language for your PC. But if you prefer to change this language later? Or multiple users access the PC; you might want to change default language without reinstalling Windows. Right?
In this guide, we will discuss simple ways to easily change language settings on Windows 10, including new and existing accounts.
How To Change Default System Language Windows 10
If you are moving to another region or have selected incorrect language while configuring Windows, follow the steps to change the language to English or your preferred language on Windows 10.
Note: To apply changes, sign in to Windows 10, and use an administrative account.
- Disable Language Sync
- Installing Language in Windows 10
- Change System Language
- Change Regional Settings, Welcome Screen and New User Accounts
- Adding New Keyboard
Additional Information
Disable Language Sync
Language settings on Windows 10 sync across devices; therefore, before making any changes, let’s learn how to disable language settings on Windows 10. Once you do so, the system language will be changed for only one PC.
1. To disable language sync on Windows 10, follow the steps below:
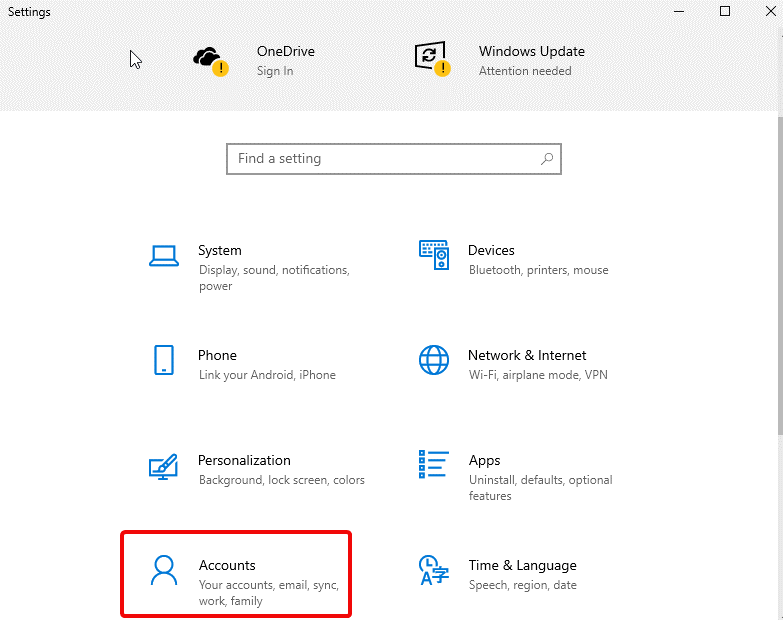
2. Press Windows + I to open Windows Settings.
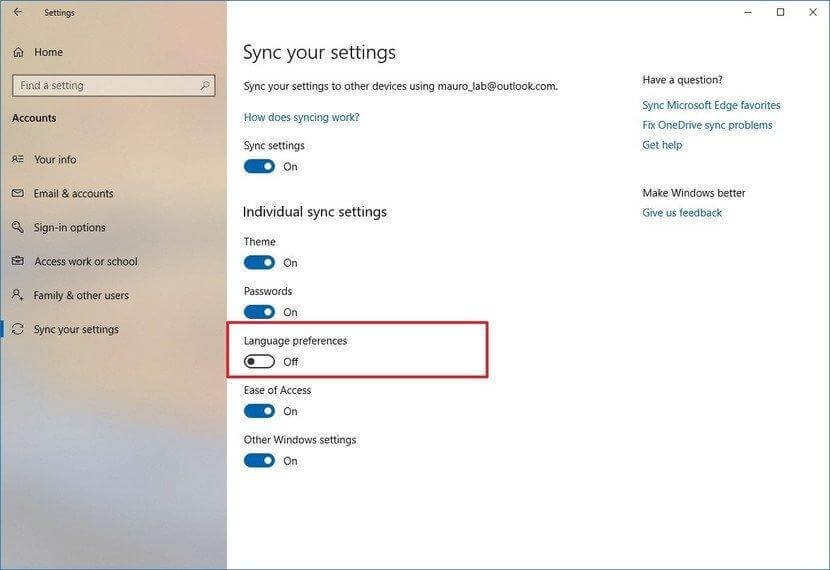
Click Accounts > Sync your settings from the left pane.

Note: Make sure you are signed into Microsoft account; otherwise, all the options will be greyed out like in the screenshot.
3. Next, under “Individual sync settings” section, disable “Language preferences.”
4. You are now all set to make language setting changes.
Installing Language in Windows 10
To install language on Windows 10, you’ll need to log in using an administrative account. Once signed in, follow the steps below to install language in Windows 10:
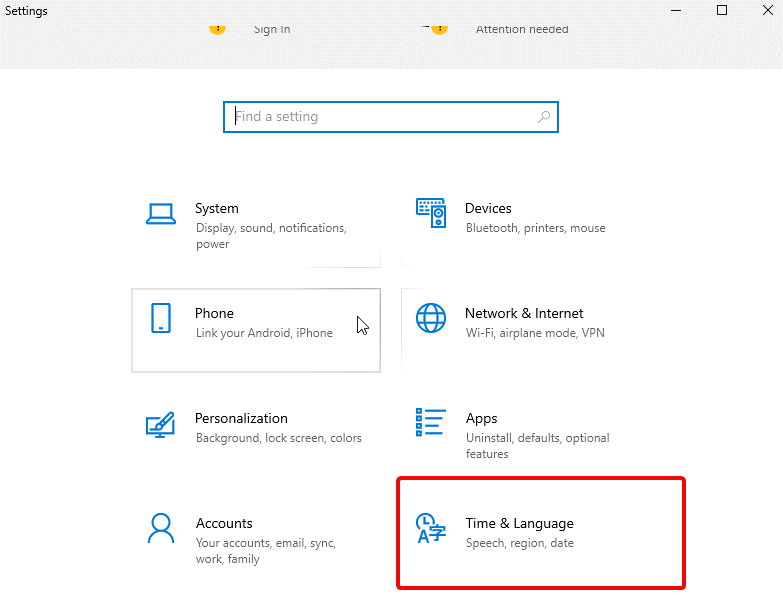
1. Press Windows + I to open the Settings window
2. Hit Time & Language option
3. Choose language > Add a preferred language.

4. Look for the language you want to add, select it, and click Next.
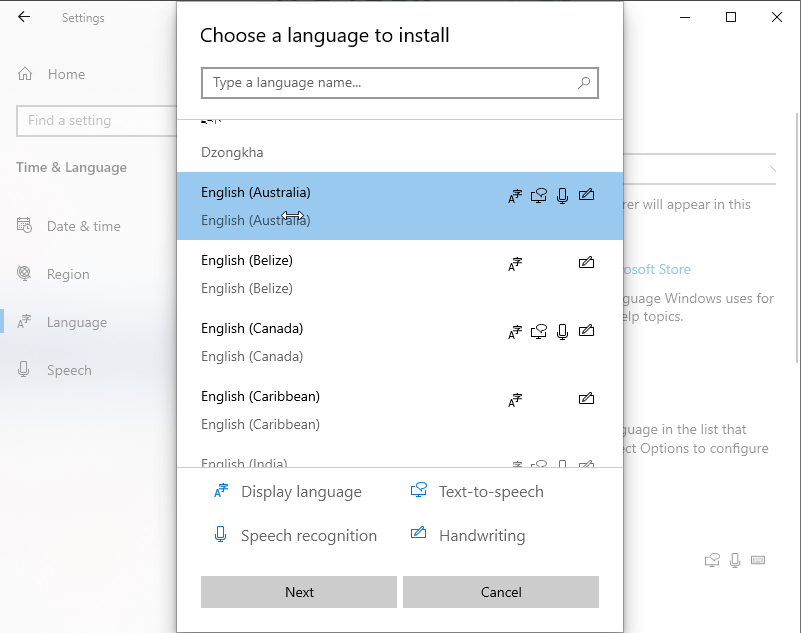
5. Make sure the Install language pack box is checked. Alongside, if you want to set it as display language, select Set as my display language.

6. Once all settings are set, click Install. Wait for the action to finish.
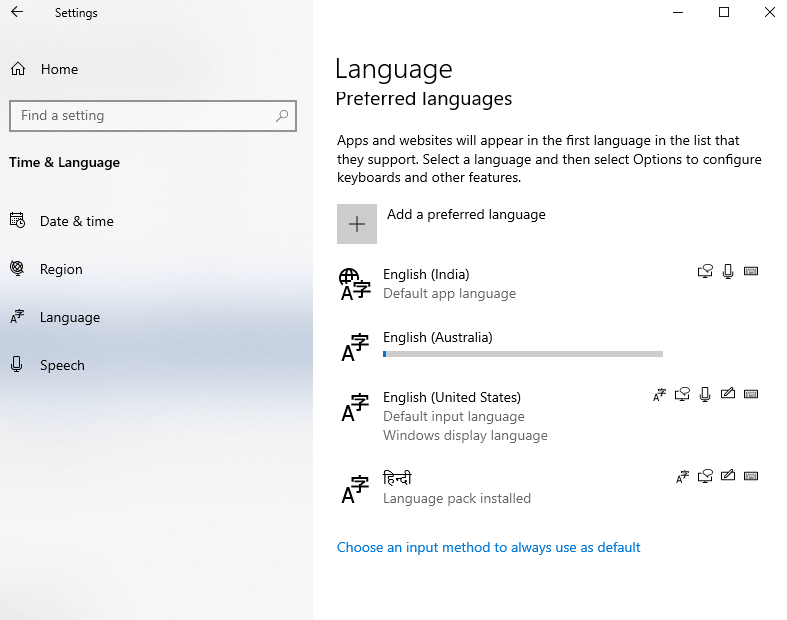
7. When done, you will see the installed language
 8. To add this language as default app language, use the up-arrow key

9. This will make the selected language the default input, app language.
10. The changes will be applied after you restart the PC and sign in.
Change System Language
To alter system language on Windows 10, close running application, and follow the steps given below:
- Press Windows + I
- Click Time & Language > Add a preferred language.
- Select the language you want to add > Next
- Check the box next to Set as display language > Install
- This will make selected language default system language as the next reboot and Sign-in.
Change Regional Settings, Welcome Screen and New User Accounts
If you are relocating and want to change system language, you’ll need to update region settings.
To change regional settings on Windows 10, follow the steps below:
1. Open Windows Settings by pressing Windows + I key
2. Press Time & Language > Region
3. Click the down arrow to select a Country or region.
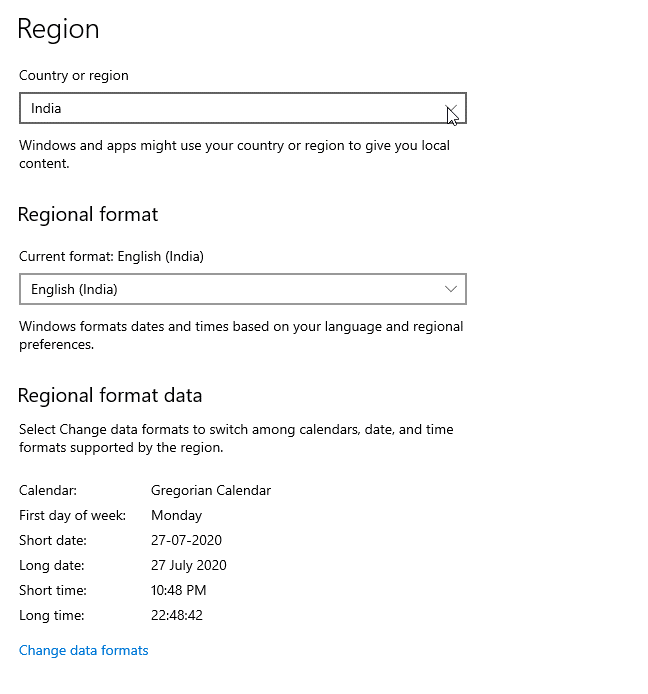
4. To change Regional format, click the down arrow.
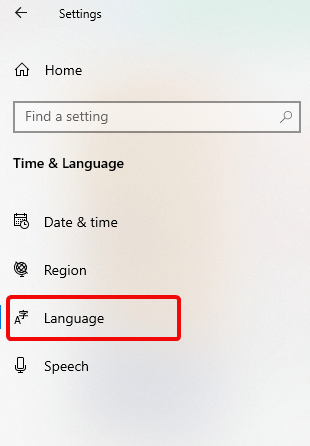
5. Next, click the Language option present in the left pane.
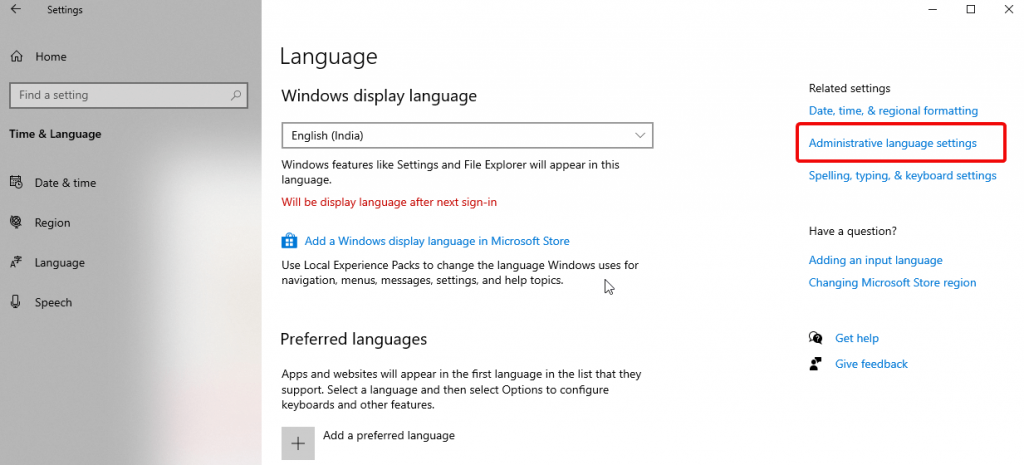
6. Here, click Administrative language settings.
7. Hit the Administrative tab in the new window and click Copy settings.
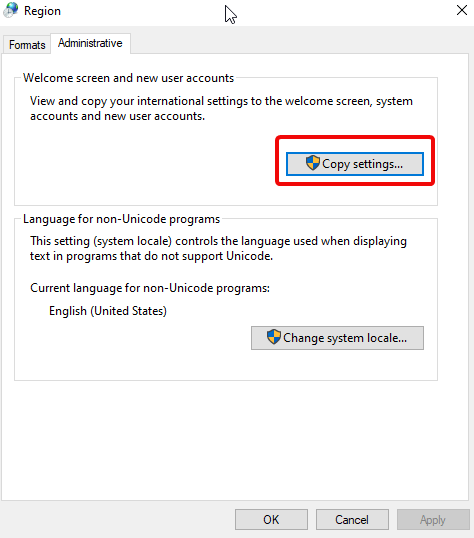
8. Next, checkmark the box next to Welcome screen and system accounts & New user accounts > Ok > Ok.

9. Click Restart now button.
Afterward, you will see changed region settings according to the physical location you selected. Use the same steps when you want to change display language settings for complete Windows 10.
Adding New Keyboard
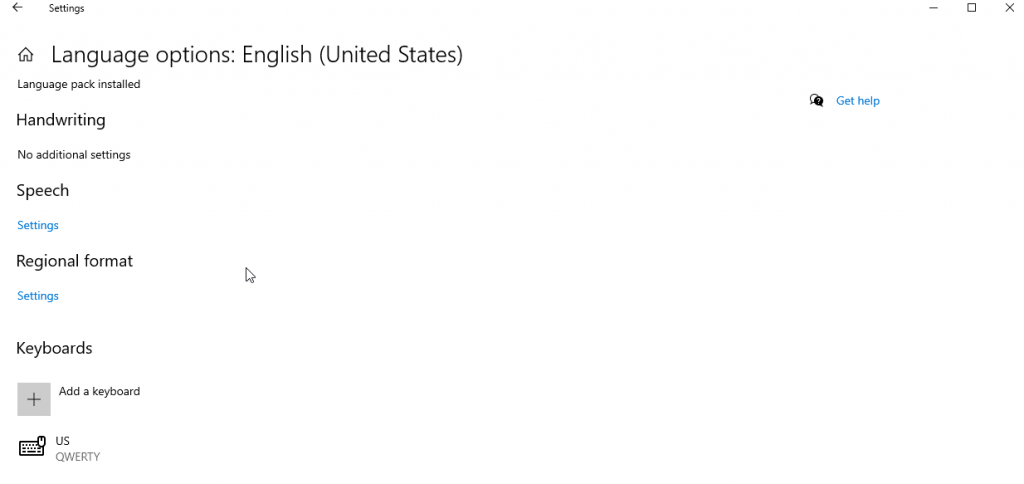
When language in Windows 10 is changed, a standard keyboard for that language is also added. To add another keyboard head to Settings (Windows + I) > Time & Language > Language. Select the language for which you want to add the keyboard > Options.
On the following screen, click Add a keyboard > choose the keyboard from the list.
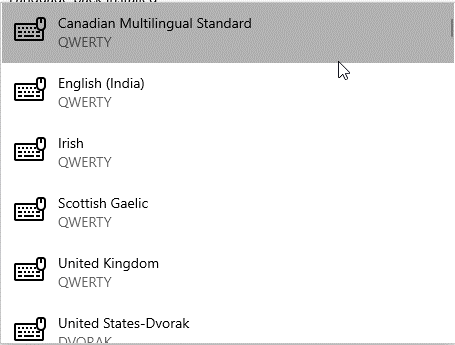
Once done, you will see the selected keyboard under keyboards.
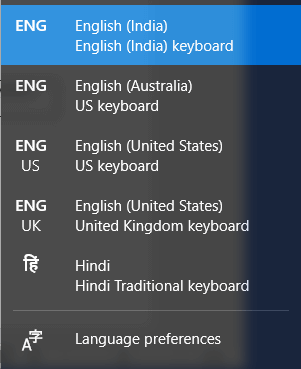
Note: When more than one input method is added, you see the selected keyboard in the system tray (the one with time and date). Either press Win + space bar or click the language to change input methods. If you press Windows key + spacebar do not leave Windows key until the language is selected
Additional Information
How to Remove a Language from Windows 10
If you have added a language to Windows 10 for a guest and now since the guest has left, would like to remove it. Follow the steps below:
- Open Windows Settings by pressing Windows + I keys
- Click Time & Language > Language
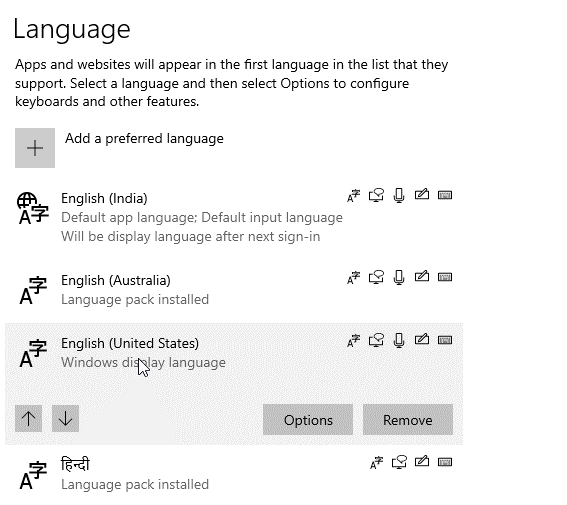
- Here, in the right pane, you will see all the installed languages.
- Select the language you want to delete and click Remove button
This will uninstall selected language from the Windows 10 operating system.
Note: If you have only one language pack installed you will not see a language indicator in the system tray
Manually Uninstalling Language Packs from Windows 10
If you don’t want to follow so many steps, you can uninstall the language pack using a simple command. To use it, follow the steps below:
Press Windows + R keys
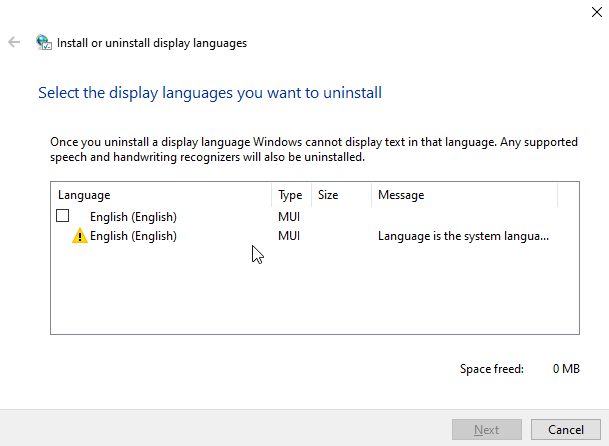
This will open the Run window here enter Lpksetup /u
This will launch the Install or uninstall display languages box. Select the language you wish to uninstall and click Next.
The progress bar will tell about successful command completion. Once done restart Windows, the selected language pack will now be uninstalled from Windows 10.
Hope now you have understood how to change system language settings on Windows 110. You can follow these simple steps, whether you need to change display language settings, keyboard, or default system language settings.
If all this language change seemed exciting, check out the best language learning apps.