
HEIC or high-efficiency image format is commonly used by Apple devices. As compared to JPG or PNG images, HEIC images take up 50% less space and can be captured in 18-bit color which is the same as JPEGs.
However, if you transfer HEIC images to your Windows PC, you might run into compatibility issues and you may have to first convert HEIC to JPG or PNG. Here we are going to review HEIC Converter from Tweaking Technologies which is one of the best HEIC to JPG converters.
When Would You Need A Tool Like HEIC Converter? |
| Let’s assume that for clicking photos you use your iPhone but for later processing, or, for image editing you use a Windows PC. You would need to convert HEIC images to JPG or further to PNG (if you use your images on a blog or equivalent platform).
In such a case, a HEIC conversion tool can be of great help. From one place – ● You can choose the format in which you wish to convert your HEIC image ● Change or maintain the resolution of HEIC images ● Define the path where you wish to save your images and do a lot more. |
Let’s dive deeper into the various aspects of this HEIC To JPG/ PNG Converter Software –
System Requirements
Version – 1.0.25.0
Windows compatibility – Windows 10 version 14393.0 or higher.
RAM – 1 GB recommended
File size – 22 MB
How To Use HEIC Converter
Using this HEIC file converter is simple –
Step 1 – Download and install HEIC Converter from the button down below

Note: You can also Download the HEIC Converter form Microsoft Store.
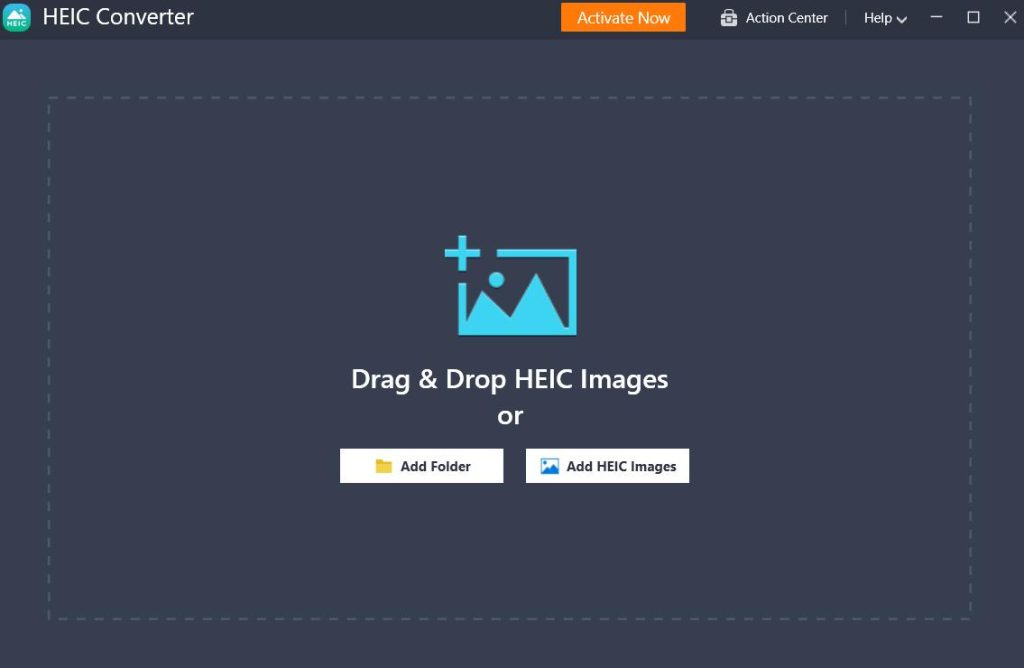
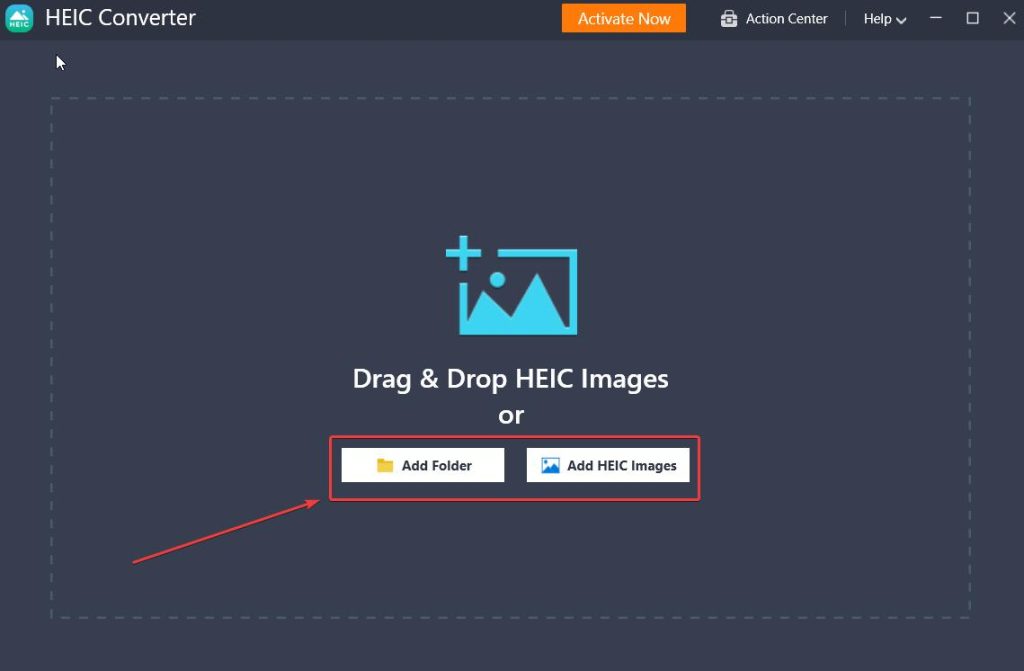
Step 2 – You can either drag and drop HEIC images into the interface or click on either Add Folder or Add HEIC Images.
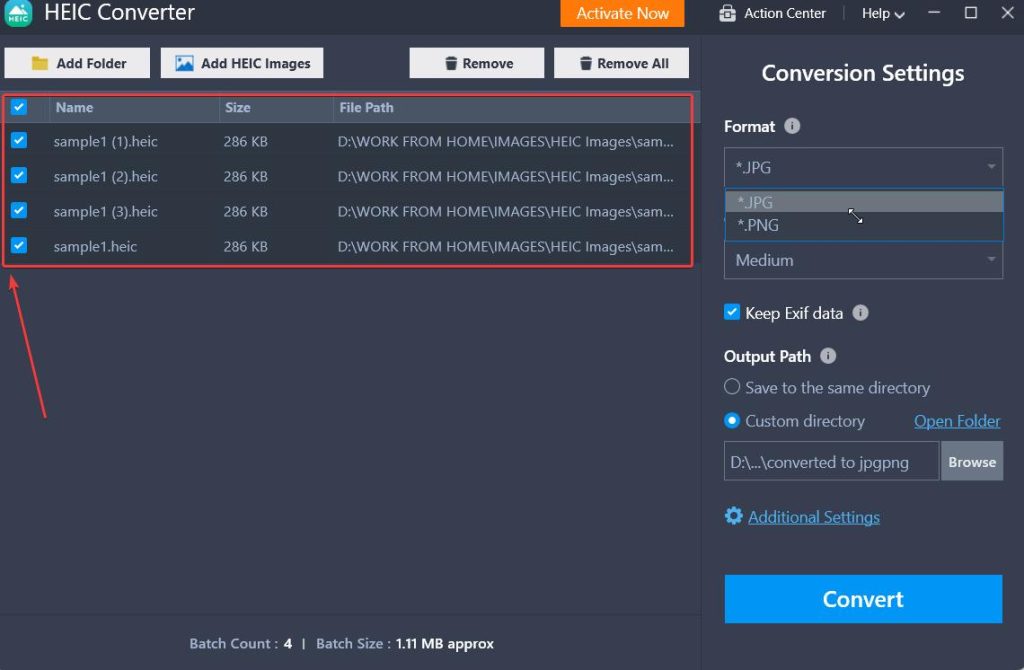
Step 3 – Once you have added the images that you want to convert, you can click on the checkbox next to the images that you want to convert to JPG or PNG.

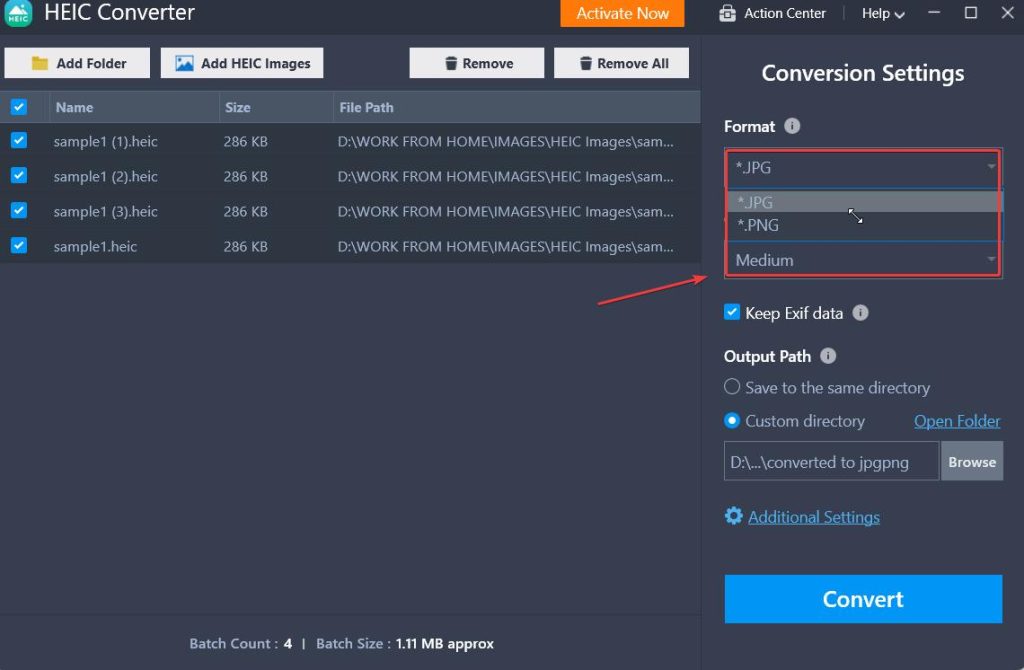
Step 4 – From the right-hand side, click on the Format and Quality dropdowns as per your choice.
Step 5 – Choose whether or not you want to keep the Exif data.
Step 6 – Select the Output Path i.e. the location on the hard drive of your computer where you wish to save the converted images.
Step 7 –Once you have chosen settings as per your needs, and once you are ready to convert the images, click on the Convert button from the bottom-right-hand corner of the interface.
Step 8 –To clear the images in the current session, you can either click on individual photos and then click on Remove from the top or, to clear the complete batch of images, click on Remove All.
Interface
90% – Excellent
As compared to many of its competitors like imazing HEIC Converter, HEIC Converter from Tweaking Technologies has a rather basic, minimalistic, yet easy-to-use and understand interface.
Right after you have installed HEIC Converter, the first screen lets you add images (both folders as well as files). Once you have added the images, the next screen lets you manage the images that you want to convert or remove. Towards the right-hand side, you have options for selecting the format, quality, output location, and whether or not you want to keep the Exif data or not.
At the bottom right-hand side corner of the interface, you can click on Additional Settings and adjust File Overwrite Action and how fast you want the conversion process to be.

Features
85% – Very Good
1. Batch Convert HEIC To JPG or PNG
With HEIC Converter for Windows, you can choose multiple images on your computer and convert them to either JPG or PNG quickly.
2. Add Folder or Individual Files
HEIC Converter software offers two ways in which you can select your files for conversion. You can either head to locations on your computer and select complete folders containing images or you can select individual files that you can convert from HEIC format to .JPG or .PNG. Also, you can either click on each of the options i.e. Add Folder or Add HEIC Images to add images from a location on your computer or you can drag and drop folders or images.
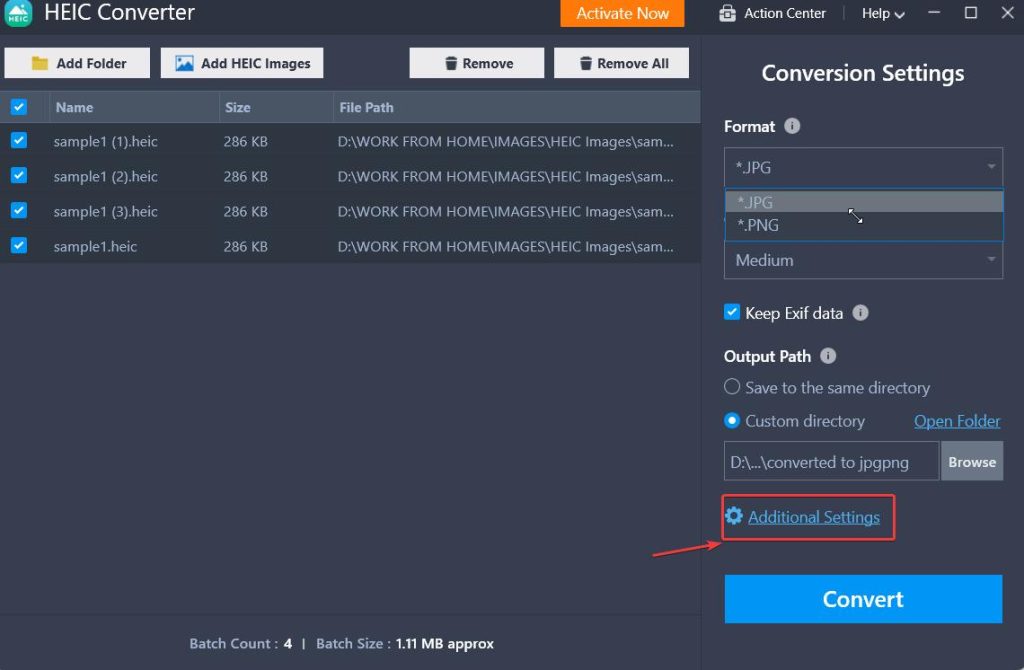
3. Convert To .JPG or .PNG Format
The HEIC file converter software offers two conversion options when it comes to converting HEIC photos. You can either convert your HEIC photos to .JPG format or .PNG format.
4. Manage Image Quality
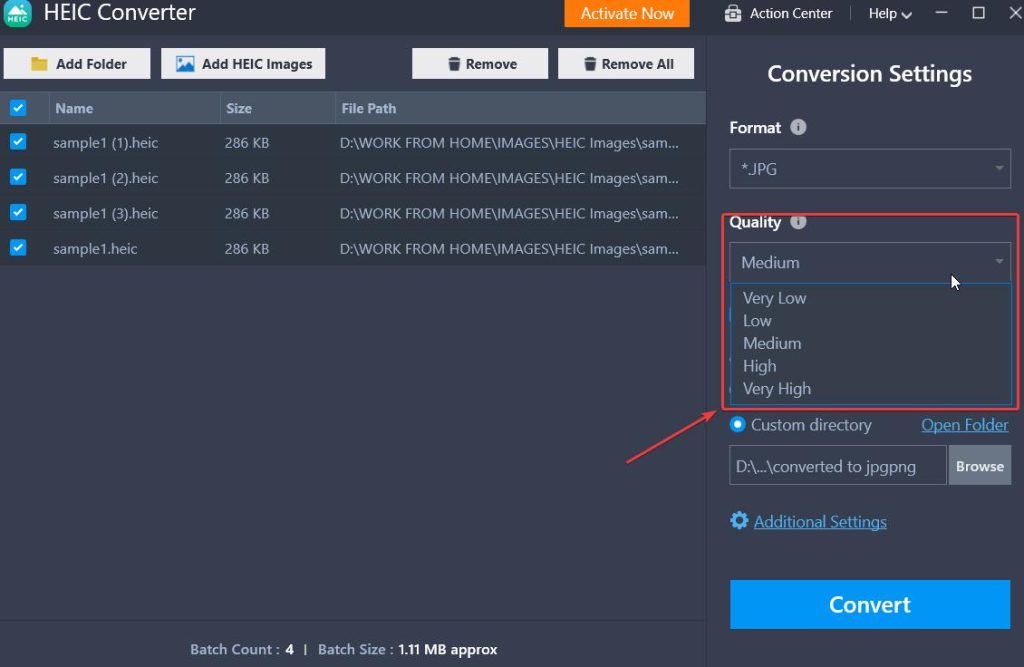
With HEIC converter you get full control over the images’ quality after you have converted them to .JPG or .PNG format. To further elaborate, the HEIC converter utility offers 5 options for output quality namely – Very low, low, medium, high and very high. The higher the quality, the more space the image will occupy on your hard disk.
5. Keep or Remove Exif Data

The EXIF data on your images can reveal a lot. From personal data such as the location to professional settings you might be using such as ISO, shutter speed, exposure, and many others, the EXIF data holds a lot of information. You might not want to share some or all of this information for obvious reasons. HEIC Converter gives you the option to either keep or remove EXIF data from your images. And, if you want to take this task a step further and edit them, you can check out this post.
6. Choose Output Path

Once you have converted the images from HEIC to JPG or PNG, the next task would be to choose a location on your hard drive where you would want to save the converted images. With this HEIC to JPG converter software, you can save the images to the same directory from where you had picked the images for conversion. Or, you can choose a custom directory and save the images there.
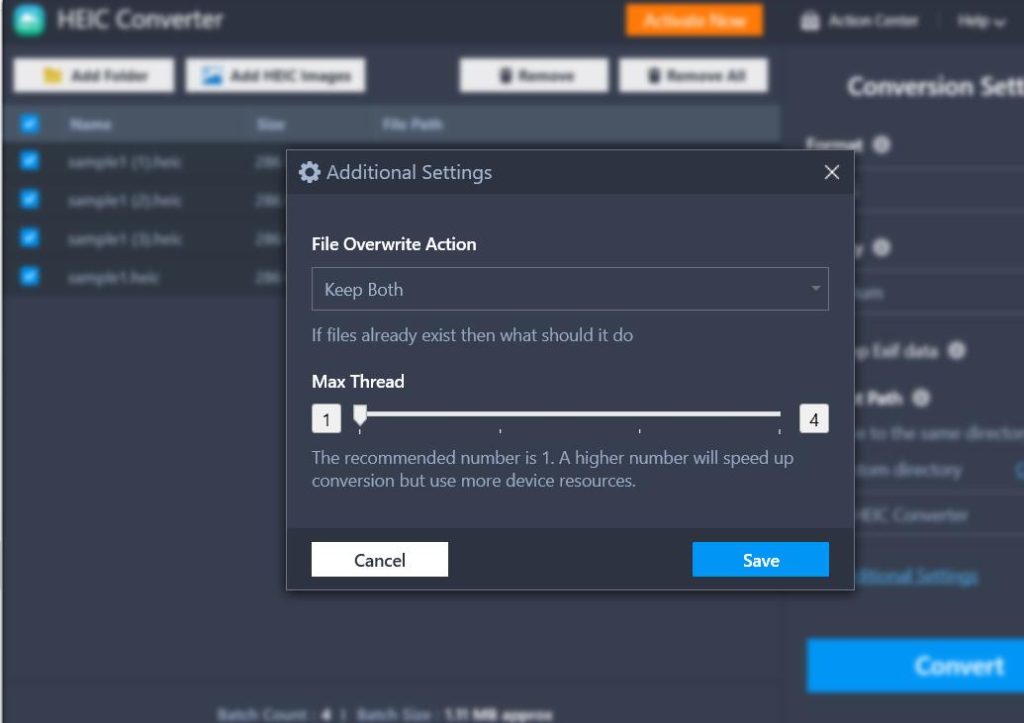
7. Choose File Overwrite Action
Let’s assume that some files already exist after conversion. In that case, HEIC Converter lets you decide what to do with the duplicate files. You can either choose to keep both, replace the original image or skip entirely. Here is how this can be done –
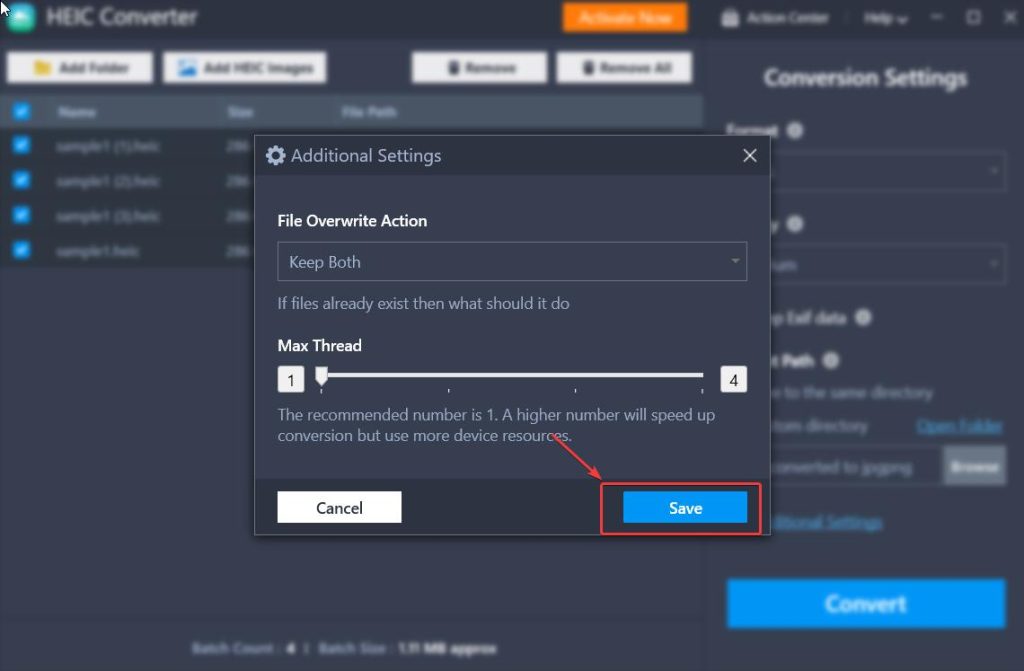
Step 1 – From the right-hand side, click on Additional Settings from the bottom right-hand side of the interface.
Step 2 – Click on the File Overwrite Action dropdown and choose an option.
Step 3 – Click on the Save button.
Later if you find that there are too many duplicates, we have got you covered, here is how you can remove duplicates on your Windows PC.
8. Choose the Speed of Conversion
When you are working with multiple images or multiple folders containing images that you want to convert from HEIC to JPG or PNG, you would want the conversion speed to be fast, isn’t it? The HEIC Converter software lets you choose the thread speed. You can increase or decrease the conversion speed. A higher thread would mean faster conversion but it would use more device resources.
Pricing
85% – Very Good
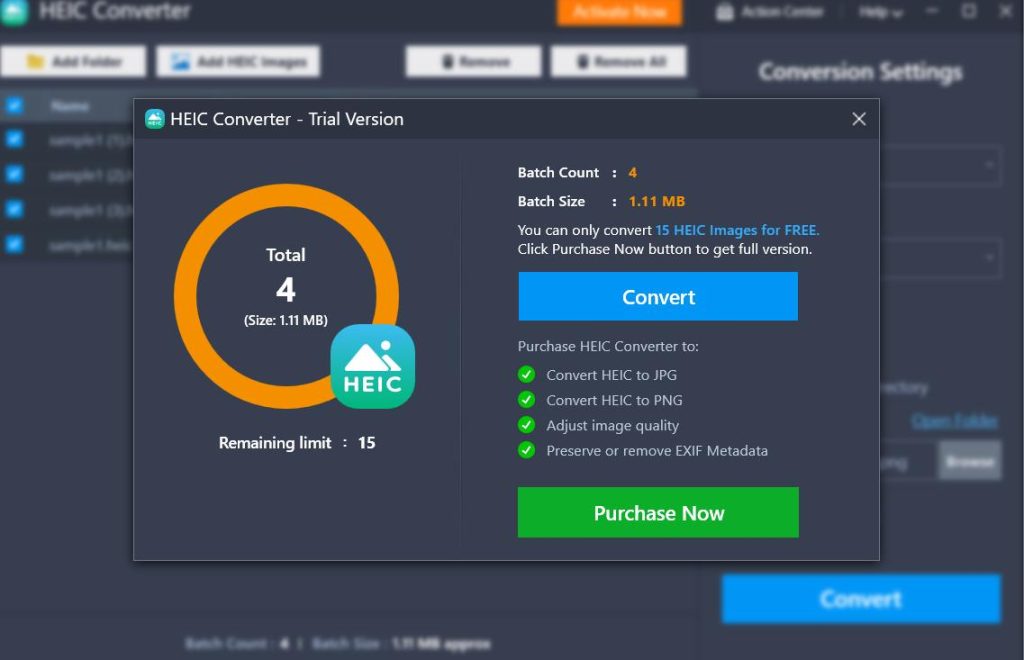
The free or trial version lets you convert 15 HEIC images for free after which you can opt for in-app purchases via the Microsoft Store.
Convert HEIC Images To JPG/ PNG In A Hassle-Free Manner?
In our personal use, we didn’t come across any performance issues and we were able to convert several HEIC images to JPG and PNG respectively in a swift manner. In case of any issues, whether it’s regarding the functionality of the software or license issues, you can shoot your queries to [email protected]. The support team is quite prompt and helps resolve the issue.
Try this tool and let us know how your experience has been in the comments section below. You can also reach out to us on Facebook, Pinterest, YouTube, Instagram, and Twitter.
Also Read: