
Trying to set up a new hard drive on your computer? Well, yes, it can be a challenging task as you may encounter several hindrances during the process. Is the new hard drive not showing up on your system? Wondering why? It may be due to a variety of reasons that include outdated drivers, faulty connections, corrupt or misconfigured BIOS settings, network connections problems, and so on.
Image source: IT Pro
If you’ve been facing similar issues where the external hard drive won’t show up or if you’re simply unable to see the new hard drive in the Disk Management app, you can easily fix this issue by following a few workarounds.
In this post, we have listed a bunch of troubleshooting methods that you can use for fixing the “New hard drive not showing up” issue on Windows 11/10.
Also read: How to Format a Hard Drive in Windows 11
How To Fix Hard Drive Not Showing Up In Windows 11
Solution 1: Update the Drivers
One of the most effective hacks to resolve this issue is by updating the drivers. If your system is operating on outdated/missing/corrupt drivers, it may lead to several severe consequences. So, yes, the first step is to update all the system drivers to make sure that your PC is running on the latest drivers for smooth functioning. To manually update drivers on Windows, here’s what you need to do:
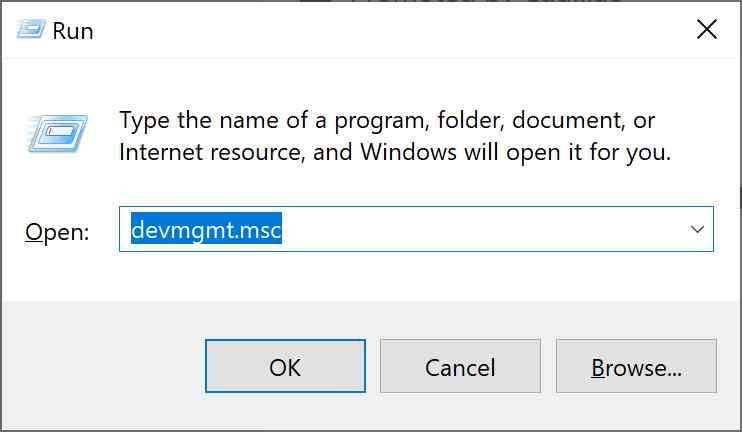
Press the Windows + R key combination to launch the Run dialog box. Type “Devmgmt.msc” in the textbox and hit Enter to launch Device Manager.
In the Device Manager window, select the driver that you wish to update. Right-click on it and select “Update Driver”.
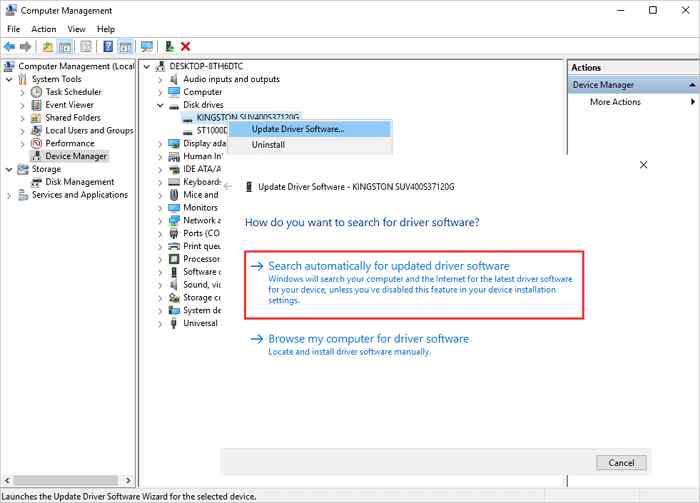
Follow the on-screen instructions to update the drivers. Also, follow the same set of steps to update all the outdated drivers one by one.
Download Smart Driver Care Utility Tool
Manually keeping a track of outdated and corrupt system drivers sounds like a tedious job for sure. Don’t you agree? Wouldn’t it be awesome if there was a tool that automatically updates all your outdated system drivers and software? Well, yes! Download and install the Smart Driver Care utility tool on your Windows PC to save yourself from the hassle of manually updating drivers.
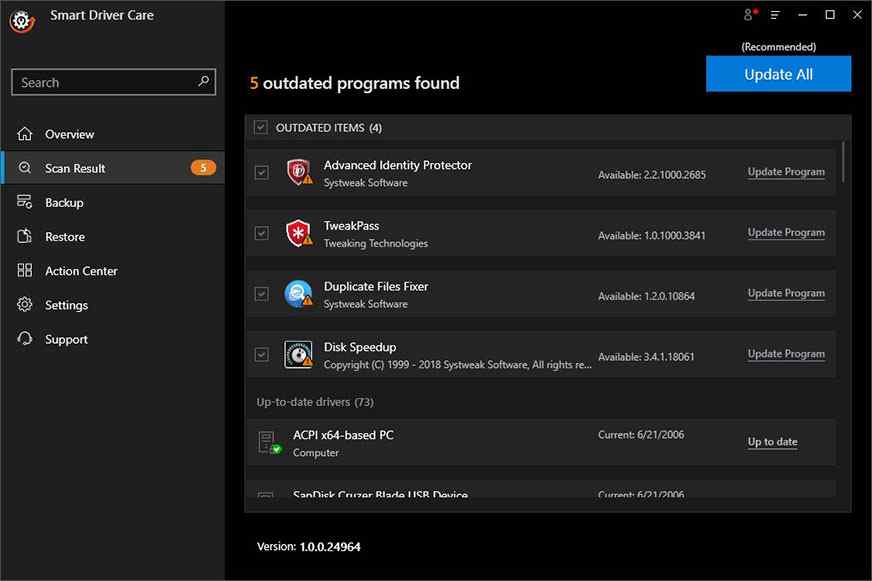
Smart Driver Care’s advanced algorithms thoroughly scan your PC to look for outdated, missing, and corrupt system drivers. You can easily update all the outdated drivers in just one click by using the Smart Driver Care utility tool.

Solution 2: Check the Physical Connections
The next solution to fix the “New hard drive not showing up on Windows” issue is to check the physical connections to ensure that the HDD is properly connected to your system is receiving an adequate power supply.
Image source: Extreme Tech
Check all the USB cables and physical connections, and see whether everything is in place.
Also read: Hard Drive Has Wiped Itself On Windows 11/10, What To Do?
Solution 3: Initialize the Disk
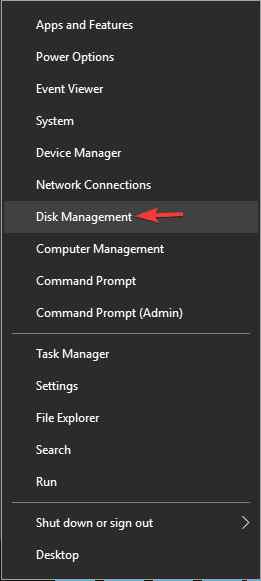
Press the Windows + X key combination, a context menu will now appear on the screen. Tap on “Disk Management”.
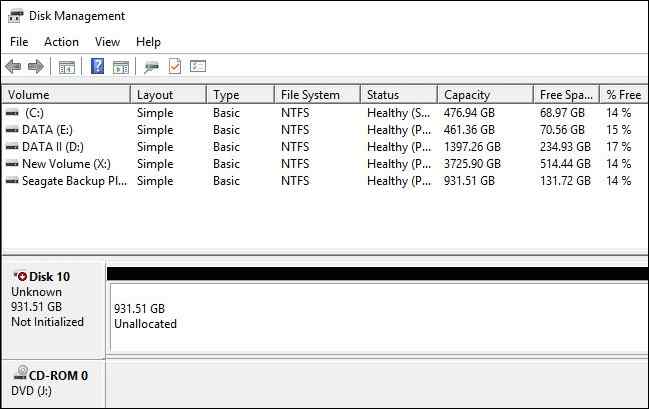
In the Disk Management window, you will see a list of all the connected hard drives. Right-click on the disk drive that is now showing up, tap on “Initialize Disk”.
In the next step, you will be prompted to choose between two options: MBR (Master Boot Record) and GPT. Select GPT (GUID Partition Table) to proceed ahead.
You will now be redirected to the previous window. Right-click on the striped area and select “New Simple Volume”.

Hit on the Next button and now assign a drive letter to the new hard drive.
The next step is to format the hard drive. To do so, select “NTFS” as a file system and then hit on the Next button.
Follow the on-screen instructions to complete the disk initialization process.
Solution 4: Run the Diskpart Command
The Diskpart command is a useful Windows utility that helps you manage the hard drives, disk partitions, volumes, and virtual hard disks. To run the Diskpart command on your Windows PC, follow these quick steps:
Press the search icon placed on the Taskbar. Type “Command Prompt” and then select the “Run as Administrator” option.
In the Command Line window, type the following command and hit Enter.
Diskpart
Now enter “List Disk” and hit Enter.
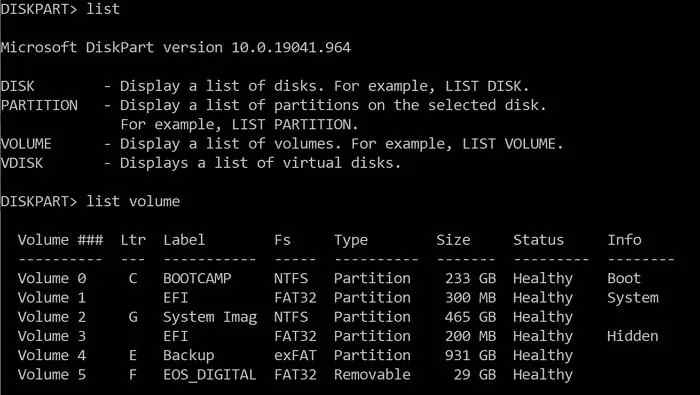
After executing this command, you will see a complete list of all hard drivers installed on your PC.
Pick the problematic hard driver’s number from the list and then type the following command:
Select Disk X
(Replace X with the Disk number)
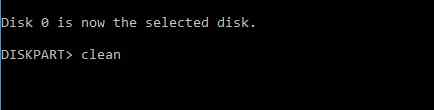
Once the disk has been selected, type “Clean” and hit Enter to configure the problematic hard drive on your device.
Following the above-listed steps will initialize the disk and will wipe off the hard drive to start afresh.
Also read: {FIXED}: External Hard Drive Not Showing Full Capacity On Windows (2022)
Conclusion
Here were a few methods to fix the “New hard drive not showing up” issue on Windows 11/10. So, no matter what the reason may be, you can use any of the above-mentioned solutions to resolve the issue if your system is unable to detect the second HDD. Follow us on social media – Facebook, Instagram and YouTube.
Good luck!